Being on this gut-healing journey has required me to simplify my nutrition and truly get back to basics. In many ways, it has been a blessing in disguise. Not only has it made meal-making easier and more intentional, but it also aligns with my desire to bring a more minimalistic approach into every area of my life – wellness included.
This granola recipe is the perfect example. I know many people shy away from making granola at home. Why take the time to bake it yourself when store shelves are lined with convenient options? The problem is that most packaged granolas are loaded with inflammatory ingredients like processed seed oils and added sugars. I’ve been making homemade granola for years for this reason, but it wasn’t until recently that I realized just how minimal a granola recipe can be.
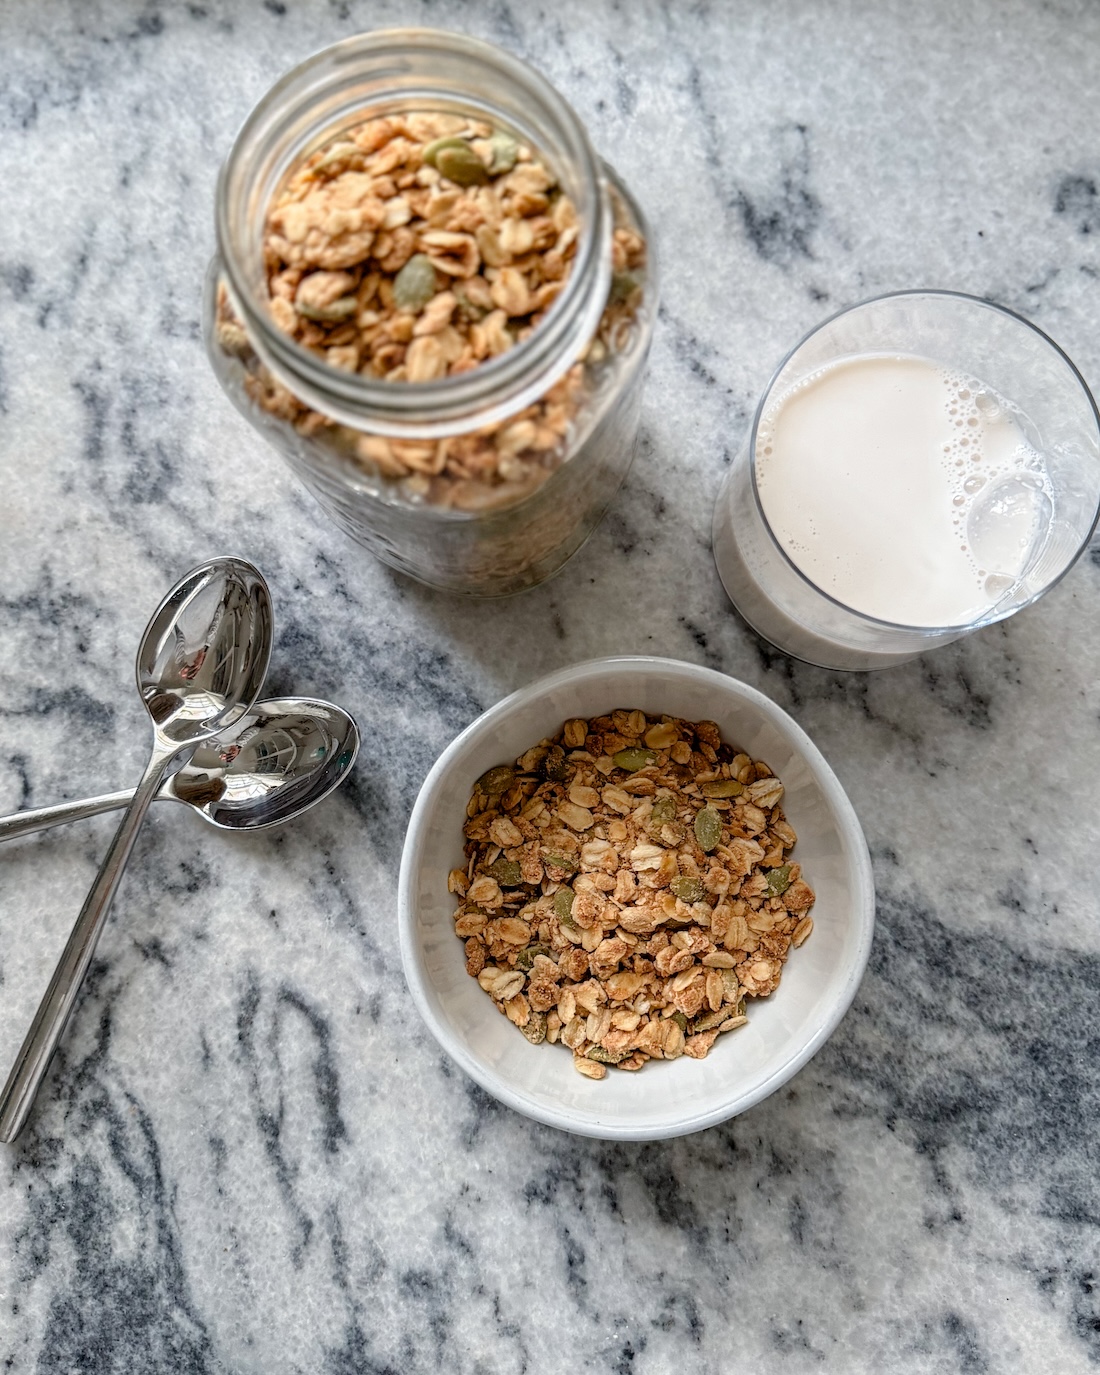
This version uses only three ingredients (yes, three!) and takes about 20 minutes from start to finish. I have some almost every afternoon with yogurt, and it has quickly become a pantry staple I don’t see myself ever going without.
Why Oil-Free + Sugar-Free?
- Lower inflammatory load
- Easier on sensitive digestion
- Avoids refined sugars
- Minimal, whole-food ingredients
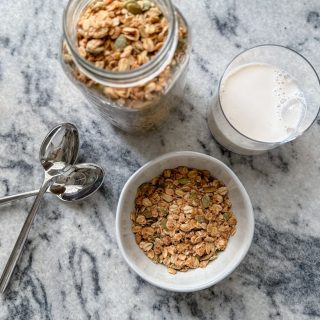
Ingredients You’ll Need
- 2 cups rolled oats (organic and gluten-free if possible)
- 1 cup raw pumpkin seeds
- ⅔ cup melted coconut butter
Healthified Notes
Tips for the Best Texture
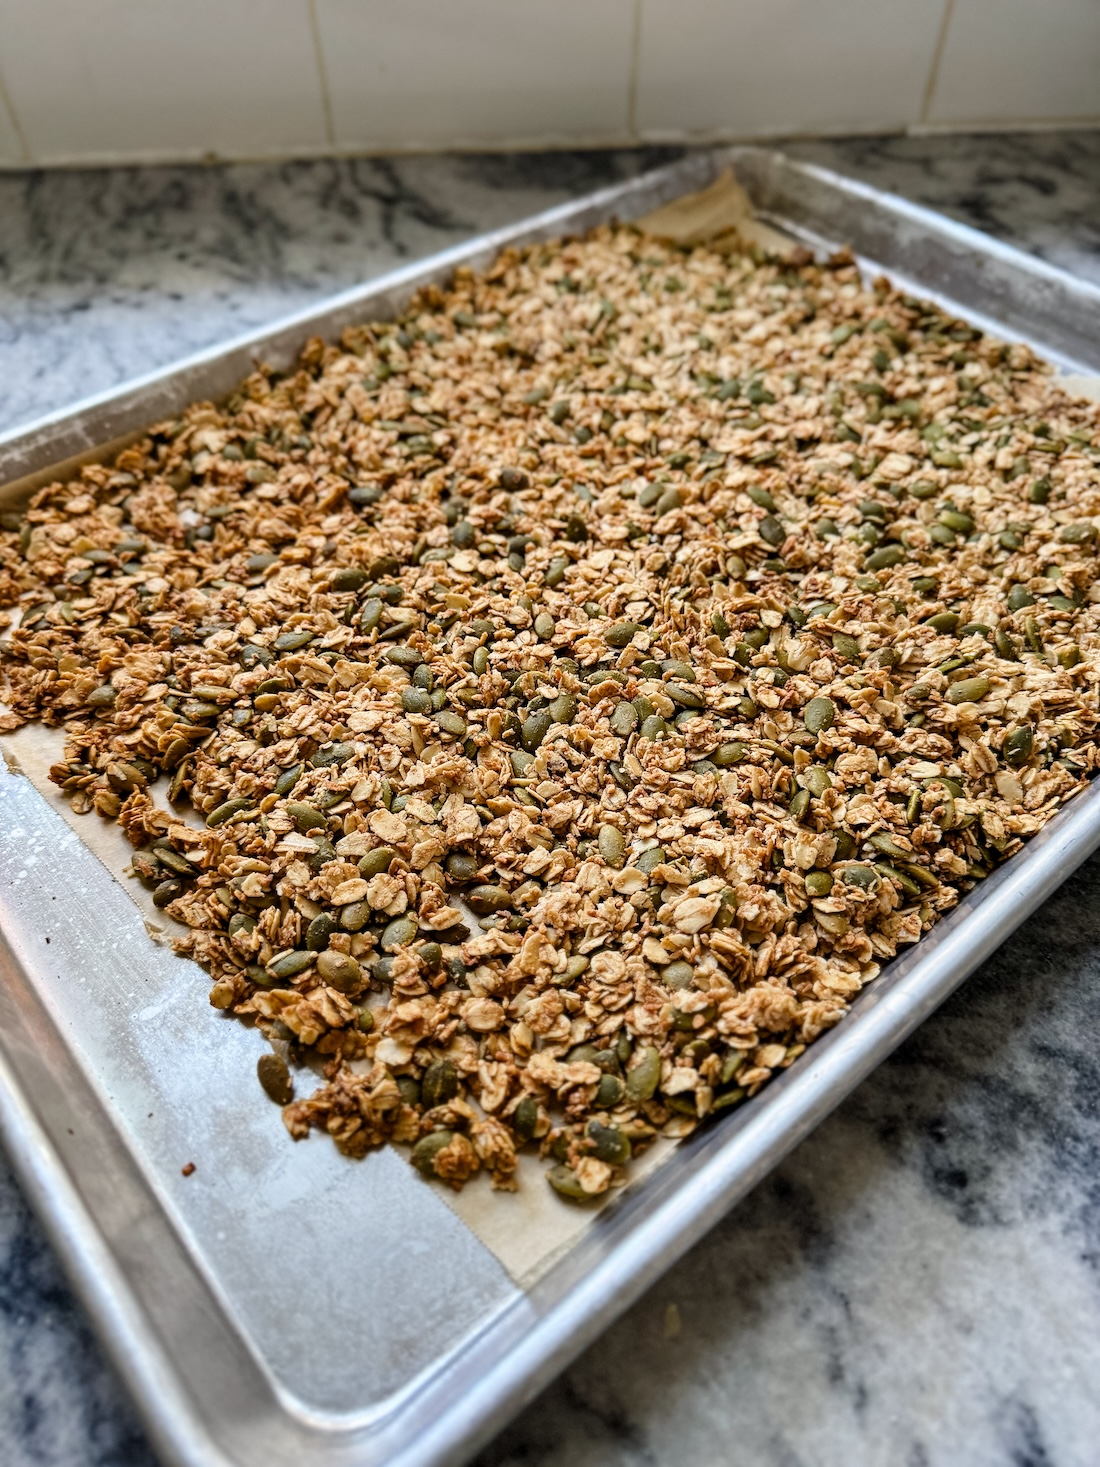
- Spread the mixture into an even, thin layer so it crisps properly.
- Let it cool completely before breaking it apart—this is when the clusters form.
- If your coconut butter is too thick, warm it gently until fully pourable.
Variations to Try
- Add cinnamon or vanilla powder for a subtle flavor boost.
- Swap pumpkin seeds for sunflower seeds if preferred.
- Stir in freeze-dried fruit after baking for extra crunch without increasing histamines.
- Add a pinch of sea salt to balance the natural sweetness of the coconut butter.
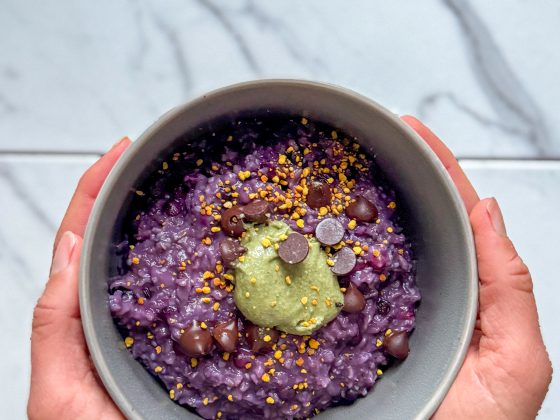
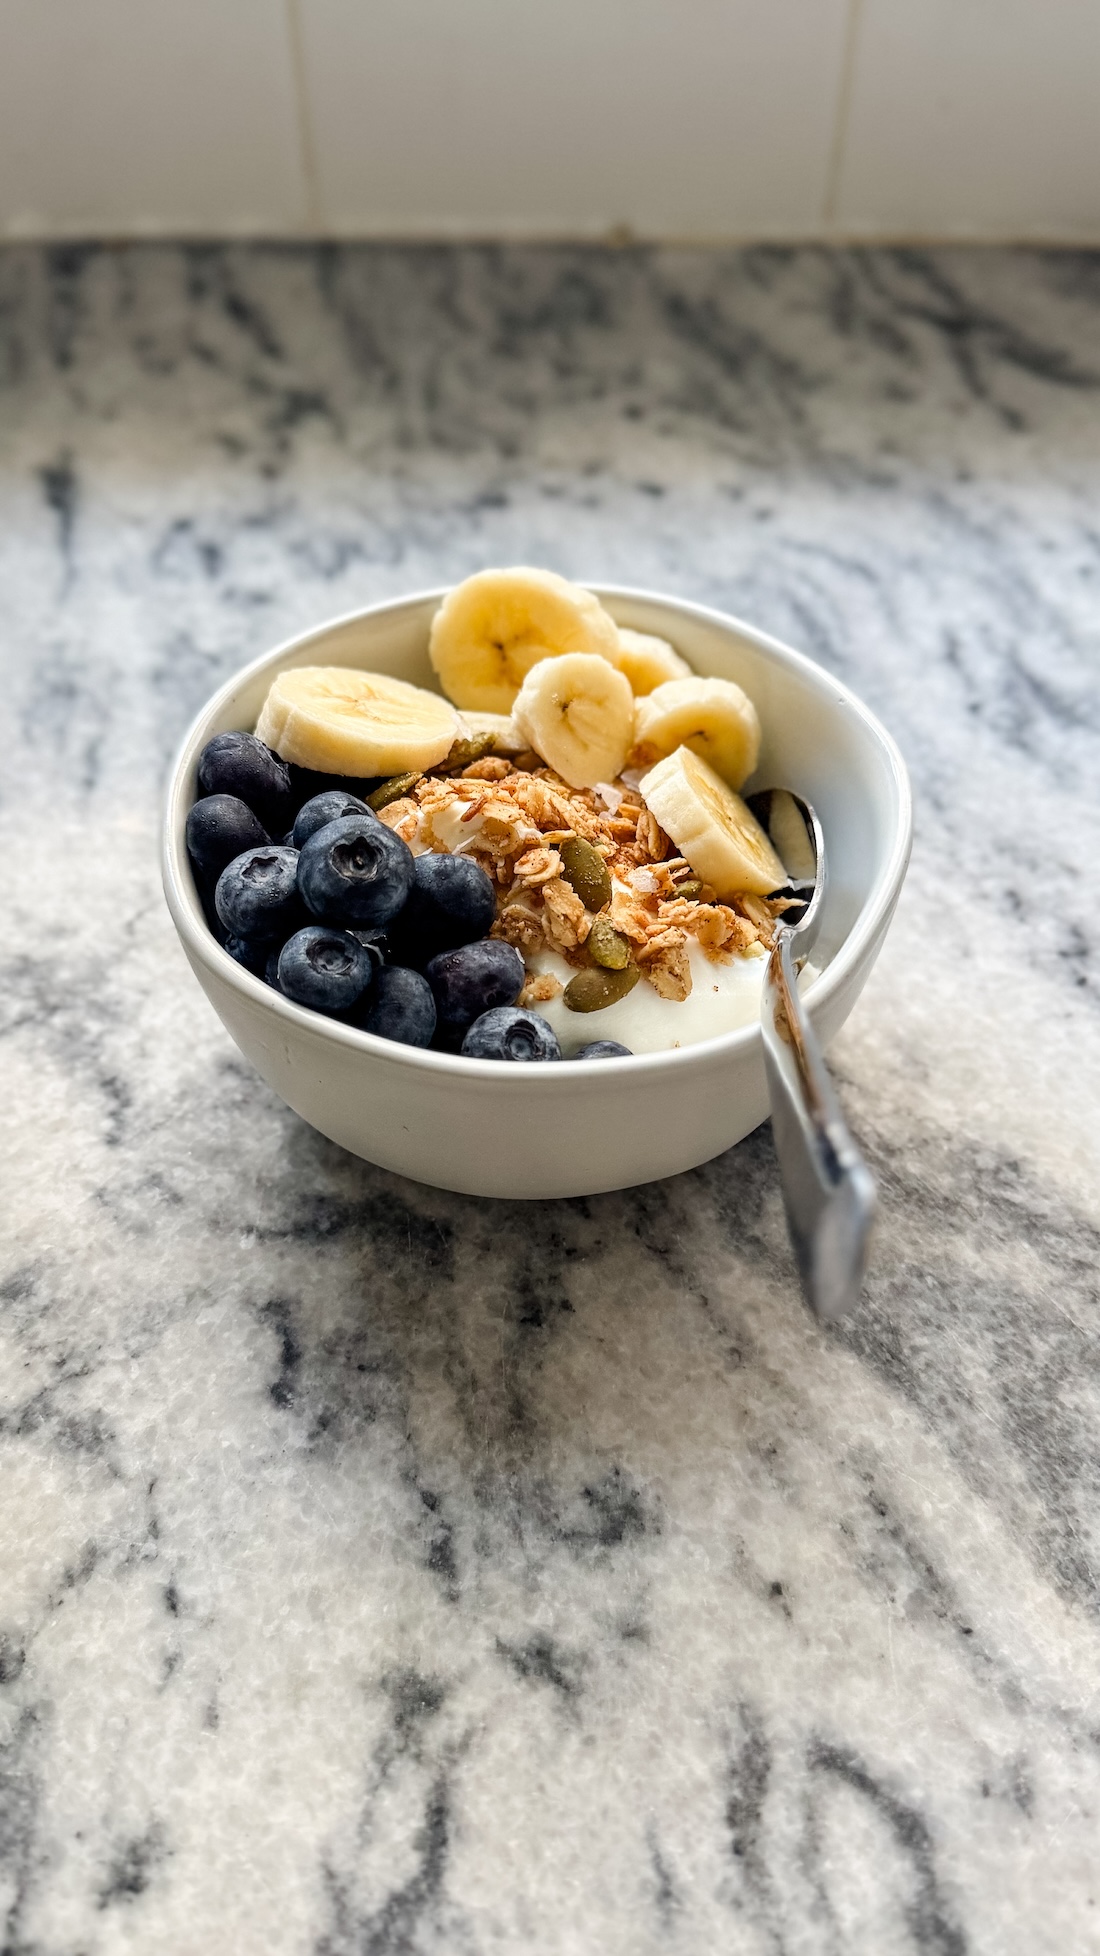
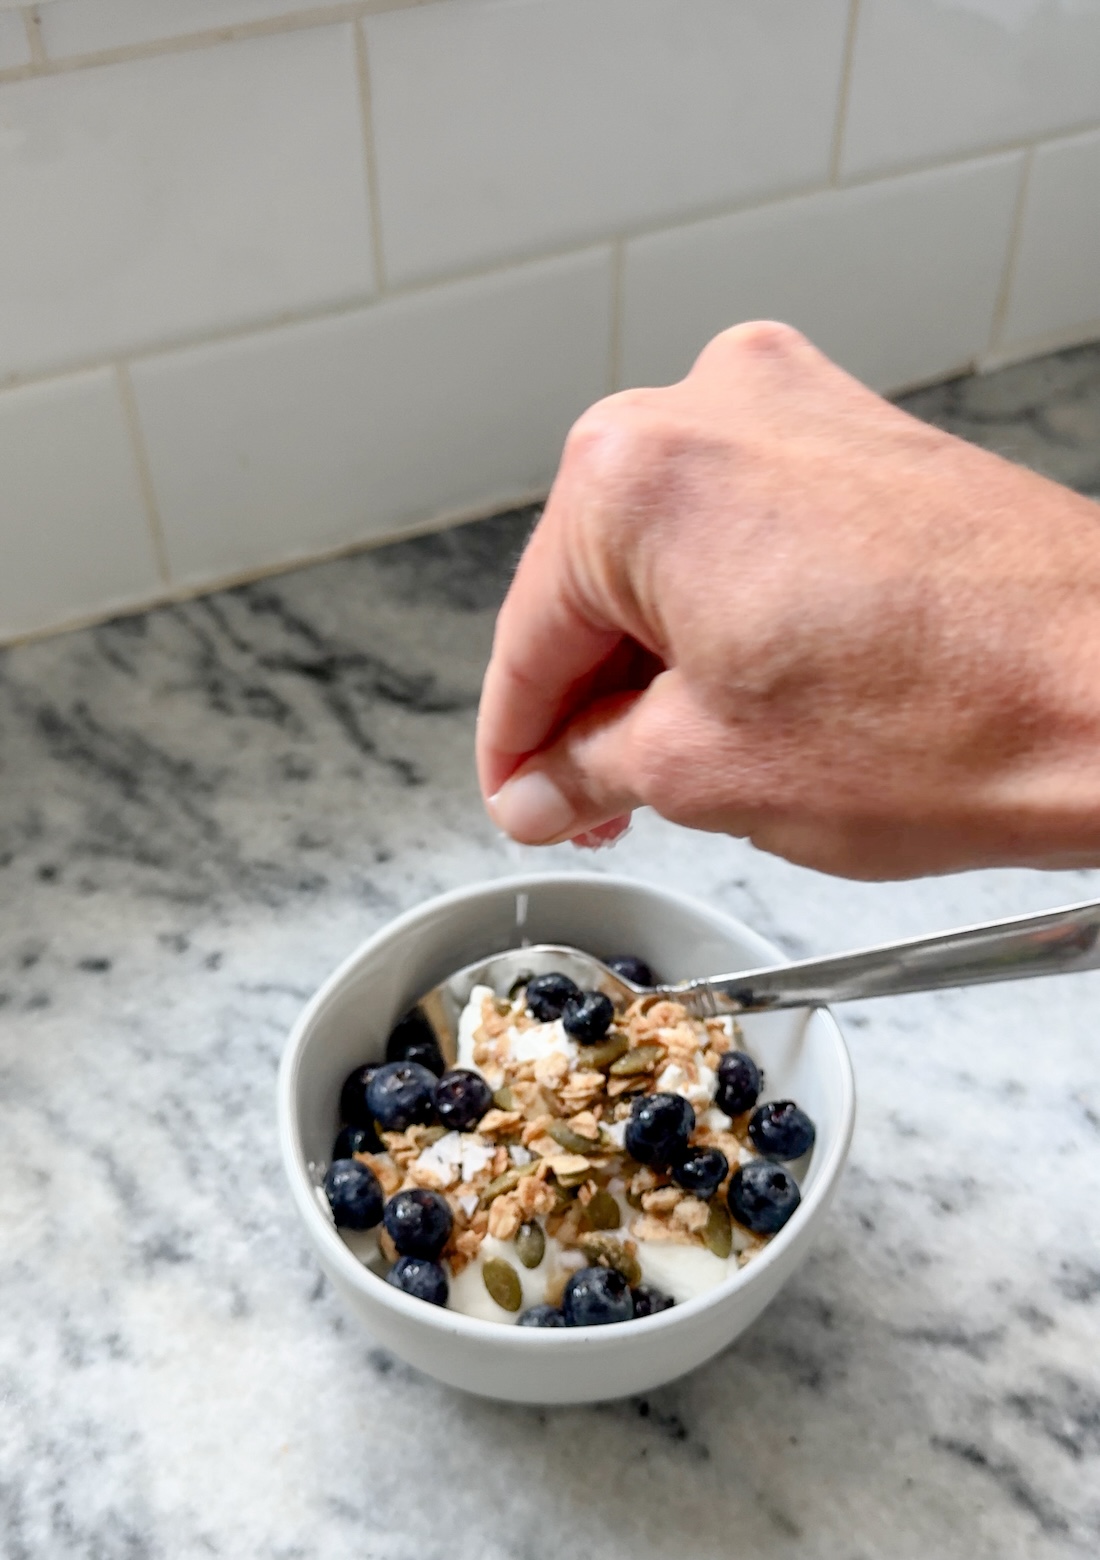
How I Serve It
I have this granola almost every afternoon in a yogurt bowl with fresh blueberries and/or banana. It adds crunch and satisfaction without needing oil or sugar. It also works beautifully as a smoothie bowl topper or a simple, handful snack straight from the jar.
FAQ: How to Melt Coconut Butter
Coconut butter can be tricky because it naturally hardens at room temperature, but melting it is simple with the right method. Here are my go-tos:
Warm Water Bath (Best Method). Place the jar of coconut butter (lid on) in a bowl of very warm water for 10–15 minutes.
Stir every few minutes until it becomes smooth and pourable.
Stovetop. Scoop the coconut butter into a small saucepan. Warm over very low heat, stirring constantly, just until melted (do not overheat as it can burn easily).
Microwave. Scoop the coconut butter into a microwave-safe bowl. Heat in 10–15 second intervals, stirring between each, until melted.
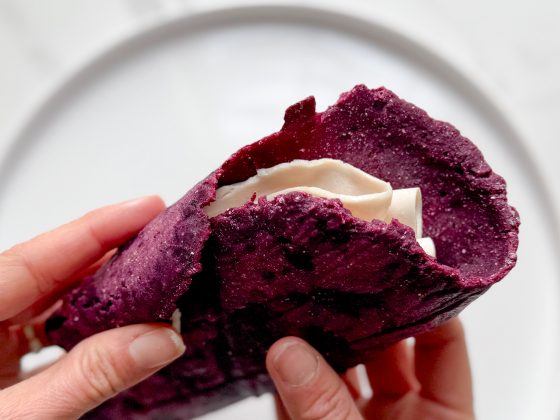
A Helpful Tip: Coconut butter naturally separates. If your jar looks dry, gritty, or crumbly, simply melt it fully and stir very well to reincorporate the coconut solids and oils. This gives you the smooth, creamy texture needed for the cups.
P.S. If you have unsweetened shredded coconut and a high-speed blender, you can make your own creamy coconut butter in less than five minutes, and then make the cups from there.
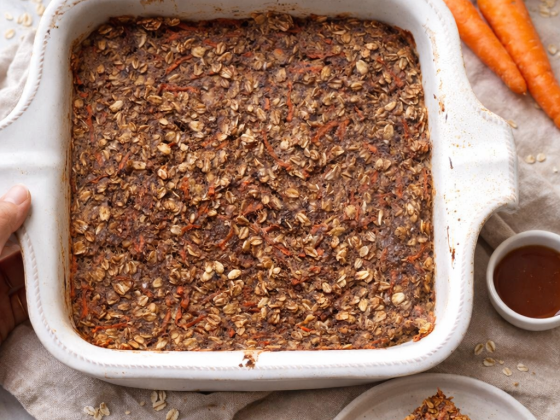
Oil-Free, Sugar-Free Granola {Gluten-Free & Just 3 Ingredients}
Equipment
- baking sheet
- mixing bowl
Ingredients
- 2 cups rolled oats organic and gluten-free if possible
- 1 cup raw pumpkin seeds or sunflower seeds
- 2/3 cup melted coconut butter
Instructions
- Preheat the oven to 350°F and line a baking sheet with parchment paper.
- In a large bowl, combine the oats and pumpkin seeds. Pour the melted coconut butter over the mixture and stir until everything is evenly coated (you might need to use your hands).
- Spread the granola into a thin, even layer on the prepared baking sheet. Bake for 12 to 15 minutes, turning the pan halfway through, until lightly golden.
- Remove from the oven and allow the granola to cool completely (about 30 minutes). Once cooled, transfer to an airtight container for storage.