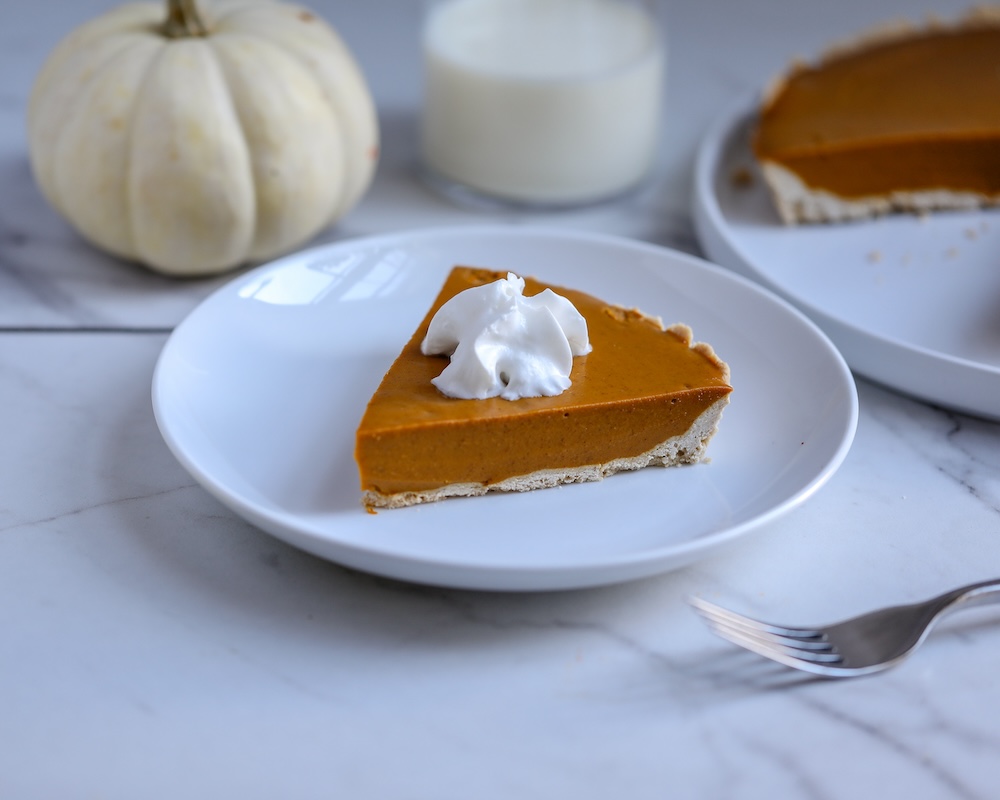
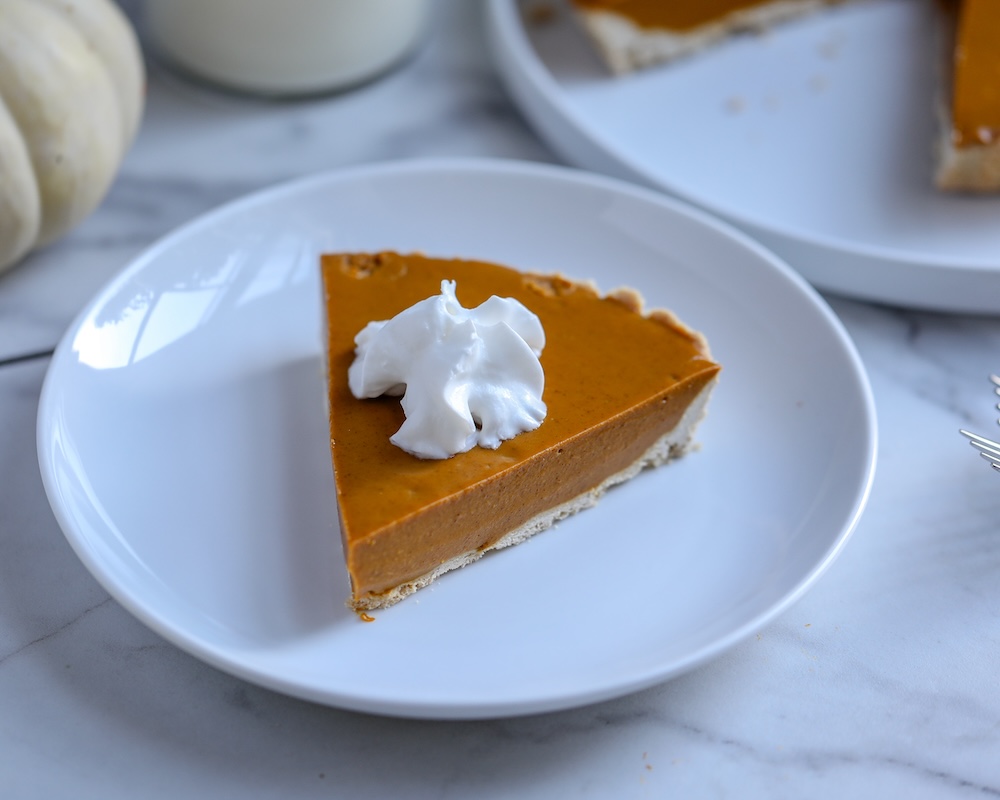
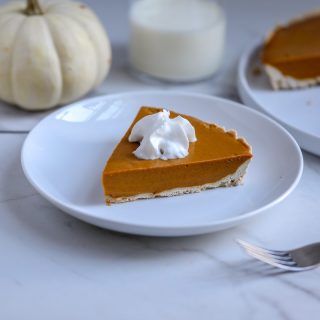
It seems like I test a new pumpkin pie recipe every year around the holidays. I am always looking to innovate and elevate past versions to be not only healthier, but also more delicious and a little more on trend. Last year, cottage cheese was having a moment, so I created a pumpkin pie using it, and it quickly became my favorite. But when I was diagnosed with my gut issues six months ago, I stopped eating eggs, which meant it was back to the drawing board (though if you do eat eggs, that recipe is still a must-try!).
Recently, I made a gut-healthy pumpkin pie pudding using gelatin and was blown away by how well it turned out. It gave me the confidence to use gelatin as the base for my egg-free pie, and I truly did not expect it to be this delicious. The texture is creamy and silky, with warm spices that taste just like traditional pumpkin pie. And, of course, it checks all of my “Healthified dessert” boxes: simple ingredients, lower-glycemic sweeteners, and hidden nutrition in every bite.
When I set out to develop this version, my goal was a pumpkin pie that still tasted classic but leaned more gut-friendly. I wanted something anti-inflammatory, easy to digest, and perfect for anyone avoiding eggs or gluten. I used full-fat Greek yogurt in mine, but coconut yogurt works beautifully for a completely dairy-free option. This recipe is truly the best of both worlds with nostalgic holiday flavor and a lighter, more nourishing twist.
Why I Chose No-Bake (And Why It Works So Well)
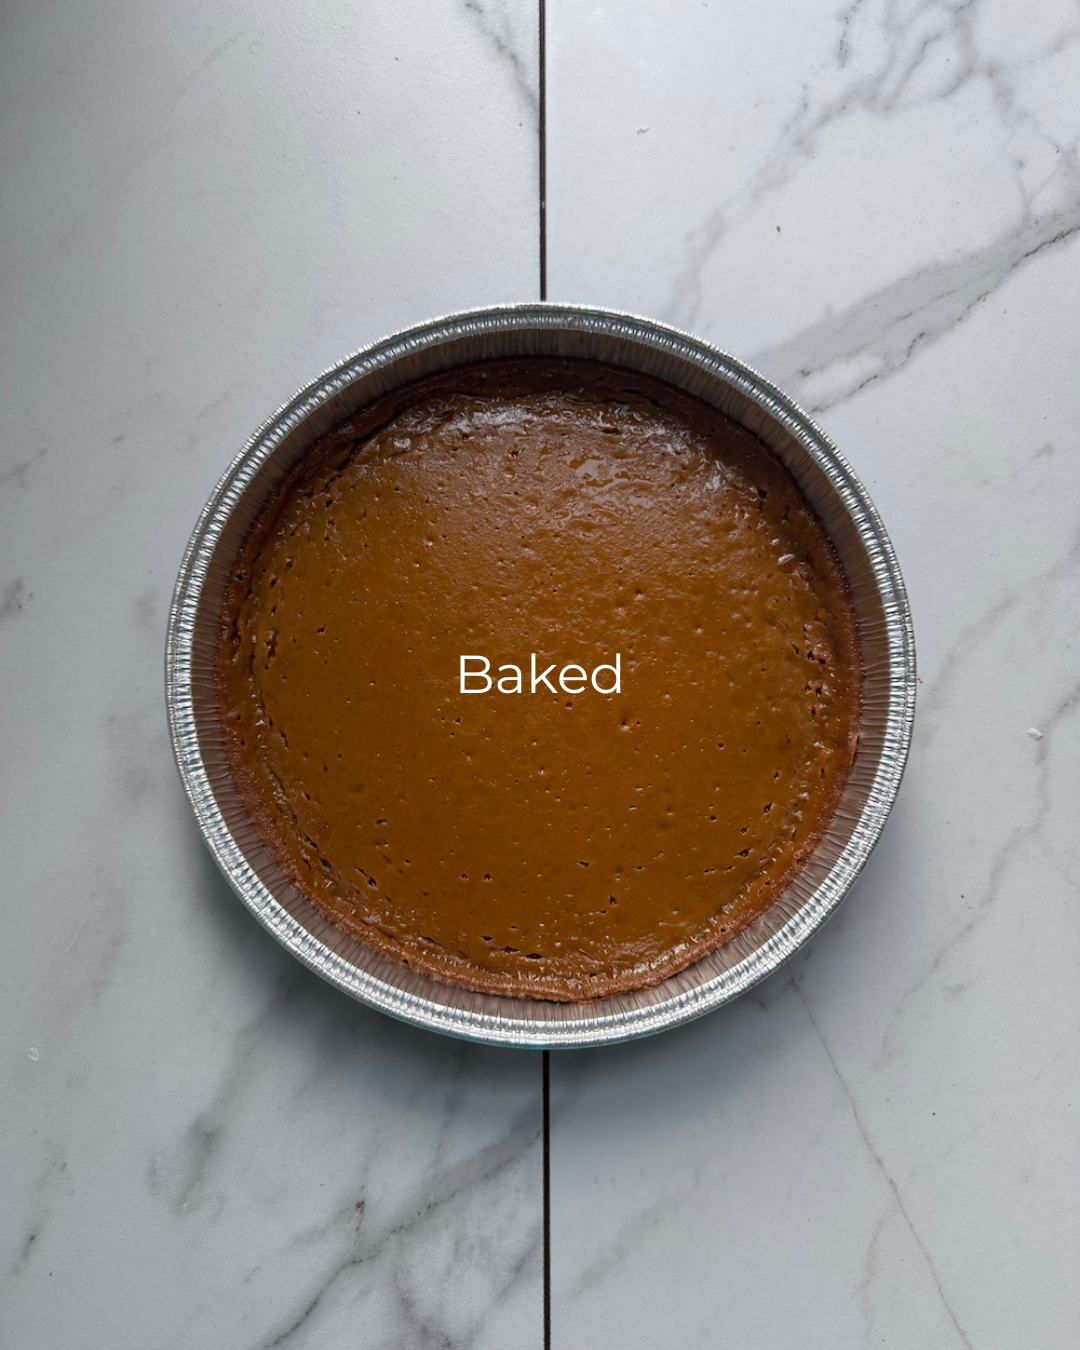
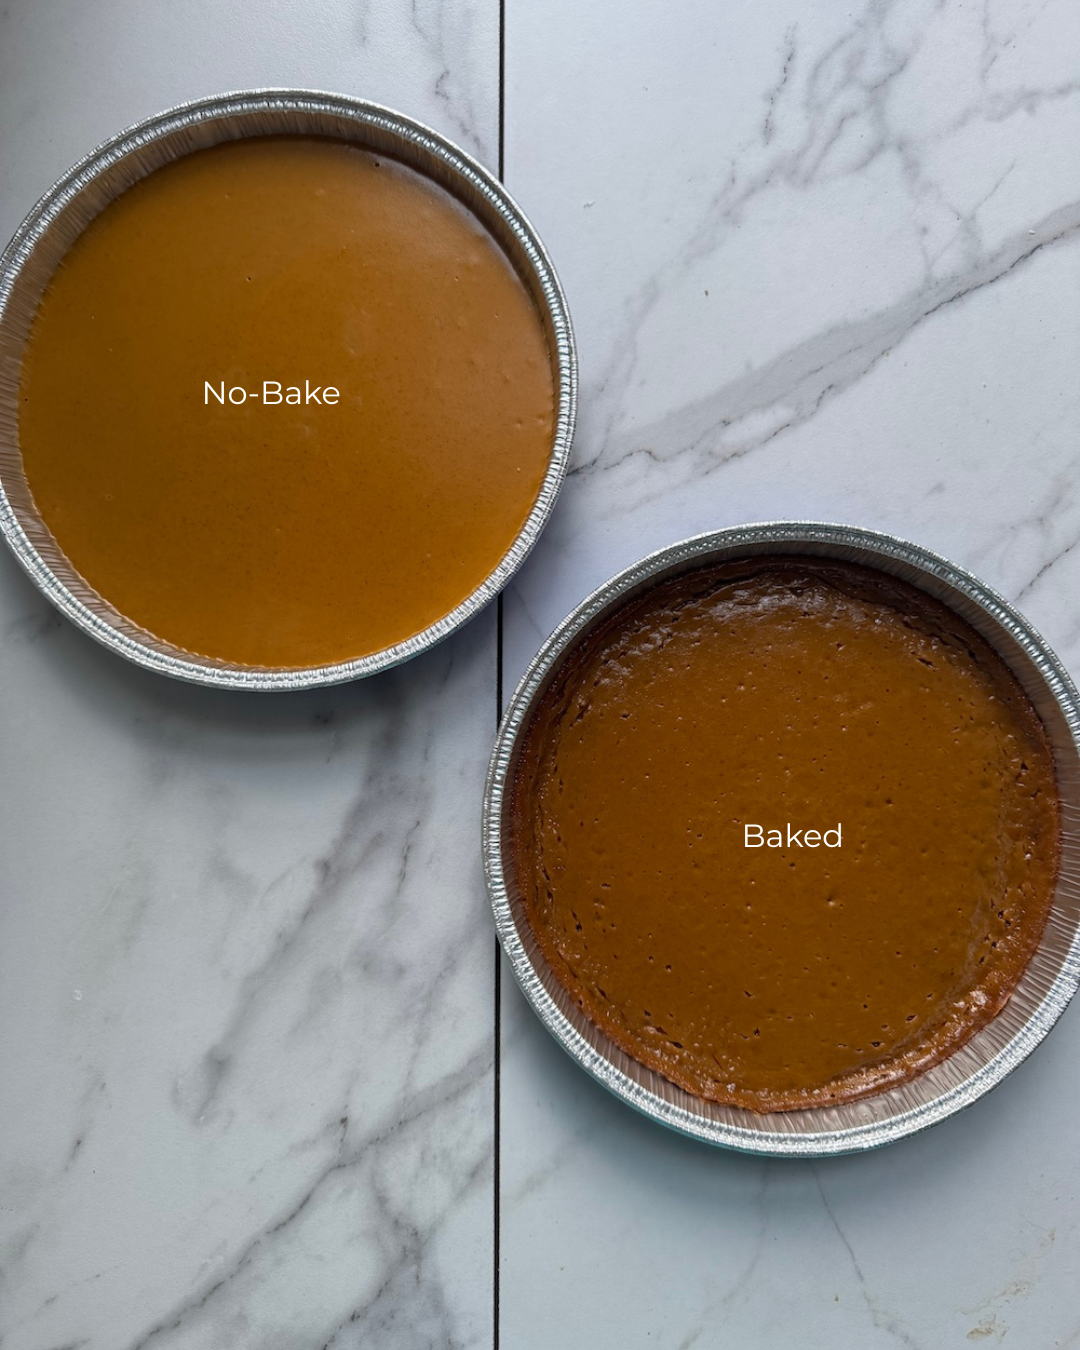
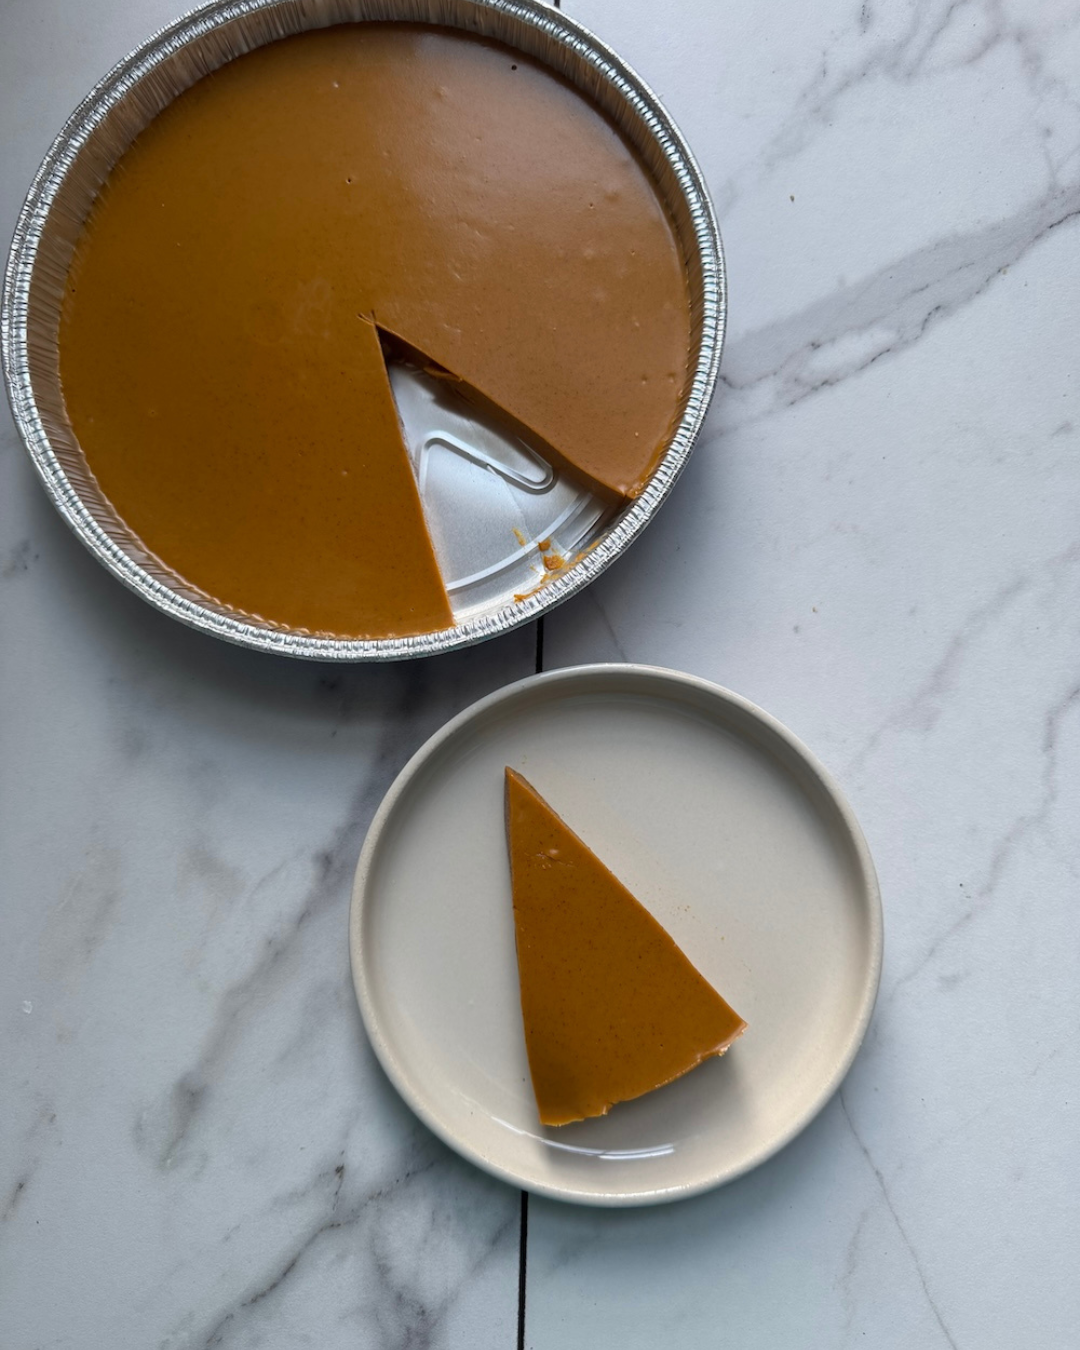
I tested this recipe two ways: baked and no-bake. I will admit – I thought the baked version would be the winner. That is why when I taste tested both pies, I was completely shocked when I preferred the no-bake version. But after thinking about it, it actually didn’t surprise me. Here is why:
The texture is creamier and silkier.
The gelatin helps the filling set without eggs, creating this luscious, mousse-like consistency that somehow tastes even more indulgent than baked pumpkin pie.
The flavors shine through.
Pumpkin, coconut sugar, spices, and vanilla come through more cleanly when they aren’t heated for 45 minutes in the oven.
It’s foolproof.
No worrying about cracks, underbaking, overbaking, or the center being jiggly. You just mix, pour, and chill.
It’s aligned with a gut-supportive diet.
Instead of relying on eggs or heavy ingredients, this pie uses a blend of pumpkin, yogurt/cottage cheese, and gelatin, all easy-to-digest and supportive of a lighter holiday dessert.
That said, if you want to bake your pie, you absolutely can. It will come out slightly firmer and more custard-like with a more muted flavor. But if you’re asking me? No-bake is the winner!

The Crust
So you might be wondering – what about the crust? Is that no-bake too?
Years ago when I made no-bake pies more regularly, I would create a crust using walnuts, dates, and coconut oil in the food processor (as if you were going to make energy balls). Therefore, it is definitely possible. However, I highly suggest making your pie partially baked: a pre-baked crust combined with a no-bake filling creates a deliciously balanced dessert anyone will love. You have two options:
Gluten-free oat flour for a soft, classic-style crust
Almond flour for a grain-free alternative
Both versions hold up beautifully, and the combination of coconut oil + maple syrup binds the crust without eggs or dairy.
The Filling (Egg-Free + Ultra Creamy)
Pumpkin puree, cozy spices, and your choice of cottage cheese, yogurt, or coconut yogurt make the filling thick, smooth, and protein-rich. Tapioca or arrowroot starch helps with structure, and gelatin does the magic of setting the pie without baking.
This filling brings all the traditional pumpkin pie flavor with none of the heaviness.
Ingredients You Will Need to Make this Egg-Free Pumpkin Pie
For the crust
- 1¼ cups gluten-free oat flour (or almond flour for grain-free)
- ¼ cup arrowroot flour (or tapioca flour)
- ⅓ cup melted coconut oil
- 2 tablespoons maple syrup
For the pie filling
- 1 (15-ounce) can pumpkin puree
- ½ cup cottage cheese, Greek yogurt, or coconut yogurt
- 1 cup coconut sugar or granulated sugar of choice
- ¼ cup arrowroot flour (or tapioca flour)
- 1 tablespoon pumpkin pie spice
- 1 teaspoon cinnamon
- 1 teaspoon vanilla extract
- ½ teaspoon sea salt
- 1 tablespoon gelatin
- 2 tablespoons cold water

Why You’ll Love This Egg-Free Pumpkin Pie
Creamy, custardy texture.
Easy-to-digest ingredients.
No eggs, no dairy required, very allergen-friendly.
Can be baked, but shines as a no-bake pie.
Perfect make-ahead dessert for the holidays.
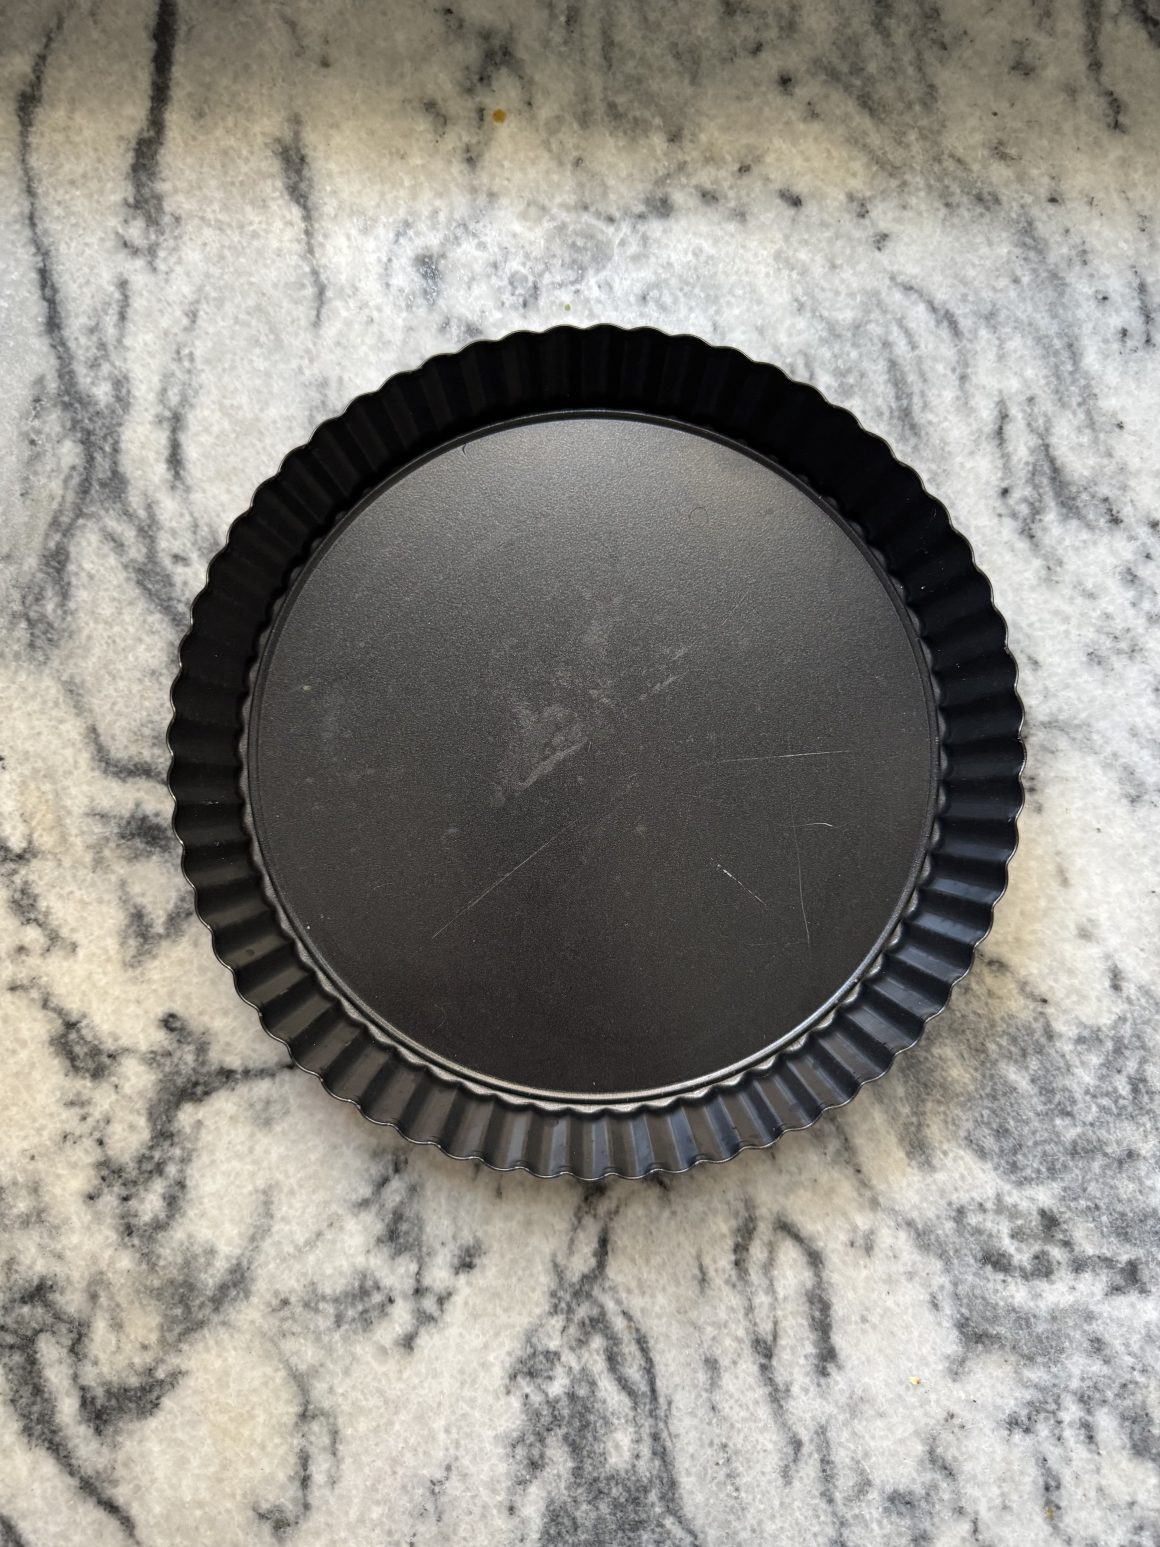
Why I Used a Tart Pan (And Why You Can Still Use a Pie Plate)
For this recipe, I chose to make the pumpkin pie in a 9-inch tart pan rather than a traditional pie plate. Tart pans create a slightly shallower pie with beautifully defined edges, which works especially well for a no-bake filling. Because the filling sets in the fridge rather than the oven, the removable bottom makes it so much easier to unmold and slice cleanly.
That said, you can absolutely use a standard 9-inch pie plate. The crust-to-filling ratio will be a bit deeper, but the recipe still works perfectly and sets just as well. If using a pie dish, just make sure to chill it long enough for the center to fully firm up.
In short: use whichever dish you love! The tart pan is just my personal preference for presentation and ease.
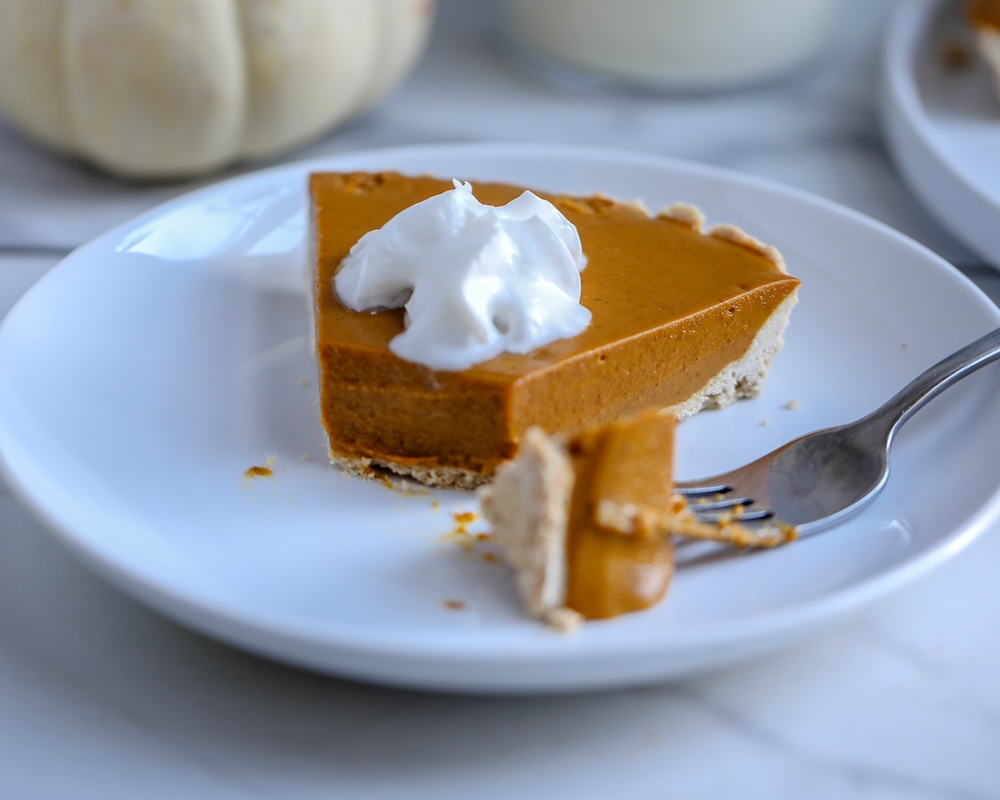
I hope this egg-free pumpkin pie brings a little extra joy to your holiday table. It is easy to make, full of cozy flavor, and gentle on digestion, which is exactly what I want in a festive dessert. If you try it, I would love to hear how it turns out for you! Please message me or tag me on Instagram @healthified. Enjoy, and happy Healthified holiday baking!
Healthier No-Bake Egg-Free Pumpkin Pie {Gluten-Free, Dairy-Free Option}
Equipment
- High-speed Blender
- Pie plate or tart pan
Ingredients
For the crust
- 1 ¼ cups gluten-free oat flour or almond flour for grain-free
- ¼ cup tapioca flour or arrowroot starch
- ⅓ cup melted coconut oil
- 2 tablespoons maple syrup
For the pie filling
- 1 15-ounce can of pumpkin puree
- ½ cup cottage cheese Greek yogurt, or coconut yogurt
- 1 cup coconut sugar or granulated sugar of choice
- ¼ cup tapioca flour or arrowroot starch
- 1 tablespoon pumpkin pie spice
- 1 teaspoon cinnamon
- 1 teaspoon vanilla extract
- ½ teaspoon sea salt
- 1 tablespoon gelatin
- 2 tablespoons cold water
Instructions
- Preheat the oven to 350°F. Spray a 9-inch tart pan (or use a pie plate) with cooking spray.
- Make the crust. In a large bowl, combine the oat flour (or almond flour) and tapioca flour. Stir to blend. In a separate small bowl, combine the coconut oil and maple syrup and whisk. Pour the wet ingredients into the flour mixture and stir until a dough is formed.
- Use your hands to gather dough into a ball. Place the ball of dough into the bottom of the tart pan or pie plate and use your hands to evenly press the dough until a thin crust is formed in the bottom and up the sides. Alternatively, you can place the ball of dough between two sheets of parchment paper. Using a rolling pin, roll it out to ⅛- to ¼-inch thick. Flip the flattened dough across the tart pan or pie plate, using your fingers to press onto the bottom, fix any cracks and seal around the edges.
- Pre-bake the crust for 15 minutes, then set aside until ready to use.
- While the crust is baking, make the filling. First bloom the gelatin. Sprinkle the gelatin over/into the cold water and gently whisk. Set aside and let it stand for about 10 minutes.
- Add the pumpkin puree, cottage cheese or yogurt, coconut sugar, tapioca flour, pumpkin pie spice, cinnamon, vanilla extract, cinnamon, and sea salt to a blender. Blend until creamy, using a spatula to scrape down the sides of the blender if needed and processing again for a few seconds.
- Gently heat the bloomed gelatin gently (in the microwave for about 10 seconds or stovetop in a double-boiler) just until it liquifies and dissolves (don’t boil). While the blender or food processor is running on low, slowly add the heated gelatin mixture until incorporated.
- Pour the pie filling mixture into the tart pan or pie plate with the pre-baked crust. Transfer to the refrigerator and allow to chill and set for at least 8 hours (or ideally overnight).
Notes