I recently tried to translate a traditional pumpkin chocolate chip cookie recipe, and these sandwich cookies were the result. How could that have happened you might ask? I was going for both gluten-free and vegan, and baking under these two labels is not an easy task. However, I was using Bob’s Red Mill gluten-free 1:1 baking flour, so I wanted to see if it could do just that – replace all-purpose flour one-to-one in a cookie recipe. Additionally, pumpkin provides moisture in plant-based baking and is often used as a replacement for eggs, and in this particular traditional cookie recipe, eggs weren’t even used. Lastly, the recipe called for melted butter, as opposed to creaming the butter and sugar together; so that is an easy swap – use melted coconut oil instead. I thought the process from start to finish would be quite simple! I was wrong.
The dough turned out too dry and crumbly, so I immediately knew I needed to add more moisture. I beat in an egg yolk, and while it helped, it was still not a chocolate chip cookie dough. However, when I squeezed the dough, it held together, so I knew it was salvageable. What can I bake with this? I thought to myself. If I rolled the dough into a ball, wrapped it in plastic wrap, and chilled it slightly, I could easily bake up some sandwich cookies. Not a terrible turn out for a recipe I thought had failed.
What went wrong with the original recipe?
Given that I was turning a traditional recipe into a Healthified one, some major substitutions had to be made. The biggest change was using gluten-free baking flour instead of all-purpose. Even though it says it can be swapped one-for-one, you have to take into account the fundamental differences. Not only will gluten-free flours such as sorghum, potato starch, and rice flour react differently than all-purpose, but the inclusion of xanthan gum in the gluten-free baking flour will affect the final texture and consistency of the dough.
Secondly, I replaced melted butter for melted coconut oil. I want to do a more extensive post on the role of fat in baking – and what this means for using dairy-free ingredients – but baking with coconut oil instead of butter can be a challenging change. Coconut oil is a medium-chain triglyceride; butter is a short-chain triglyceride. Baking is chemistry. This difference will affect the outcome.
Lastly, the original recipe called for a combination of granulated dark brown sugar and white sugar: 1/4 cup and 1/2 cup respectively. Naturally, I used 3/4 cup of coconut sugar instead. On a surface level, the granules of coconut sugar are larger and more dense than white sugar; this will affect the texture of the dough. There is also the difference in the hygroscopicity of the sweeteners, but this impacts the recipe during the baking process, not necessarily when the dough is formed.
All of this is to say – and as I continue to explain – upgrading a baking recipe is not as simple as one may think. When I use the term “upgraded,” what I mean is a recipe that is gluten-free, primarily plant-based, and lower glycemic. I would also put “allergen-friendly” under the upgraded umbrella, as those that have food intolerances and sensitivities can enjoy baked goods as well, when they might not have been able to before.
How I turned this recipe into sandwich cookies
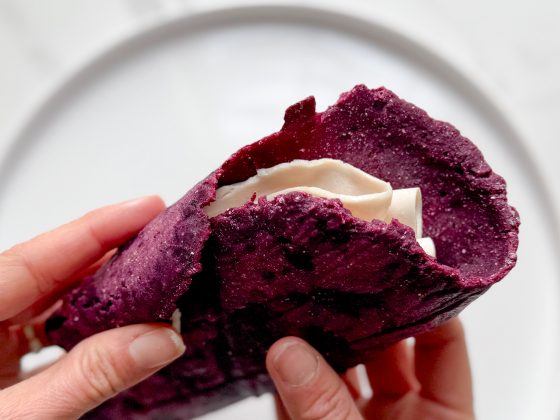
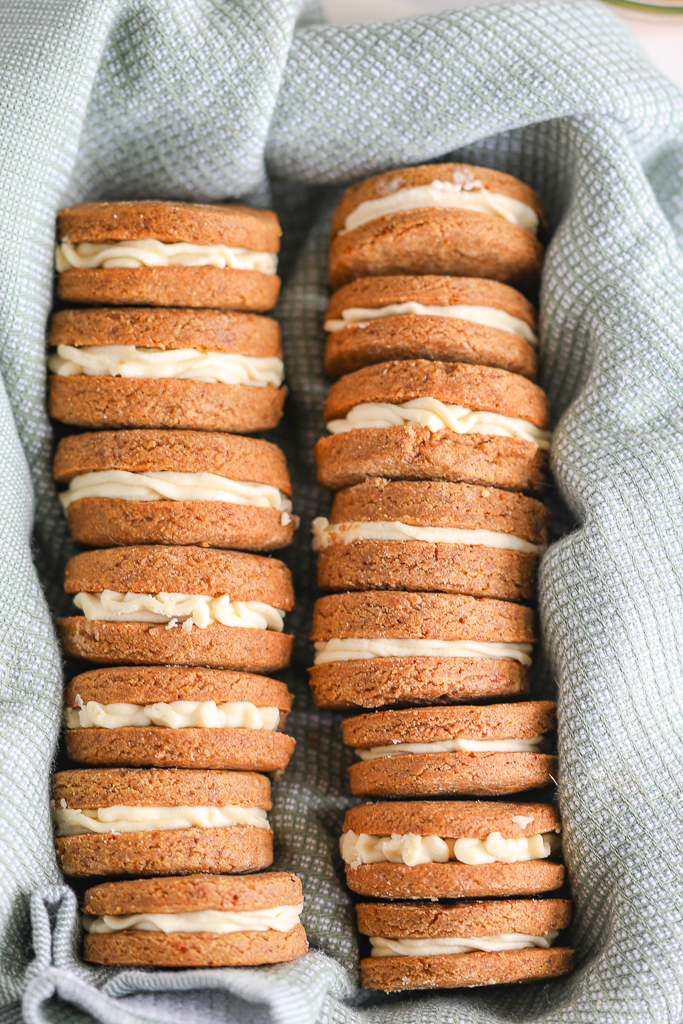
When it comes to plant-based baking, coconut oil – together with refrigeration – offers an amazing binding option. I knew once I squeezed the dough and it held together (think damp sand), I could work with it. I love making sandwich cookies, and in fact Healthifying the “Oreo” for the first time when writing my cookbook remains one of my favorite baking memories.
Given that I was able to gather this cookie dough into a ball and wrap it in plastic wrap, sandwich cookies were the next step. Once you are able to do this, you can refrigerate it, subsequently roll it out, and use a cookie cutter of your desired shape and size. This tactic also works well with baking sure cookies, or making a pie or tart crust.
There are two ways to make these pumpkin spice sandwich cookies
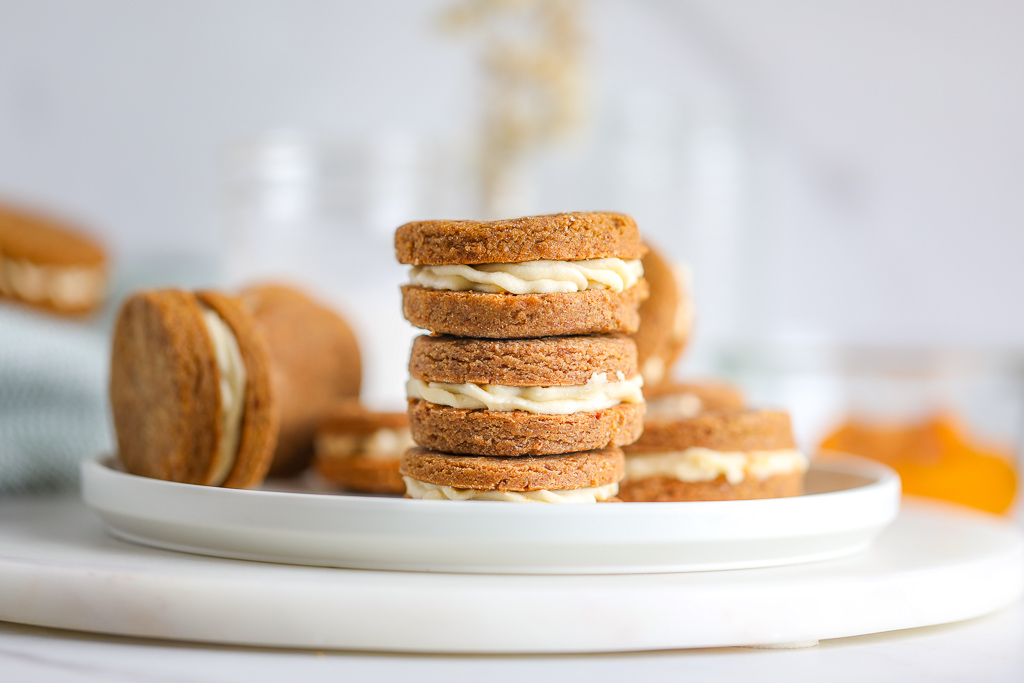
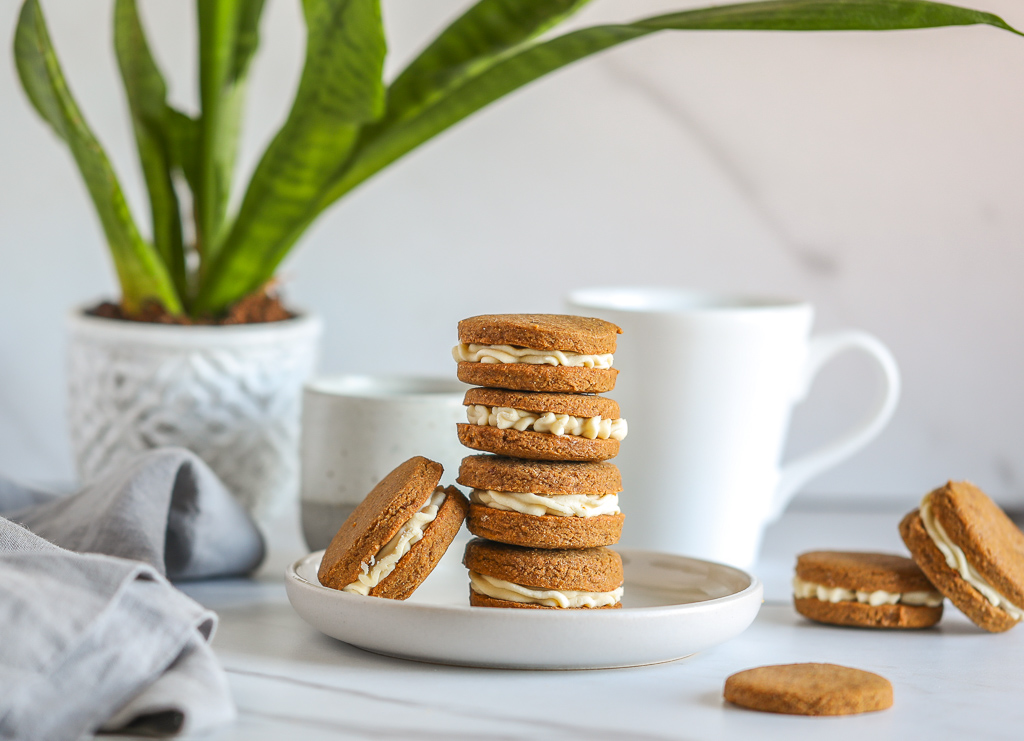
As I mentioned above, the first time around I added an egg yolk in order to add more moisture. While I wasn’t able to then turn the dough into chocolate chip cookies, it did offer more binding for the sandwich cookies. Additionally, it also affected the texture and the appearance of the final result. You can see below that the cookie with the egg yolk has a smoother looking top than the cookie with the maple syrup substitution (which I will explain further). This makes sense – a binding agent’s role in baking is to hold ingredients together. The ingredients literally look more “held together” in the recipe with the incorporated egg yolk.
Two important things to know when baking with pumpkin puree
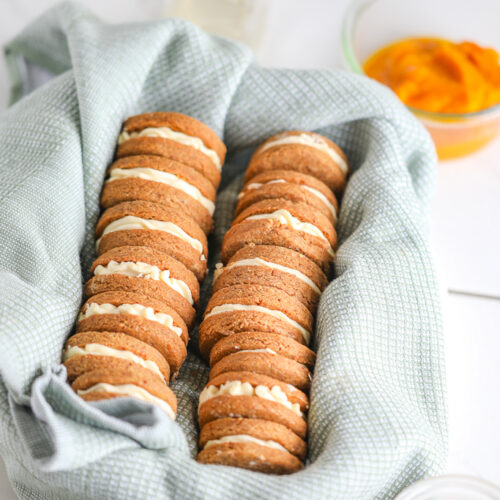
We are in the height of fall baking, and so I have been playing around with a lot of pumpkin. One thing that I have started to do – and that I will always do from here on out – is weighing my pumpkin puree. This extra step applies to any fruit or vegetable puree when baking. Weighing your pumpkin with a digital scale will better ensure recipe success. During one recipe test, I almost forgot to, and realized that I had measured out too much. This oversight was a testament to how important it is to weigh your puree. Too much puree (or too little) will affect the moisture content, and your baked good might not turn out the way you want it to.
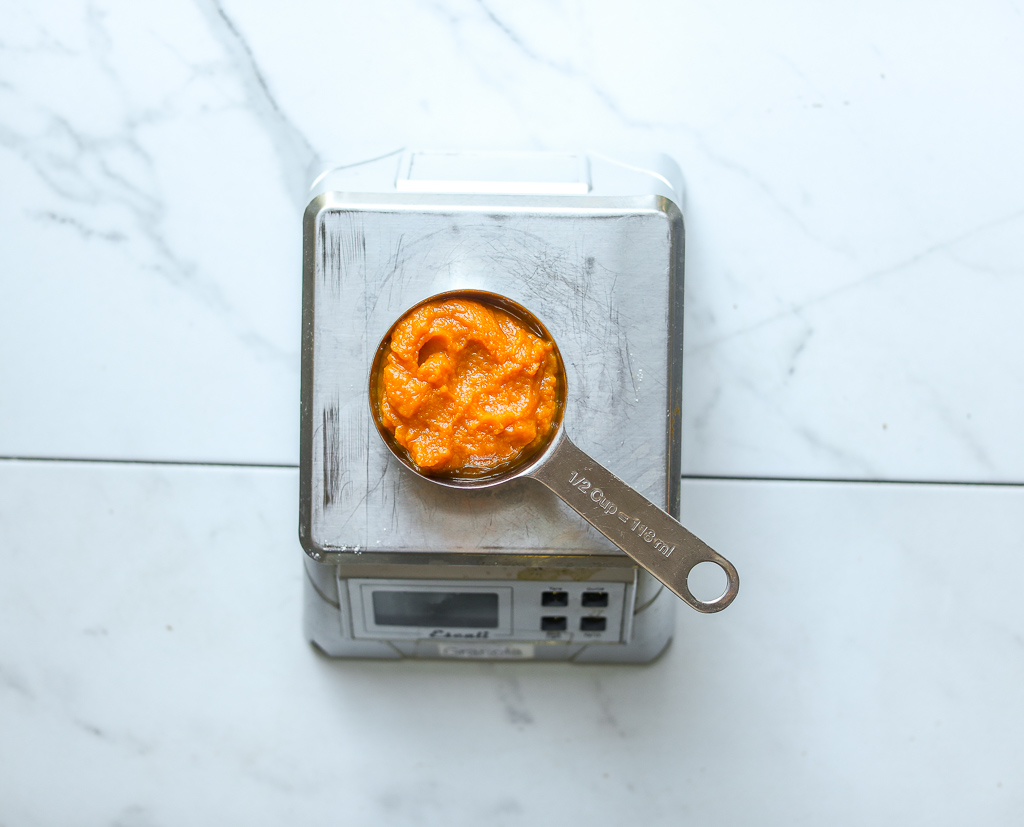
Secondly, some pumpkin recipes will call for “blotting” your pumpkin. I had never heard of this before, but it makes so much sense in a cooke recipe especially. Unlike a pumpkin bread, muffin, or cake, cookies require a precise level of moisture. Too much could mean your cookies would turn out too “cakey.” If you are going for a chewier cookie, you will want to blot your pumpkin puree before combining it with the other wet ingredients. All you have to do is line a small mixing bowl with paper towels, measure (or weigh!) your pumpkin puree and place it in the paper towel-line bowl for a few minutes. The paper towels will automatically soak up the extra moisture, leaving you with a puree that is less “liquidy.” I kill two birds with one stone by placing the paper towel-lined bowl on the digital scale, and weighing out the puree from there.

So which pumpkin spice sandwich cookie would I choose?
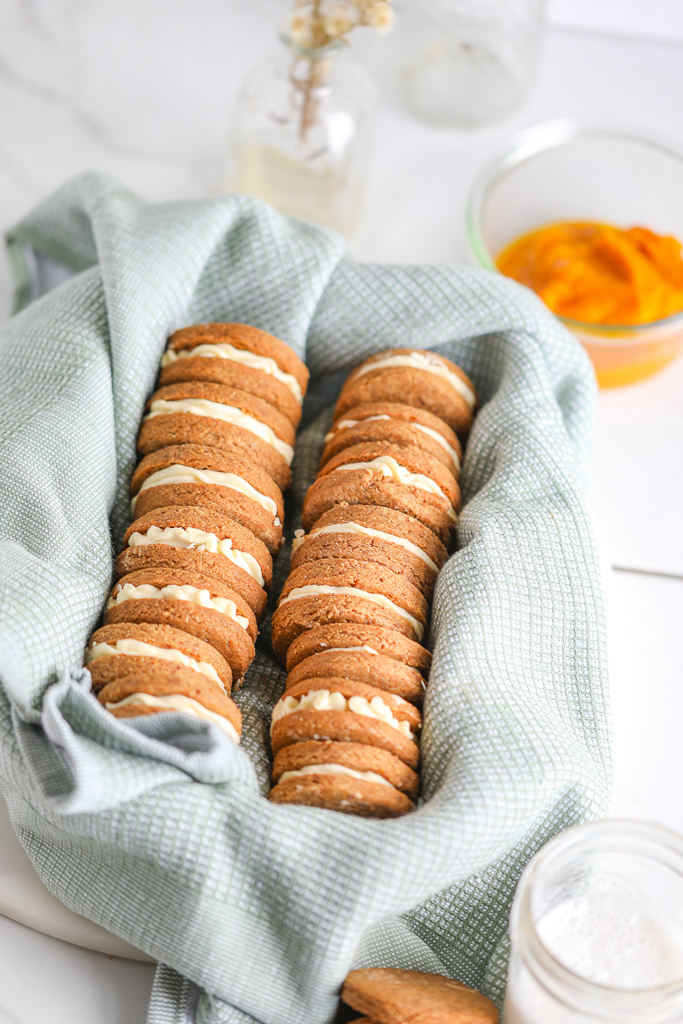
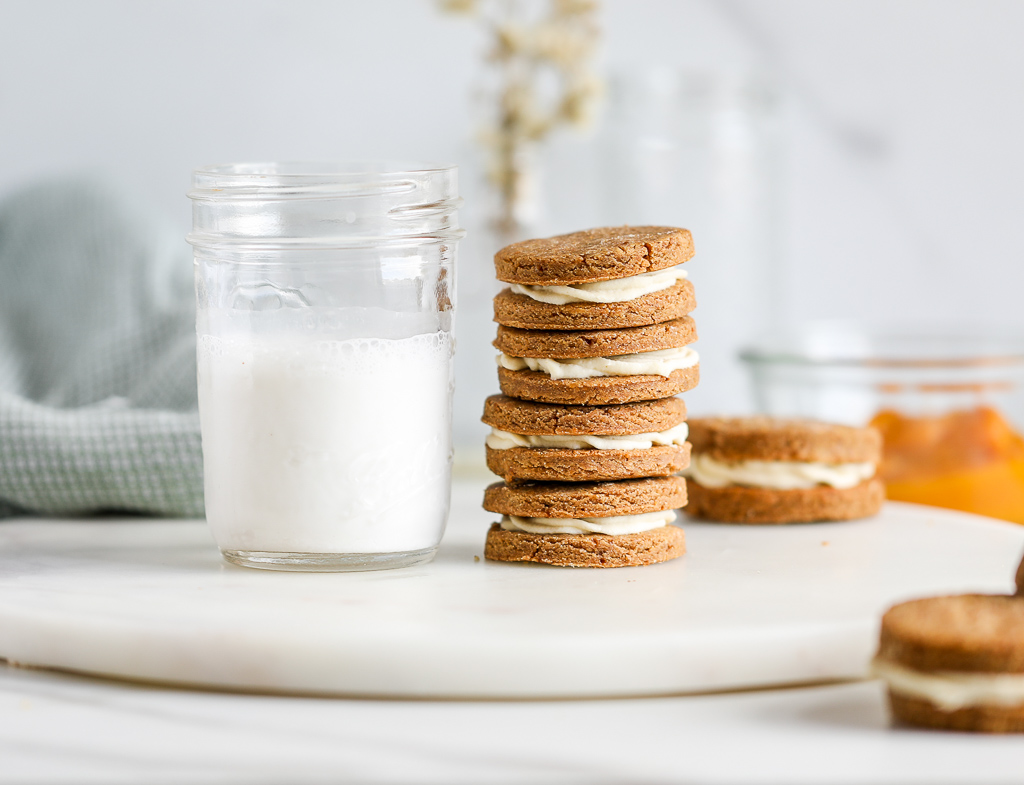
So you might be wondering – which pumpkin sandwich cookie would I choose? Or more importantly, which pumpkin spice sandwich cookie should you choose? This is an easy answer for me only because I am taking a break from eggs for digestive reasons. I will say the sandwich cookie with the egg yolk is softer and chewier; the vegan sandwich cookie with the maple syrup is a little sweeter yet crispier. I actually think the latter is balanced beautifully with the silky cream cheese frosting filling. Therefore, both my tastebuds and tummy prefer the vegan cookie.
Planning and prep
Refrigeration plays a couple of different roles in this recipe. First, once you make the dough, gather it into a ball, and wrap it in plastic wrap, you will need to chill the dough for 10 to 15 minutes in the refrigerator before rolling it out. Then – as I always advise with sandwich cookies – one you place the cut-out cookies on the baking sheet, you can stick the baking sheet back into the fridge for 10 to 15 minutes (or 5 minutes in the freezer) right before baking. This step further solidifies the coconut oil so it behaves well while baking (i.e. doesn’t cause the cookies to spread and lose their shape). This isn’t necessary, but if you find that your cookie rounds lost their shape in the oven, this is why. Finally, if you are in fact making the frosting, and turning the cookie rounds into sandwich cookies (as opposed to eating them as singles), you will have to let the cookies completely cool before placing the frosting in the middle. Otherwise, the frosting will melt. You can enjoy them right after they are sandwiched, or placed them back in the refrigerator to chill for another 30 minutes. I prefer mine cold!
How to make these pumpkin spice sandwich cookies completely dairy-free
Funny enough, I made the cream cheese frosting with grass-fed butter and vegan cream cheese. These are the two ingredients I had on hand. Feel free to use real cream cheese, vegan butter, or a combination of your choosing. I offer the options below in the recipe. To make the cream cheese frosting dairy-free, you will want to use vegan butter or palm oil shortening with vegan cream cheese (I find that Miyokos or Kite Hill brands work best).
Pumpkin Spice Sandwich Cookies With Cream Cheese Frosting
Equipment
- Rolling Pin or wine bottle
- Baking sheets
- plastic wrap
- 2-inch cookie cutter
- Hand beater or stand mixer
Ingredients
For the cookies
- 1½ cups gluten-free 1:1 baking flour like Bob's Red Mill brand; 222g
- ¾ cup granulated coconut sugar
- 2 teaspoons pumpkin pie spice
- ½ cup melted coconut oil
- ⅓ cup pure pumpkin puree at room temperature and blotted
- 2 tablespoons maple syrup or 1 egg yolk, at room temperature and lightly beaten
- 1 teaspoon vanilla extract
For the cream cheese frosting
- 1/2 cup grass-fed butter, vegan butter, ghee, or palm oil shortening room temperature
- 1/2 cup cream cheese or vegan cream cheese room temperature
- 1 cup powdered monk fruit like Lakanto brand
- 1 teaspoon vanilla extract
Instructions
- In a large mixing bowl, or bowl of a stand mixer, combine the gluten-free flour, coconut sugar, and pumpkin pie spice. Stir to blend.
- In a separate medium bowl, whisk together the melted coconut oil, pumpkin puree, maple syrup (or egg yolk), and vanilla extract until creamy.
- Pour the wet ingredients into the bowl with the flour mixture and beat until a dough is formed. The dough will be crumbly, but should hold together when you squeeze it.
- Using your hands, gather the dough into a ball and wrap in plastic wrap. Refrigerate for 10 to 15 minutes.
- Meanwhile, preheat the oven to 350 degrees F. Line baking sheets with parchment paper.
- Once chilled, place the ball of dough between two sheets of parchment paper. Use a rolling pin to roll out the dough until about 1/3- to 1/2-inch thick. If you don't have a rolling pin, you can use a wine bottle. Remove the top sheet of parchment paper.
- Using a pre-greased 2-inch circle cookie cutter (or cookie cutter of desired shape and size) cut out cookies, and use a pre-greased spatula to place them gently on the baking sheets. Do this until all of the dough is used up. You should have at least 20 to 22 cookies which will make 10 to 11 sandwich cookies
- Bake the cookies for 8 to 10 minutes until they have started to firm (they might still be soft to the touch, but they will continue to firm as they cool). Allow the cookies to completely cool before filling (1-2 hours).
- Make the frosting. In a large bowl, combine the butter and cream cheese. Using a whisk or a hand-beater (or hand-blender with the whisk attachment), cream together the butter and cream cheese until blended and fluffy, about 30 seconds. Add the powdered monk fruit and vanilla extract and blend again. Use your spatula to give the filling mixture a stir.
- Place 1-2 tablespoons of filling between two cookies and press them together until the filling reaches the edges of the cookies. Continue to do this until all of the cookies have been filled. Keep the cookies in the refrigerator.