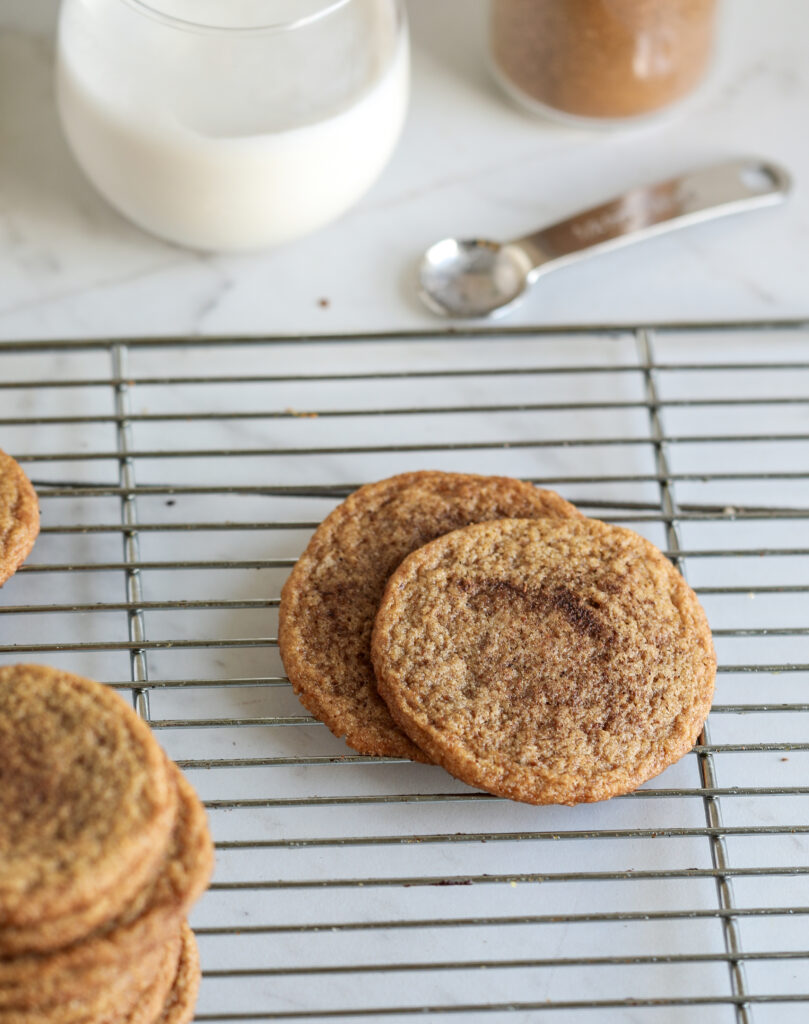
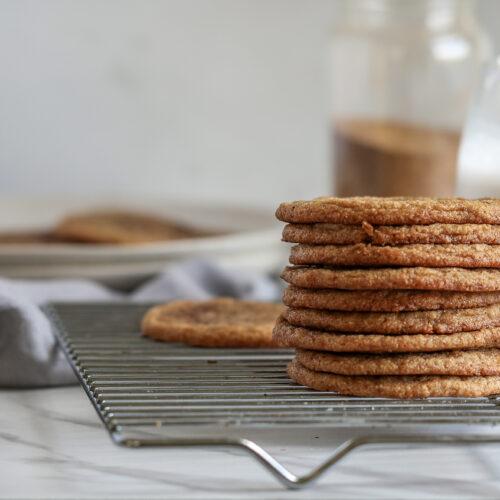
It wasn’t until adulthood when I had my first real snickerdoodle. Before that, I had only had the store-bought version, and those just don’t hold a candle to a homemade cookie. Although I am a chocolate lover, there is something so satiating about these sweet, soft, and cinnamon-y snickerdoodles. They remind me of the holidays, but are fun to bake at any time of year.
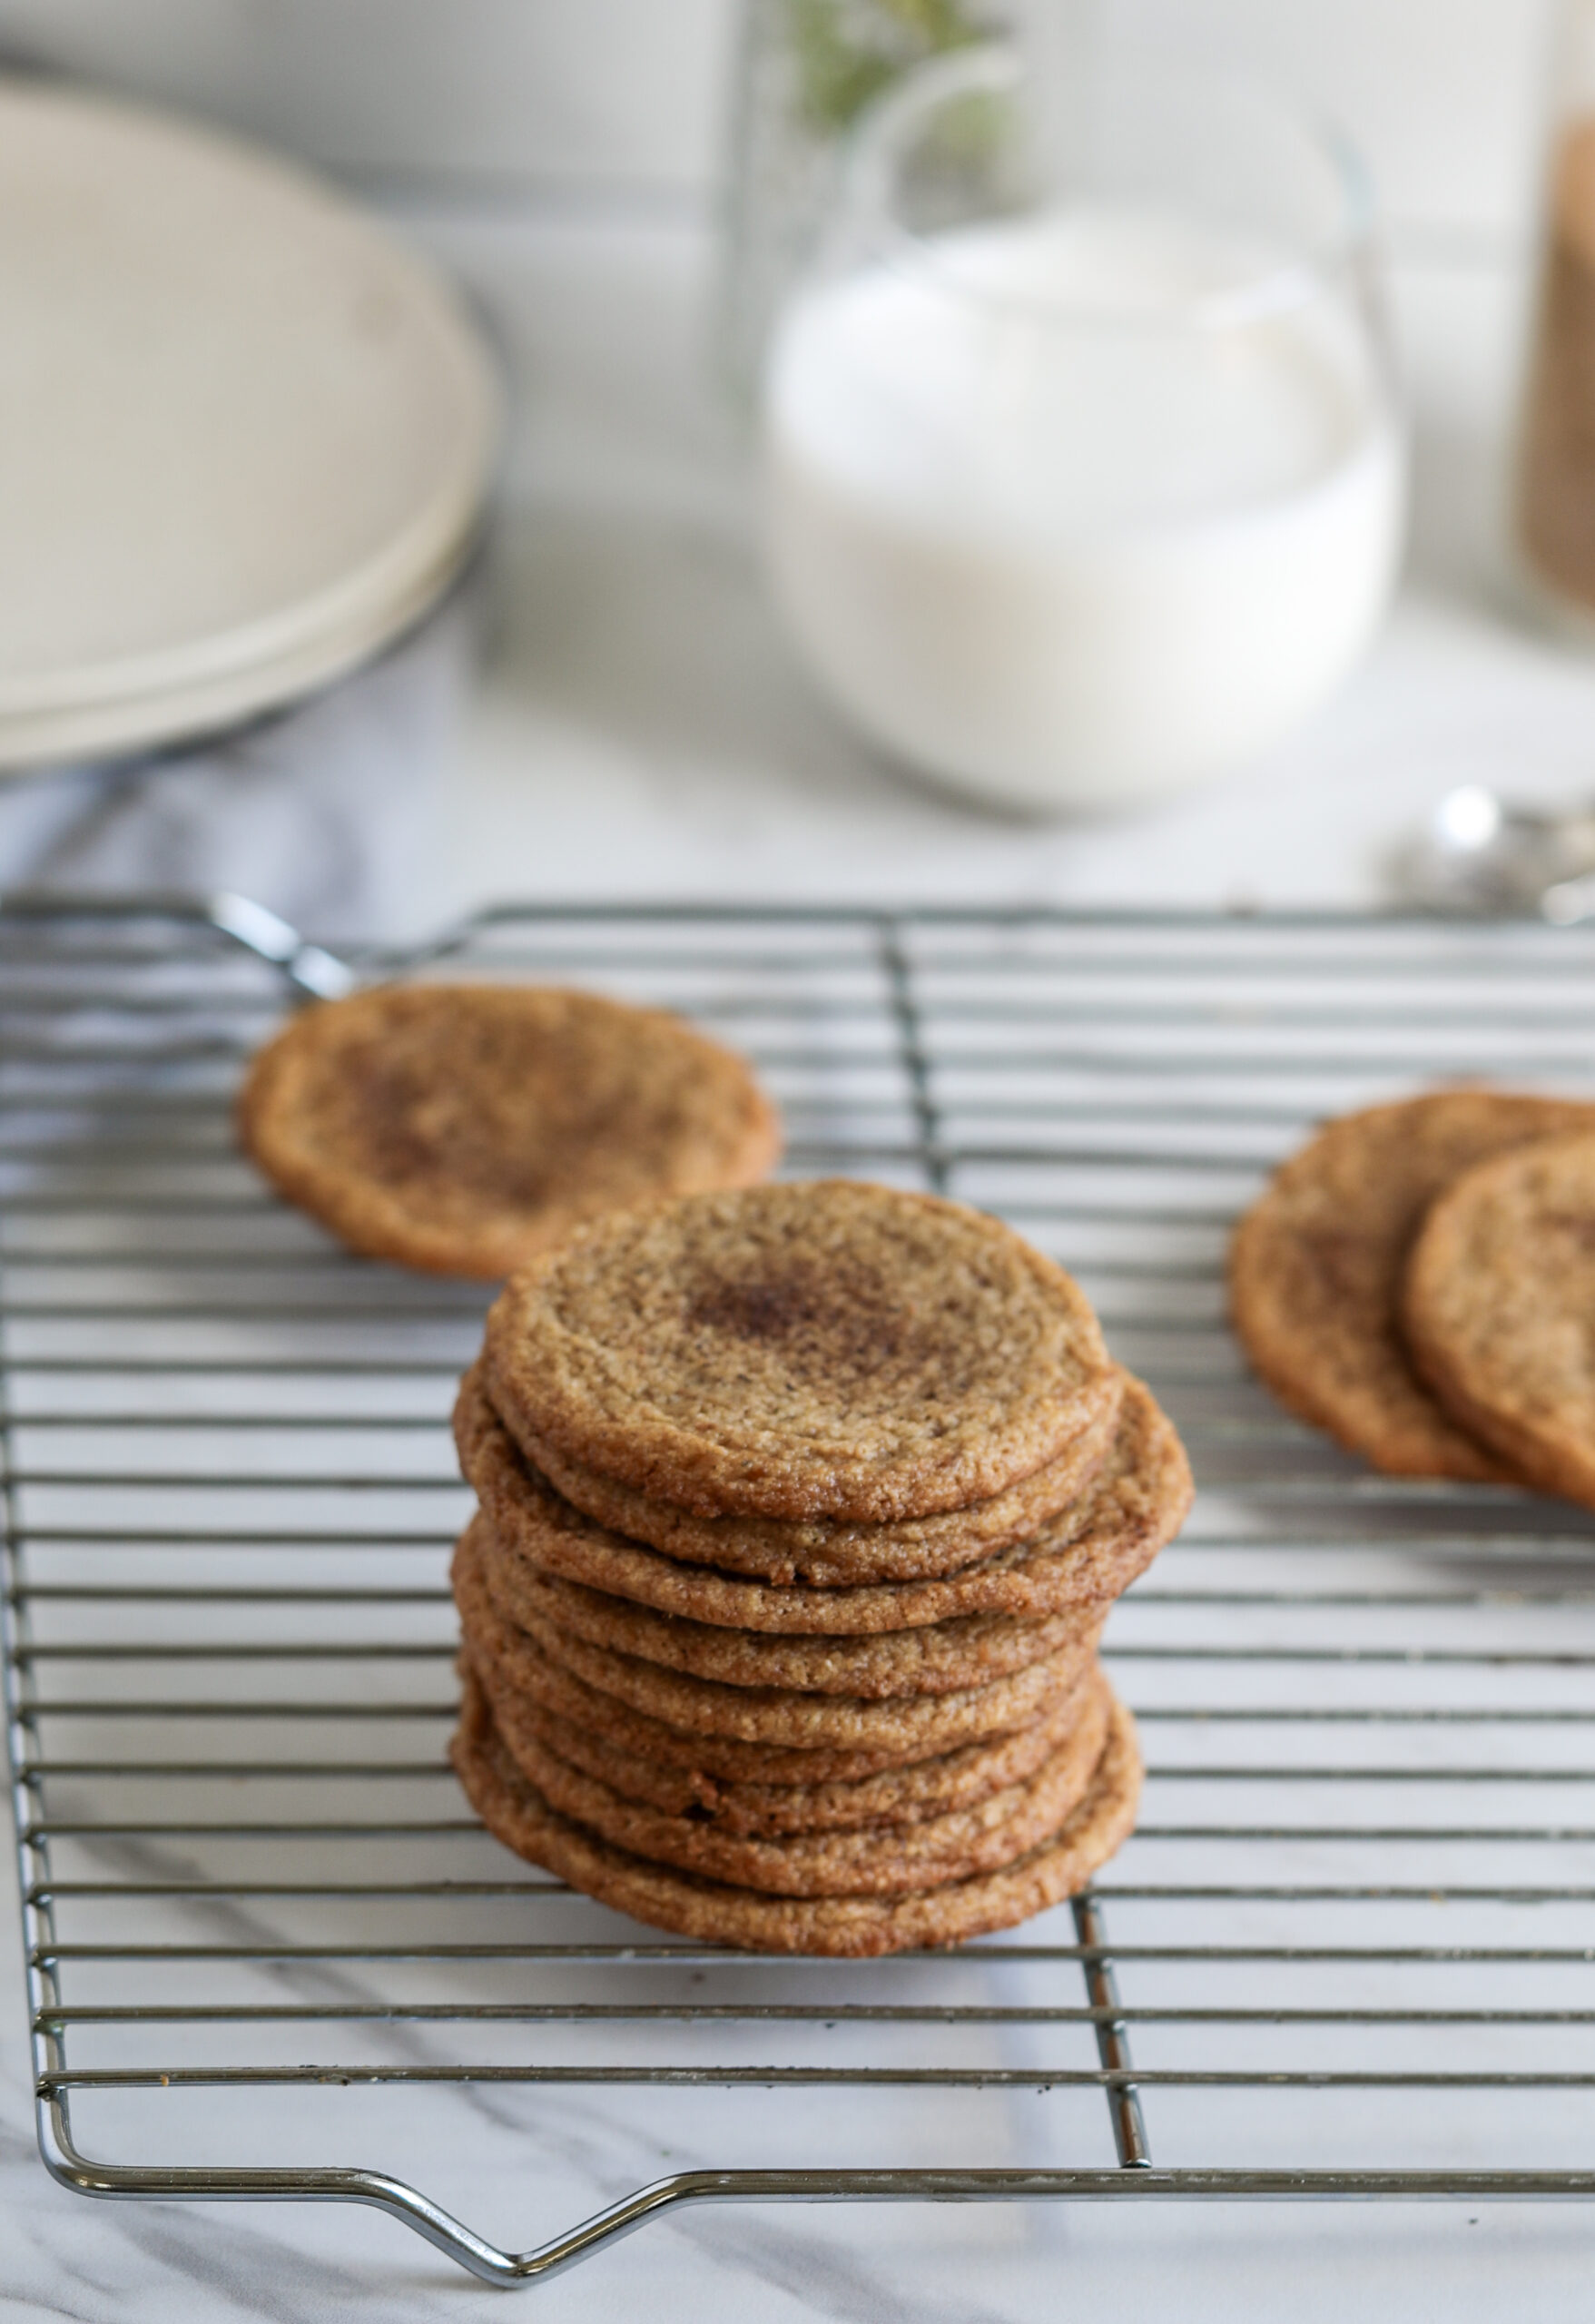
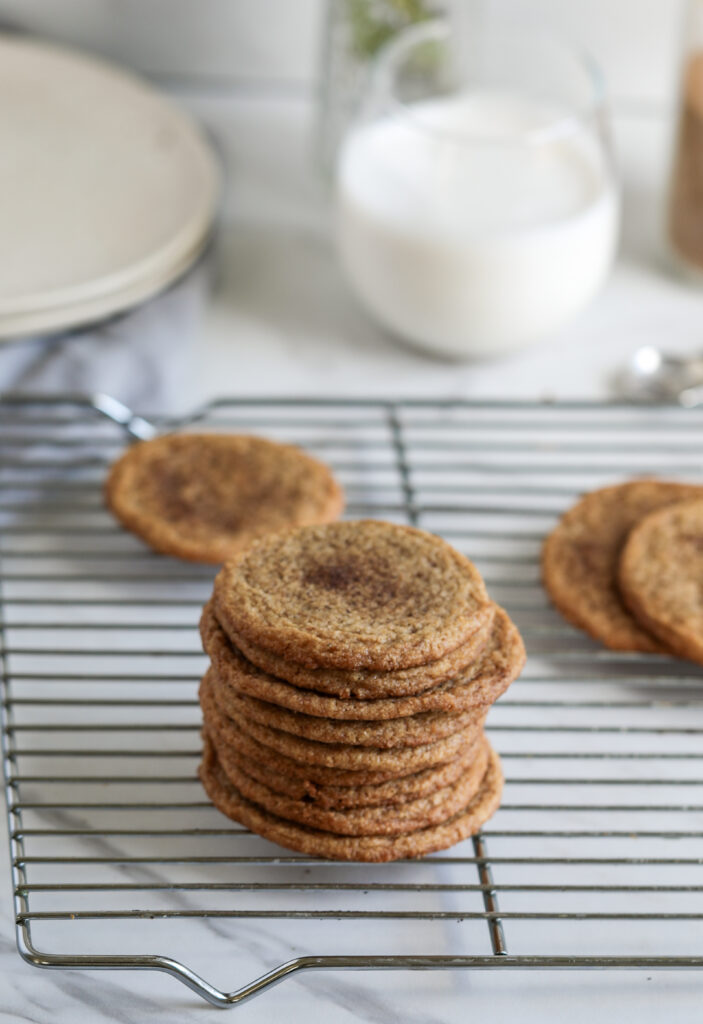
Someone once baked and brought me grain-free snickerdoodles and I was blown away by how delicious and soft they were. I felt compelled to capture them with my camera (as I do, since baked goods are my favorite subject), and you can see those photos below:
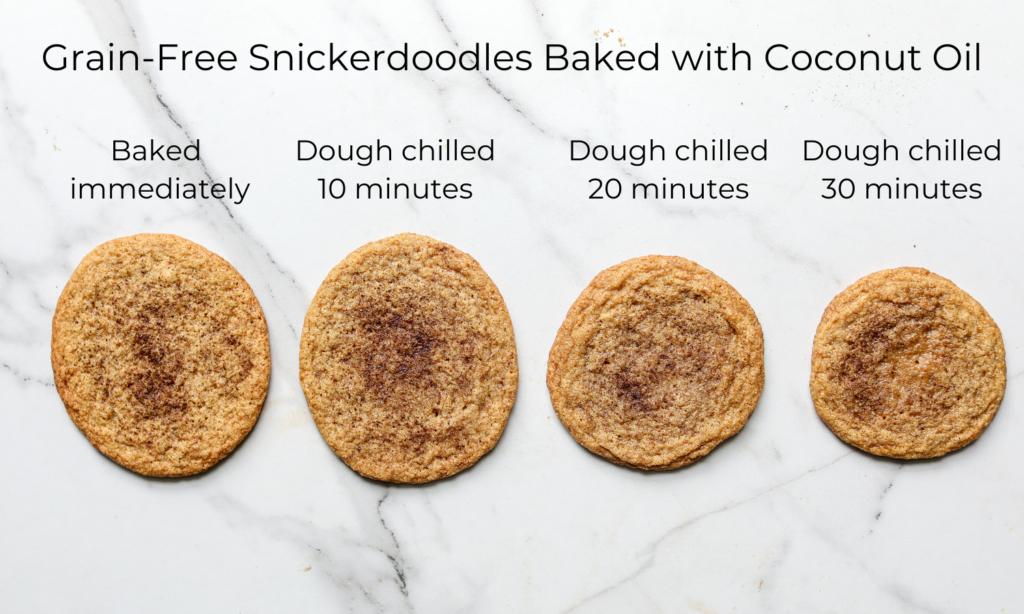
I was flipping through all of my cookie recipes on Healthified recently, and I decided that these cookies needed a refresh. I hadn’t actually tested them in my home kitchen, so I wanted to make sure the recipe worked. The first thing I noticed from the original written recipe was there was a lack of chilling the dough before baking. When it comes to grain-free baking, normally chilling the dough is a necessity. Due to the delicacy of working with almond flour and coconut oil, my experience with baking with these two ingredients told me the dough would need to be chilled to get a desired result. So I experimented! You will see below that the longer the dough is chilled before baking, the less the cookie will spread in the oven. This is because refrigeration solidifies coconut oil, which then affects the end size and shape of the snickerdoodle. I love a chewier cookie with a bit more height, so chilling the dough is a step I am going to take when baking snickerdoodles. If you like a thinner, larger cookies, bake your batch immediately.
Refrigeration as a natural binder
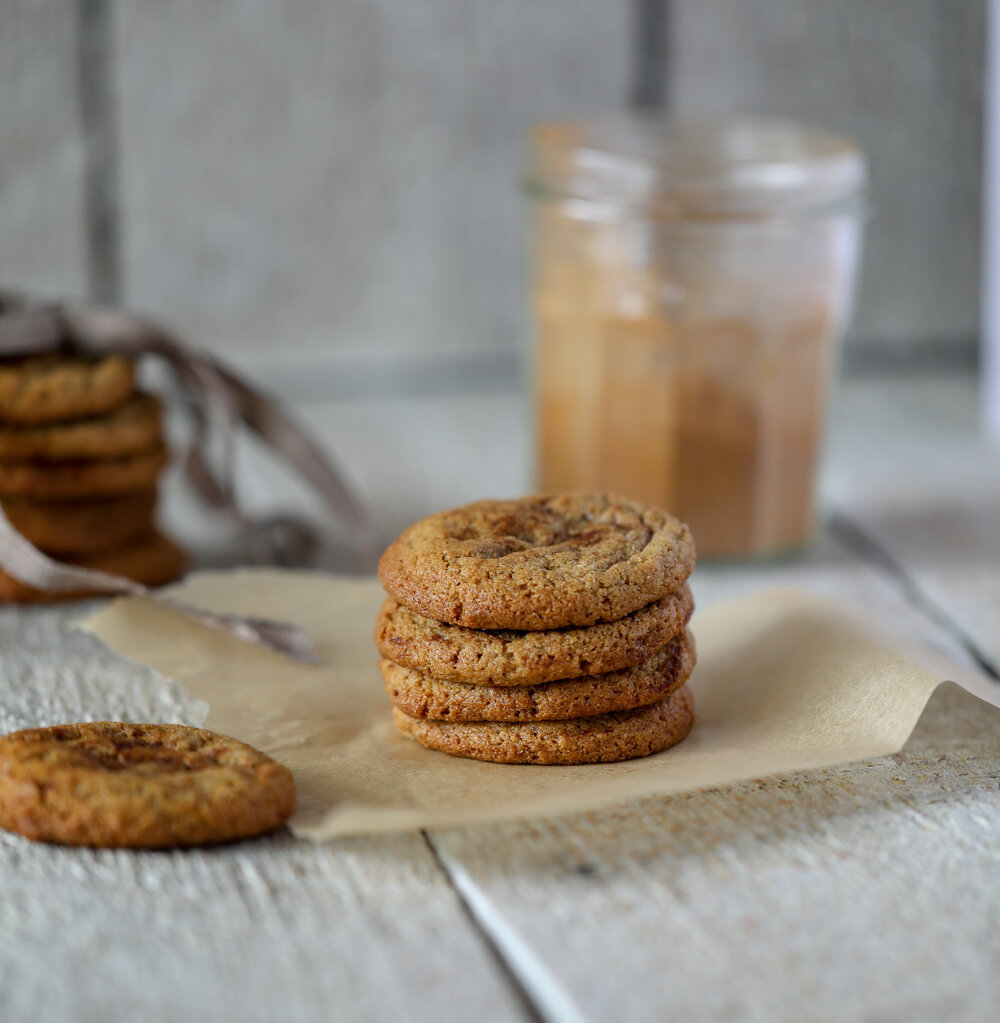
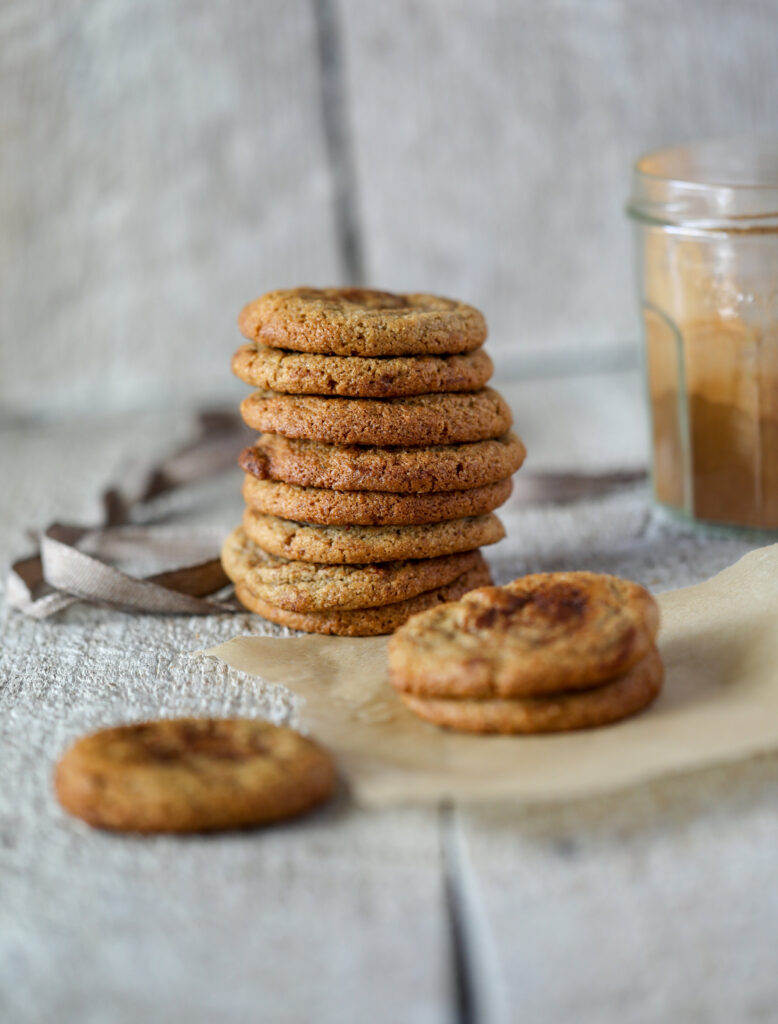
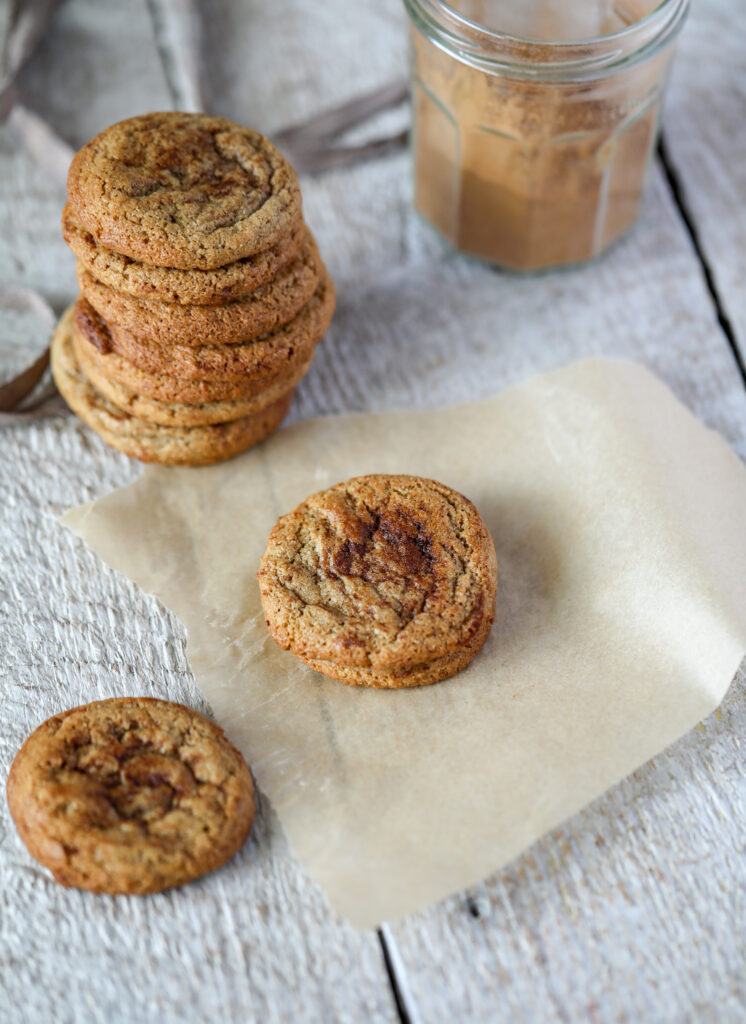
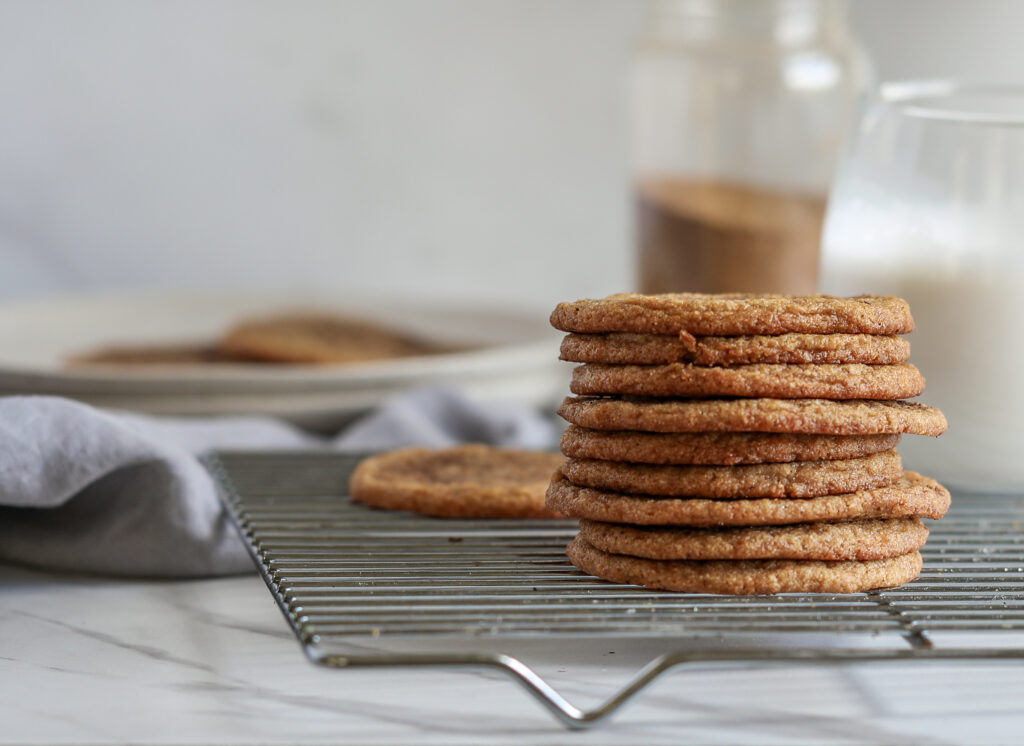
These cookies are still soft and delicate. You need to handle them a little more carefully after they cool. Remember, in a traditional cookie recipe, gluten provides structure and “stickiness,” and these cookies are not only gluten-free, but grain-free as well. Some gluten-free flours that are still derived from grains – such as brown rice flour, oat flour, quinoa flour for example – provide more stability than grain-free flours. Almond flour is a delicate flour to work with. The egg in this recipe does provide a binding effect, and because coconut oil is also incorporated, you can use refrigeration as an additional natural binder. Coconut oil is a fat that solidifies when cold, so its binding abilities not only occur when you chill the uncooked dough before baking, but also transferring the baked cookies to the refrigerator or even the freezer – and storing them cold – will give them more firmness than if they were to be kept at room temperature.
How I Healthified these snickerdoodle cookies
This recipe is grain-free and more blood sugar balancing, made with almond flour and coconut sugar for a lower-glycemic option. For the fat, I tested these cookies with both coconut oil and butter, and I explain more about the differences below (see “Oil vs. Butter”). The list of ingredients is minimal and drastically healthier than traditional recipes and even store-bought, gluten-free counterpart cookies. A note on using cream of tartar: traditional snickerdoodles include cream of tartar, also known as potassium bitartrate, and is primarily a byproduct in making wine. It is considered natural, I just didn’t have any in my pantry. If you do have some on hand, and would like to use it in your snickerdoodles, add 1/2 teaspoon to your mix of dry ingredients.
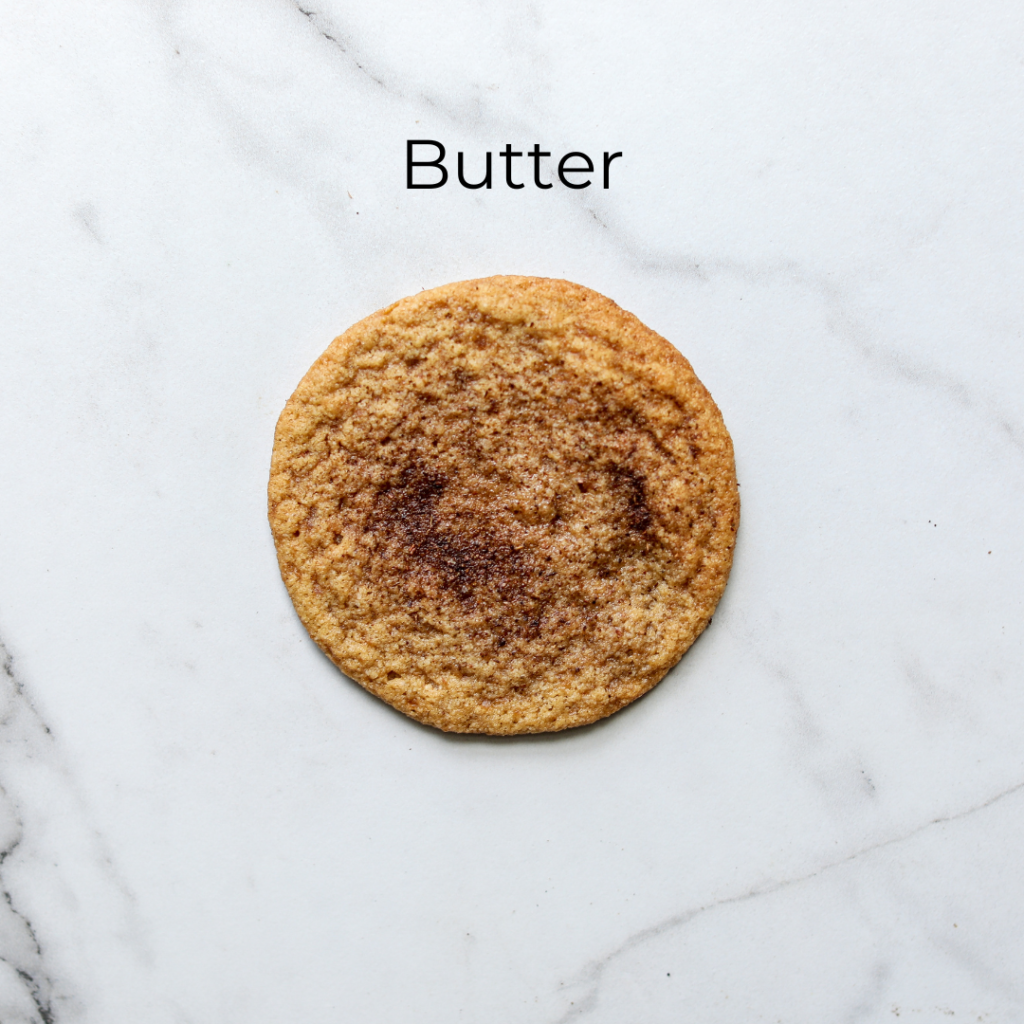
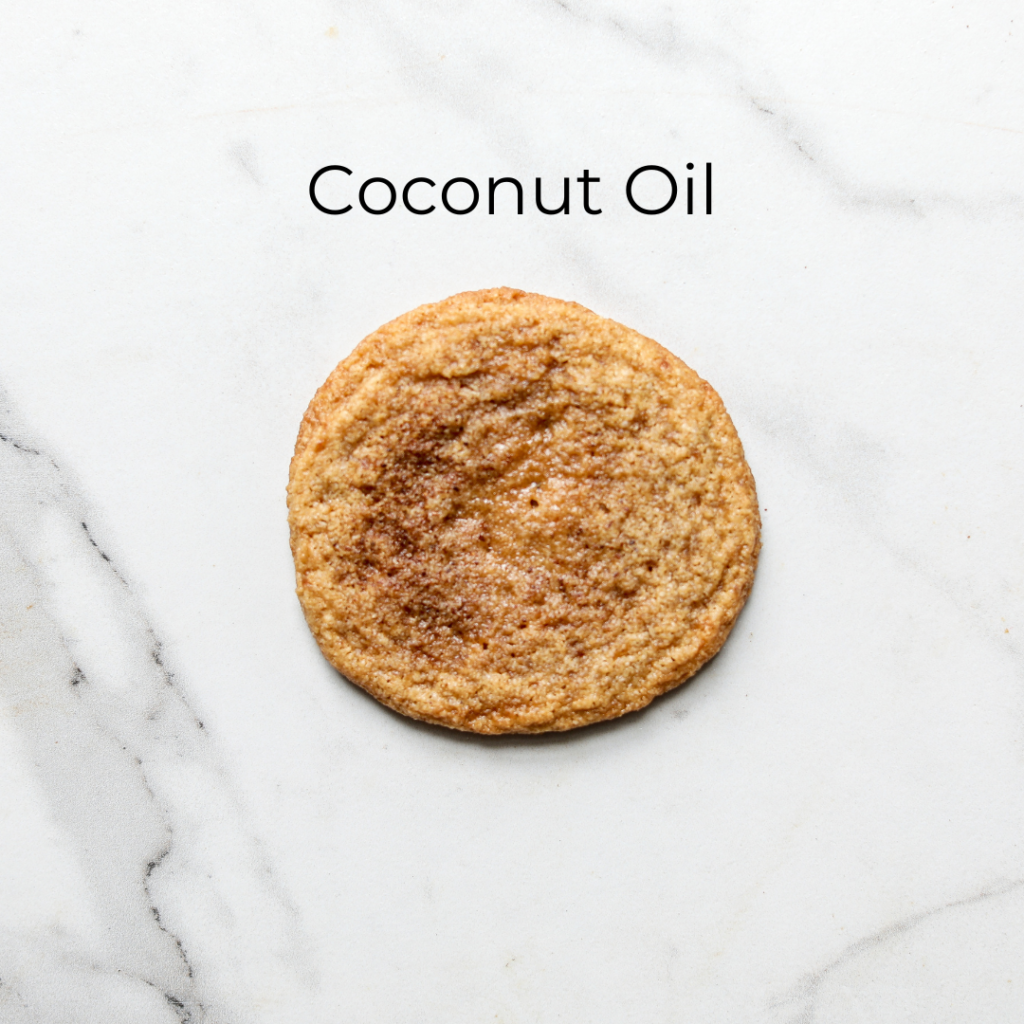
Butter vs. Coconut Oil
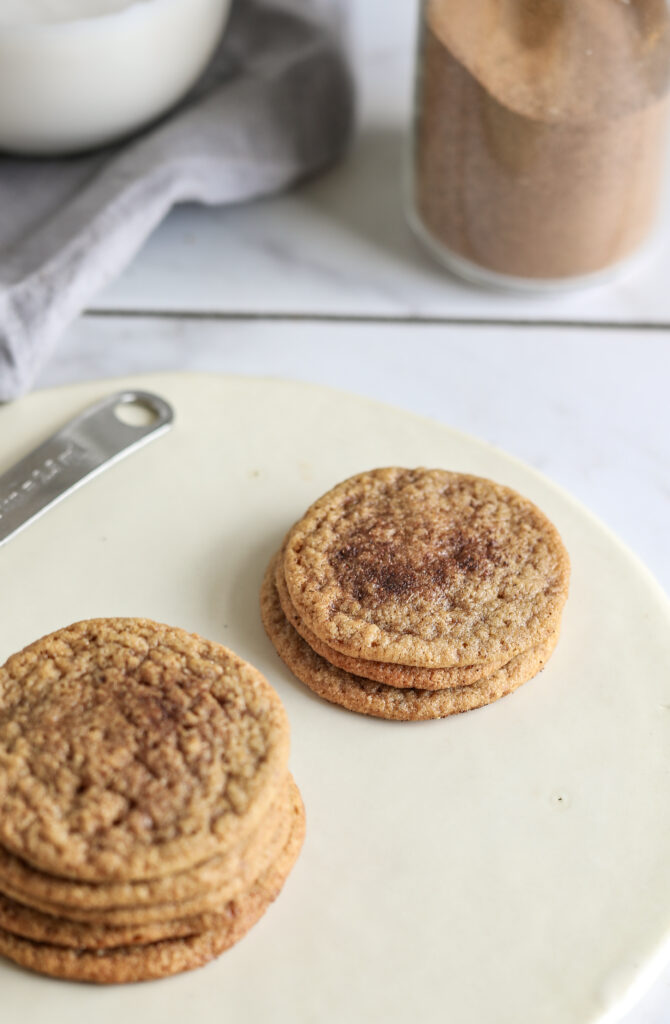
I tested these cookies using both coconut oil and butter. I honestly didn’t notice a huge difference across taste, texture, size, or shape. I did notice that the cookies with butter were a bit more soft after baking, and therefore more delicate to handle. As mentioned above, both recipes will firm when completely cooled, and refrigeration acts as a natural binder for both butter and coconut oil (because both fats become more solid when cold). There also may be a slight difference in color, with the butter providing more of a golden brown hue, while the coconut oil cookie is more light and pale. The snickerdoodle cookie with butter may have a creamier mouthfeel, although unless you are a professional cookie taste tester, you probably would not be able to notice this difference. This is good news for those of you with dairy intolerances or following a Paleo diet. You can use coconut oil knowing it’s basically the same than if you were to have used butter. Cookie cheers to that!
Planning and prep
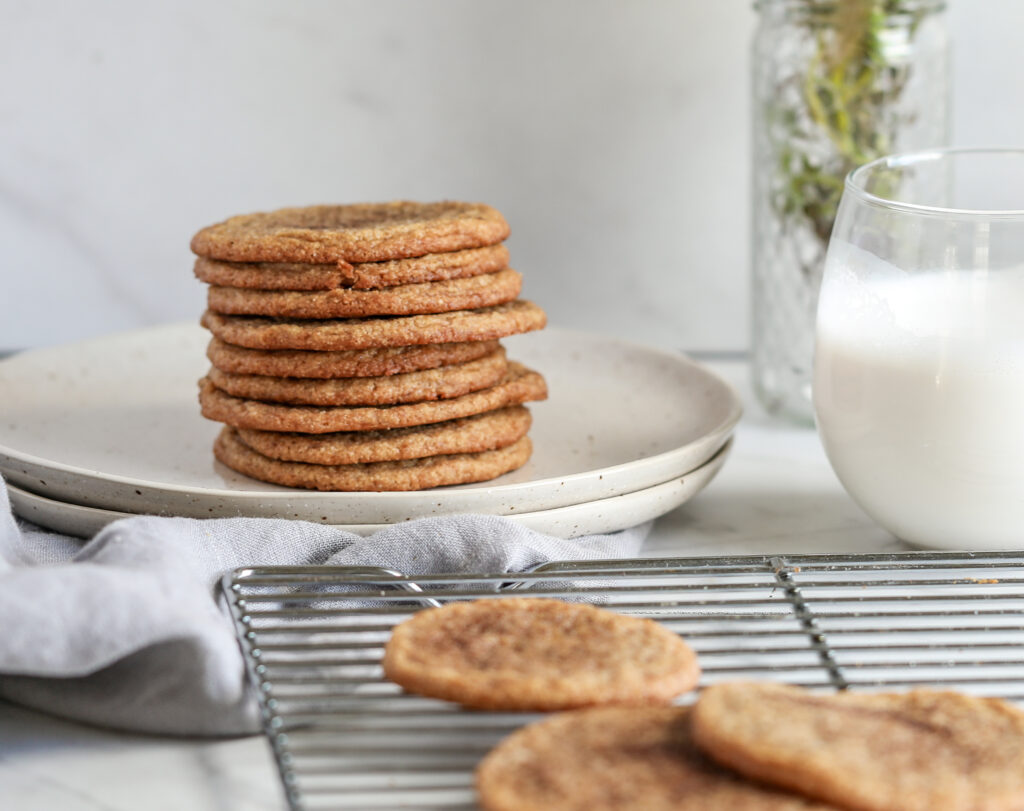
The directions cue you to bring your egg and (if using) the butter to room temperature. Just be sure to take these ingredients from the fridge an hour before baking. You will also need to chill the dough 20 to 30 minutes before baking, and allow the cookies to cool completely before handling. Give this at least an hour, ideally two. Then transfer the cookies to the refrigerator to more fully firm. The longer you do this, the more stable they will be when you are ready to eat them. To save on time, you can place the cookies in the freezer for 30 minutes and they should be ready to go.
The last thing I will say is that I didn’t notice a difference in spread when the cookies were dropped on the baking sheet versus when I rolled them into balls by hand. For my final batch, I did roll the dough in smaller and tighter balls because I wanted a chewier cookie with a bit more height (less spread), and this worked well. Also, if you forget to sprinkle your balls of unbaked snickerdoodle dough with cinnamon as I did multiple times, you can sprinkle the baked cookies with cinnamon *right* when they come out of the oven, and this will do the trick. Enjoy!
Snickerdoodle Cookies {Grain-Free, Vegan Option}
Equipment
- Baking sheets
- Hand beater or stand mixer
- Mixing bowls
Ingredients
- 1½ cups almond flour
- ¼ teaspoon baking soda
- ⅛ teaspoon sea salt
- ½ cup coconut oil or grass-fed butter* room temperature. See note.
- 1 cup coconut sugar
- 1 large egg room temperature
- 1 teaspoon vanilla extract
- Ground cinnamon for dusting
Instructions
- In a medium mixing bowl, combine the almond flour, baking soda, and sea salt. Stir to blend.
- In a separate large bowl, or bowl of a stand mixer, beat together the coconut oil and coconut sugar until light and fluffy, about 2 minutes. Beat in the egg and vanilla extract.
- Gradually beat in the flour mixture until a dough is formed. Chill the dough in the refrigerator for 20 to 30 minutes (the more you chill, the less the cookies will spread. See note).
- Once chilled, roll the dough into balls, either by hand or with a cookie scoop. Place on the balls of dough on the parchment paper lined baking sheet at least 2 inches apart. Dust with cinnamon. Bake for 8 to 10 minutes. Allow the cookies to completely cool on the baking sheet as they will firm as they cool. Store in the refrigerator.
Notes