The first time I attempted to Healthify the Boston Cream Pie was about ten years ago. Knowing this recipe was not really a pie at all, but basically a custard-filled yellow cake iced with chocolate frosting, I set out to create what I thought looked like the traditional desert. I baked an almond flour cake, slapped some cashew cream in between, and topped it all with some chocolate icing. Oh, and I used mashed banana in place of a liquid sweetener in the cake, so it didn’t really taste like cake at all, but rather banana bread. When I shared it at a dinner that night, a family friend asked me “What made you think this would taste like Boston Cream Pie?” She was a bit older and probably had lost her filter decades prior. I remember being offended at the time, but also learned a valuable lesson in recipe recreating.
It was then that I realized when Healthifiying recipes, I can’t just create something like looks like the traditional version, it has to taste like it too. For this particular recipe, that meant upgrading ingredients where I was able, and turning to real butter and eggs when I needed to. I have shed the belief that butter is “bad,” and enjoy it every day. I have also lost five pounds since doing so and finally gotten back to me pre-pregnancy weight. Not that it is about the number on the scale mind you, but riddle me that. A different story for another day.
The original reason I wanted to recreate the Boston Cream Pie is due to nostalgia; it was one of my dad’s favorite desserts, and I have many memories of enjoying it as a family. I wanted to bring it back into my life in a more blood sugar balancing way. But recreating the custard in a healthier always tripped me up. Until now.
I have to give credit to Carolyn Ketchum’s cookbook The Ultimate Guide to Keto Baking for giving me the confidence to try again. The custard was inspired by her pastry cream, and it turned out so beautifully. I know I will be baking this for years to come!
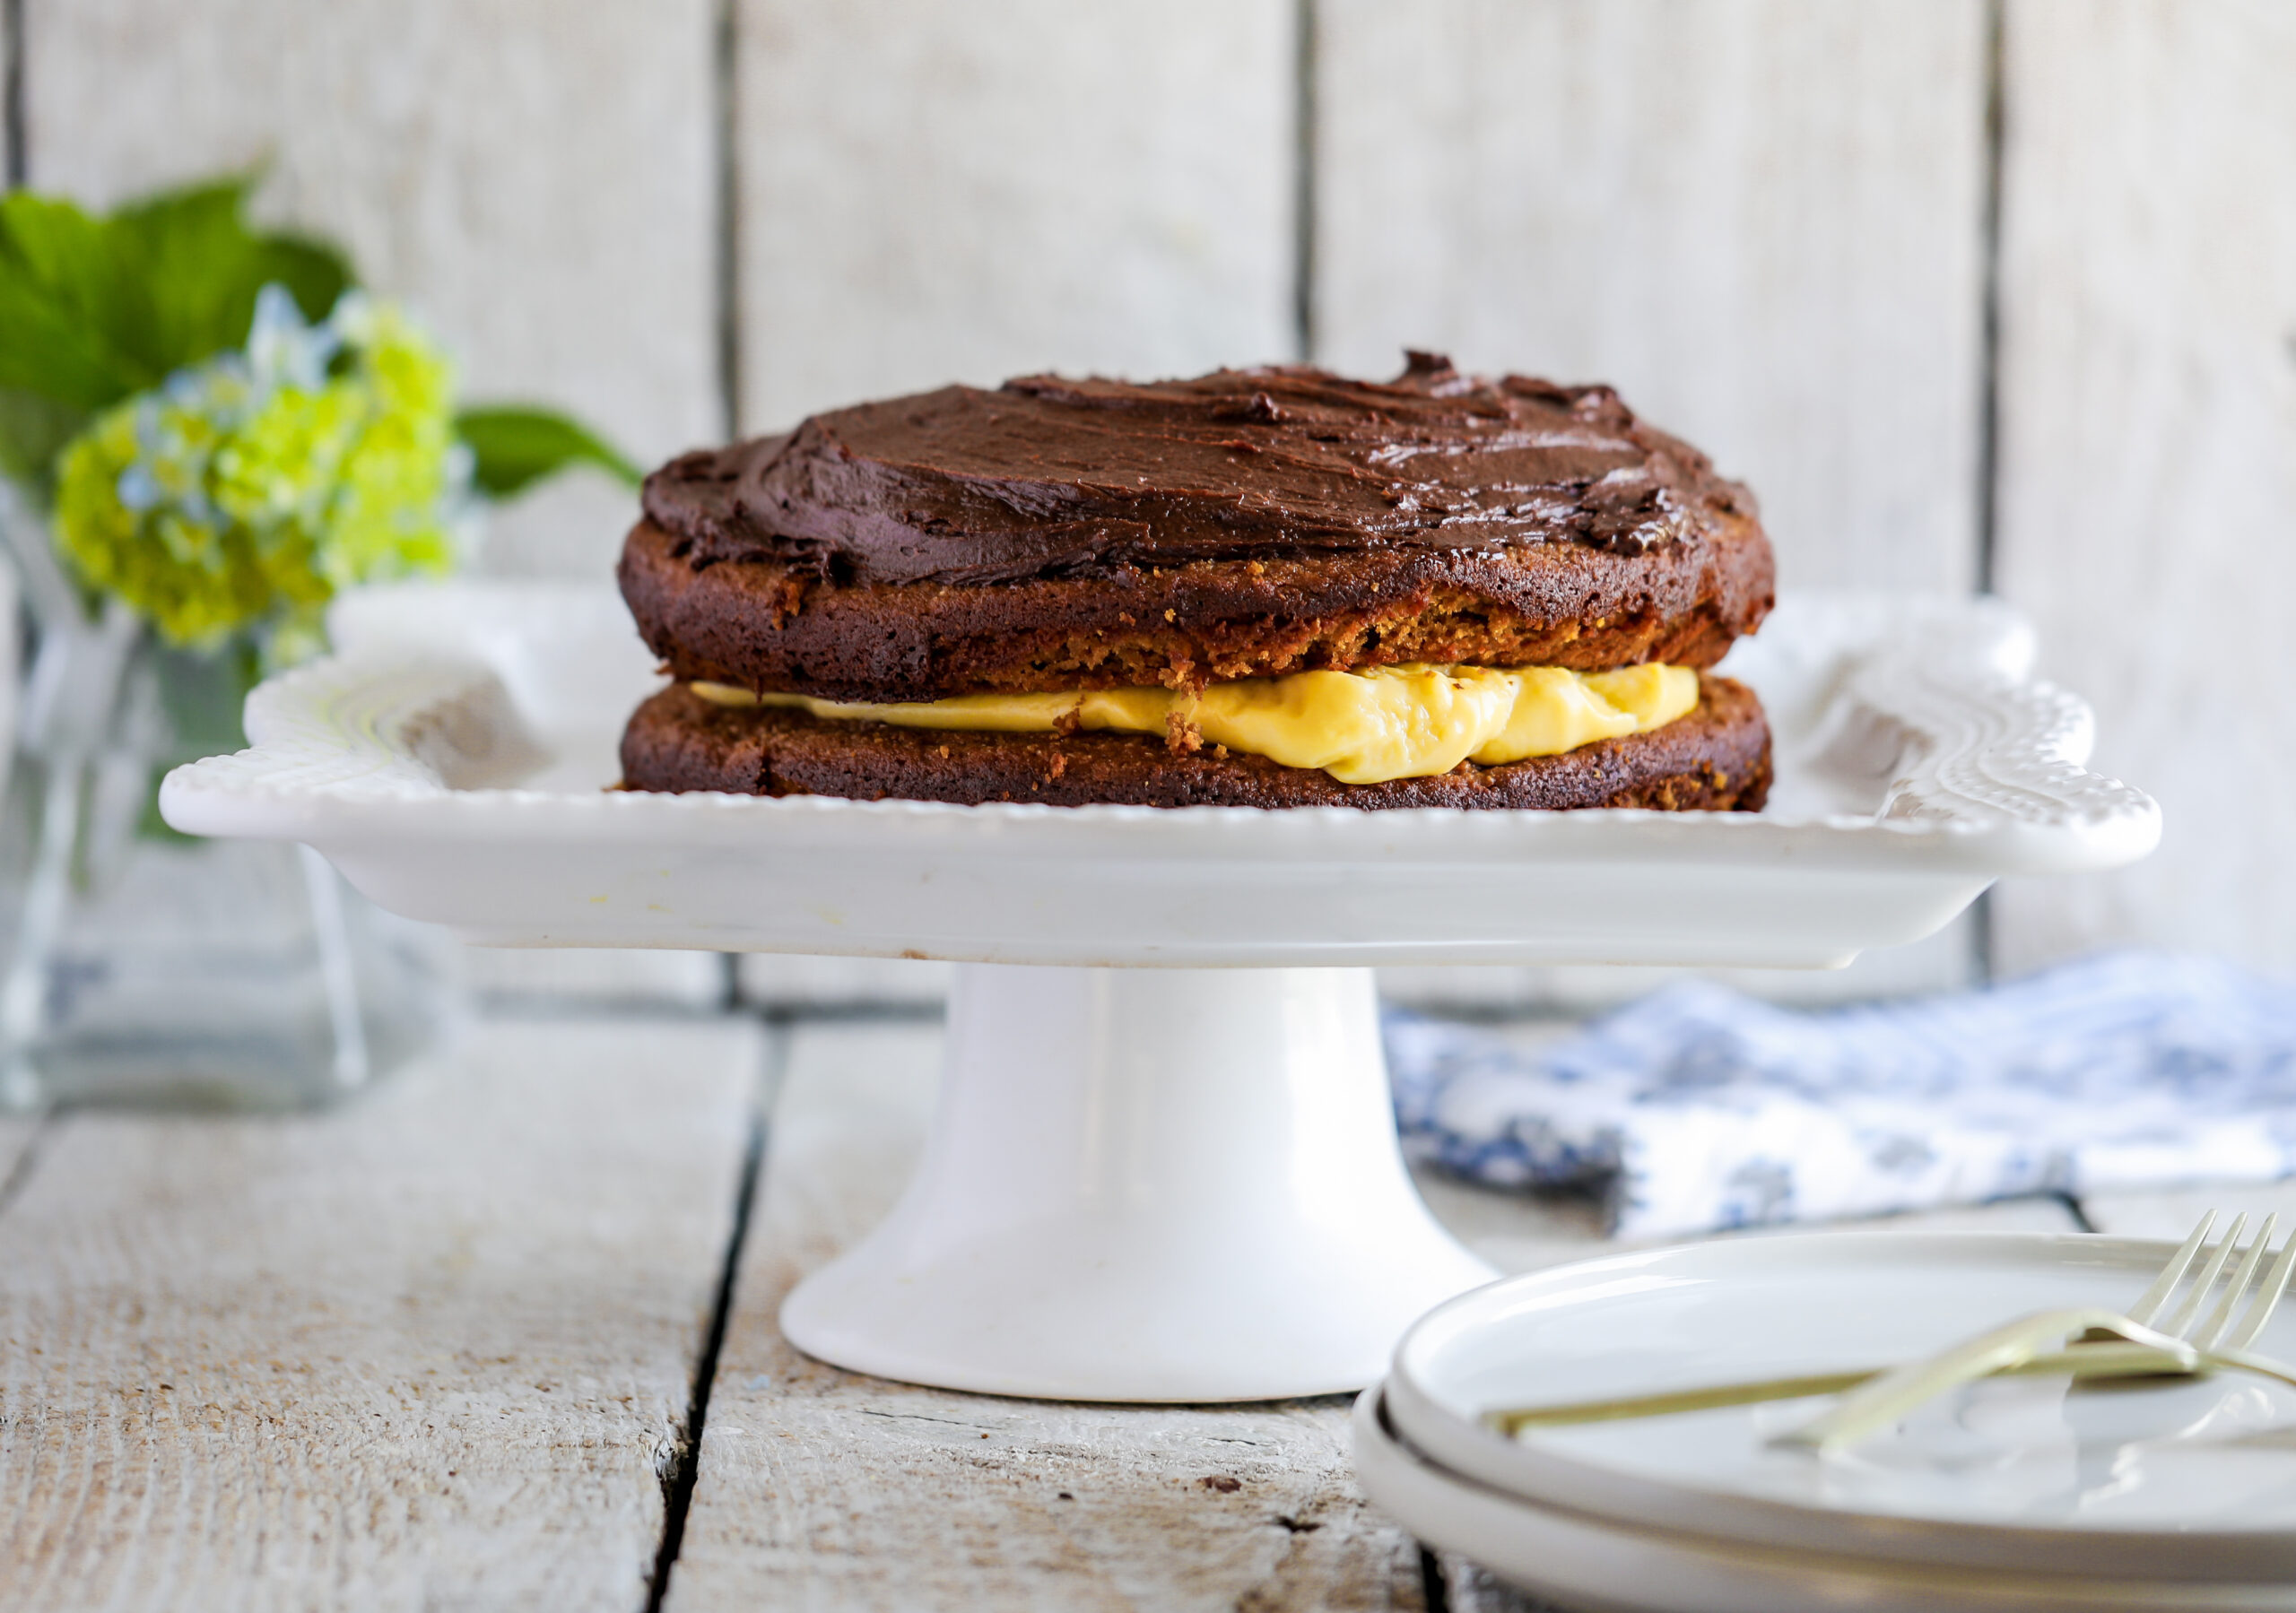
I will say this is one of the more complex cakes I have made. It did take some care and patience in its preparation. I made the cakes and frosting the day before, and the custard the next day when ready to enjoy. The first time I tested this recipe, i made the custard a day in advance. It is suggested you refrigerate it in the bowl with plastic wrap touching the surface, but I found that even bringing it back to room temperature the next day, it didn’t quite return to its prime consistency. That is why I strongly suggest waiting until the day you are going to eat this dessert to make the custard.
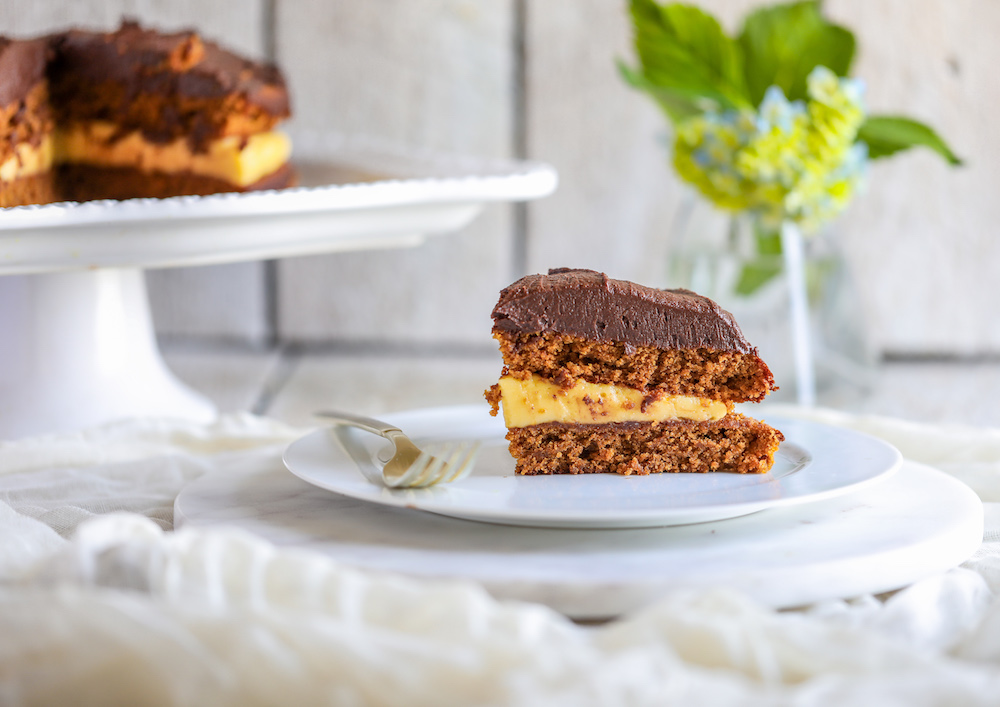
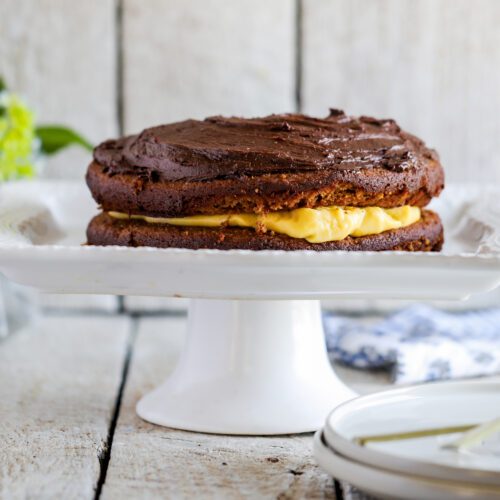
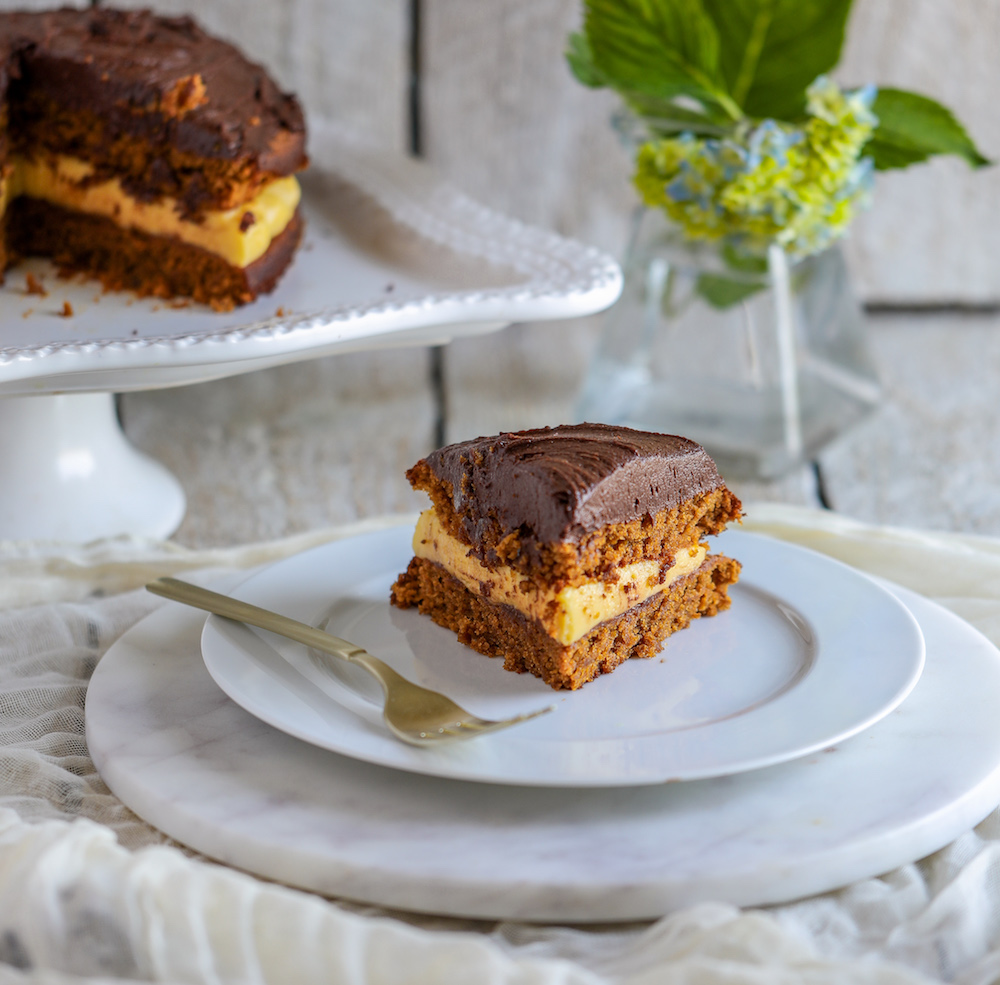
Boston Cream Pie {Gluten-Free, Grain-Free}
Equipment
- 2 (8-inch) round springform cake pans
- hand mixer or stand mixer
- Mixing bowls
- Small saucepan
Ingredients
For the cake
- 3 cups almond flour
- 3/4 cup coconut sugar
- 1 teaspoon baking powder
- 1/2 teaspoon baking soda
- 1/4 teaspoon sea salt
- 1/3 cup coconut nectar or maple syrup
- 1/3 cup unsweetened applesauce
- 3 eggs, beaten
- 1 teaspoon vanilla extract
For the vanilla custard
- 1 cup coconut cream* see note
- 1 tablespoon gelatin I used Vital Proteins brand
- 3 egg yolks
- 1/3 cup powdered erythritol sweetener like powdered monk fruit or use powdered sugar
- 3 tablespoons unsalted grass-fed butter cut into pieces
- 2 teaspoons vanilla extract
- 1 teaspoon arrowroot starch
For the chocolate frosting
- 3/4 cup coconut oil room temperature
- 3/4 cup grass-fed butter, vegan butter, or palm oil shortening room temperature
- 1/2 cup raw cacao powder or cocoa powder
- 1/2 cup powdered erythritol sweetener like powdered monk fruit or use powdered sugar
- 1/4 cup arrowroot starch or tapioca flour
- 1 teaspoon vanilla extract
Instructions
- Make the cake. Preheat the oven to 350°F. Spray 2 (8-inch) round springform cake pans with cooking spray.
- In a large bowl or stand mixer, mix the almond flour, baking powder, baking soda, and salt. Stir to blend.
- In a separate medium bowl, whisk together the eggs, applesauce, coconut nectar or maple syrup, and vanilla.
- Pour the wet ingredients into the bowl with the flour mixture and beat until a batter is formed.
- Evenly distribute the batter between the prepared cake pans, smoothing on top with a spatula until it reaches the sides. Bake for 25 to 30 minutes until a toothpick inserted into the center comes out clean. Allow the cakes to completely cool in the cake pans before incorporating the custard and frosting.
- Make the custard. In a small saucepan over medium heat, slightly warm the coconut cream, about 1 minute. Add the gelatin and whisk vigorously until dissolved. Bring to a simmer. If there are still clumps, that is OK, they should dissolve eventually.
- Meanwhile, whisk together the egg yolks and powdered sugar. Once the coconut cream and gelatin mixture is simmering, add half to the yolk and sugar mixture and whisk to combine. Pour it back into the saucepan and whisk until everything is creamy. Continue to cook until slightly reduced, whisking constantly, about 4 minutes. Be sure to watch the saucepan, the mixture can heat quickly and the egg can curdle.
- Remove from heat and whisk in the butter and vanilla extract. Add the arrowroot starch and whisk vigorously until dissolved. Alternatively, if there are still clumps, you can transfer the mixture to a blender and process until smooth. Transfer the mixture to a small glass or ceramic bowl. Allow to cool about 1 hour until thickened, stirring occasionally (**see note). Use immediately.
- To make the frosting, combine the coconut oil and butter (or vegan butter or palm oil shortening) in a large bowl. Beat with a hand mixer or immersion blender with the whisk tool until fluffy, about 1 minute.
- Add the cacao powder or cocoa powder, powdered sweetener, arrowroot starch or tapioca flour and vanilla extract and beat again until everything is combined. Use a spatula to scrape down the sides as you need to.
- Using a spatula, mix the frosting. Once ready to compile everything together, spread the vanilla custard evenly between the two cakes. Frost the cooled top cake, spreading the frosting evenly to the sides.