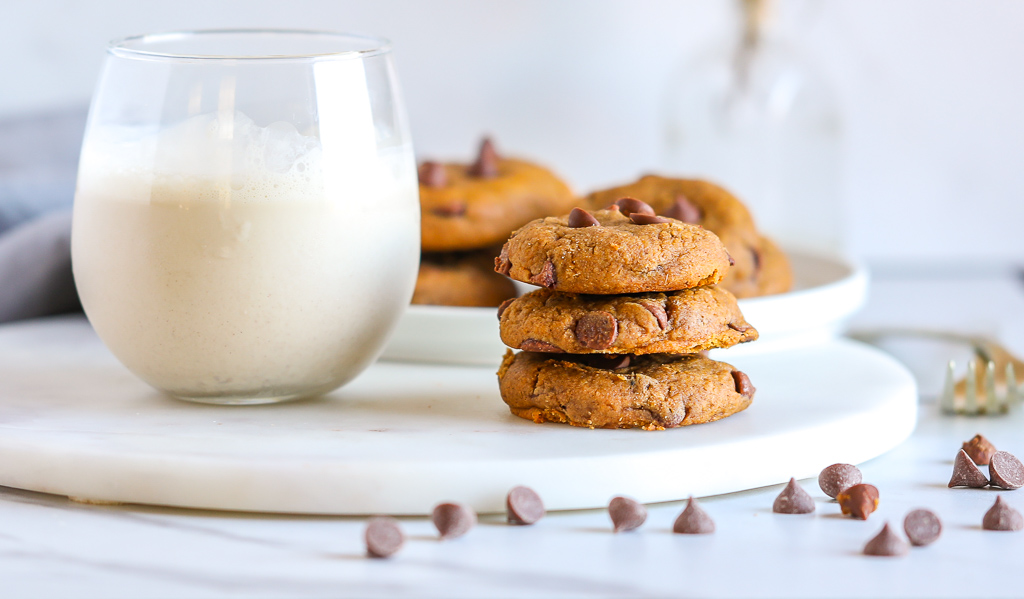
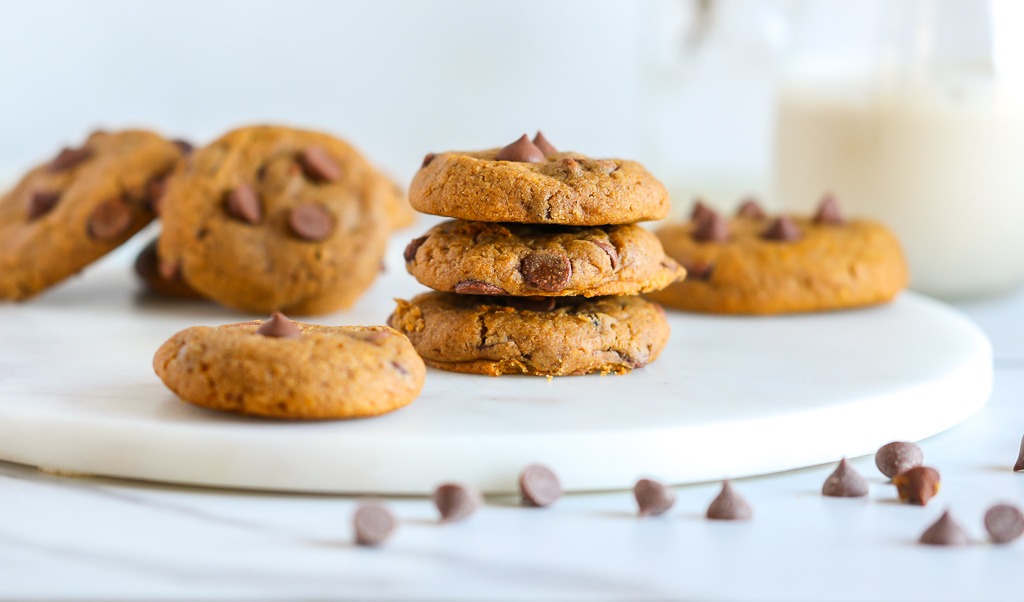
After so many recipe tests, this recipe tested me! I was going for a cookie that fired on all cylinders: taste, texture, consistency, so when my first few batches turned out too “cakey,” I was at a loss about what was going wrong. I was on a mission to get to the bottom of it right away.
Why cookies turn out too “cakey”
There is a time and place for “cakey” cookies. Think brownie cookies for example, or when you when you want a whoopie pie type sandwich cookie. I don’t know about you, but when it comes to a chocolate chip cookie – and all its delicious variations – I want a soft and chewy mouthfeel amidst dark chocolate chips with every bite.
Cookies will turn out too “cakey” when there is too much moisture. Knowing this, I am not too surprised my early recipe tests turned out that way. Pumpkin puree is an ingredient that adds moisture to any recipe, and is often used as an egg or oil replacement in plant-based baking. With my first attempts, I wrote the recipe with both oil and egg, and therein lies the problem. In traditional baking, egg yolks (rather than the whole egg) are known to add a chewy texture to any cookie, so I gave it a try. However, I think baking with a gluten-free flour mix must have affected the outcome, as they still didn’t turn out like I hoped.


How to make pumpkin chocolate chip cookies soft and chewy
I will refrain from taking you through all of my failed recipe tests, and rather focus on what worked.
In order to solve the pumpkin cookie puzzle, I needed to look at the recipe from all sides: flour, fat, and sugar. I used my Healthified homemade gluten-free flour blend, so that was a constant in this experiment (but know that you can also use Bob’s Red Mill Gluten-Free 1:1 Baking Flour); therefore, the fat and sugar were variables and needed some slight tweaks.
Fat. Coconut oil is a challenging fat to bake cookies with, given how it behaves both in the mixing process and in the oven. It was what I was using early on as a substitution for melted butter. So I thought why not use melted vegan butter instead? That did the trick! I love the Miyokos brand, and believe it to be the cleanest option out there.
Sugar. This recipe calls for a combination of granulated allulose and coconut sugar. These two sweeteners differ in their density and hygroscopicity, so I knew I needed to look at their ratio in the recipe. I had been using more coconut sugar than allulose (1/2 cup and 1/4 cup respectively), so I flipped it and used the opposite (1/2 cup allulose, 1/4 cup coconut sugar). Granulated allulose is composed of finer crystals and is less hygroscopic, meaning it holds less moisture than coconut sugar. If there was two much moisture in my early attempts, this change should also help. Additionally, I had a feeling that the pumpkin puree in and of itself was contributing to the “cakiness,” so I decided to take it down a notch and add some maple syrup to the mix instead. This also worked!
Planning and prep
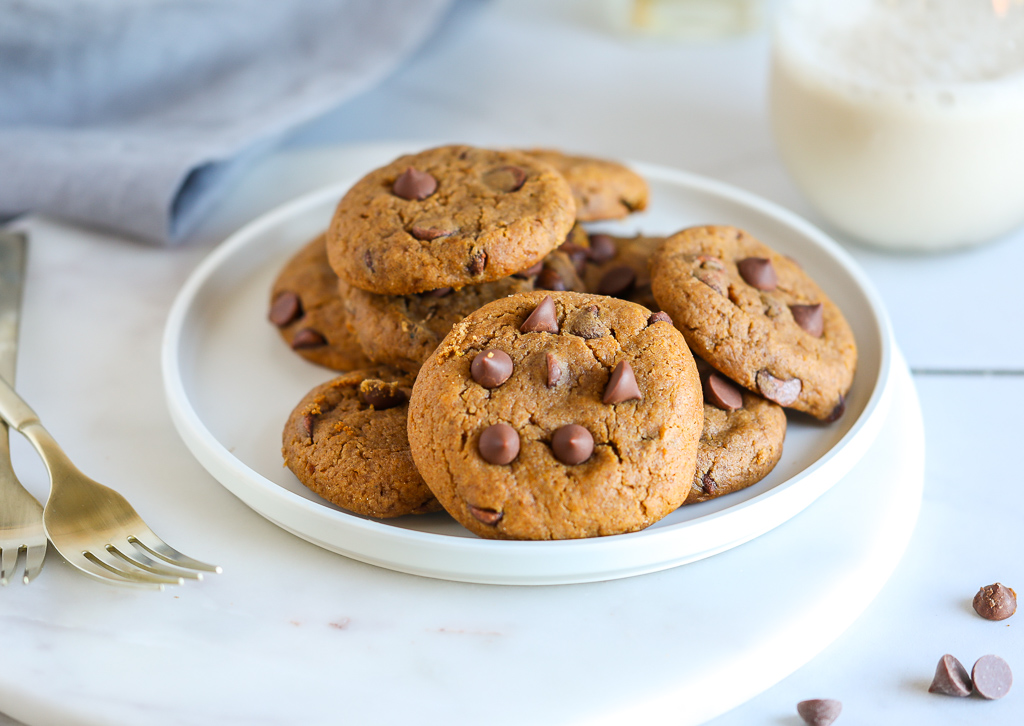
There are a few main components of this recipe to consider before baking. The first is blotting the pumpkin. My advice is the use a digital scale, and weigh out your tablespoons in a paper towel-lined bowl. That way, you can blot and ensure precise pumpkin measurements at the same time. Kill two birds with one stone!
The second thing to consider is melting and then slightly cooling your butter. Know that if you can tolerate dairy, or you don’t care about making these cookies fully plant-based, you can use regular, grass-fed butter. This step will be the same. After I immediately melted the butter in the saucepan, the temperature was around 120 degrees F. I cooled it for about 10 to 15 minutes, after which it was brought down to about 85-90 degrees F. I wanted to be sure to provide those benchmarks for your baking convenience!
Lastly, you will need to chill the dough for about 20 to 30 minutes before baking. This step ensures the vegan butter slightly solidifies in order to act as a binder during the baking process. I also encourage allowing the cookies to cool completely after baking, and think they are even better when further chilled in the fridge after cooling in room temperature for a bit. I noticed they were even more delicious the next day, with more of the spice shining through!
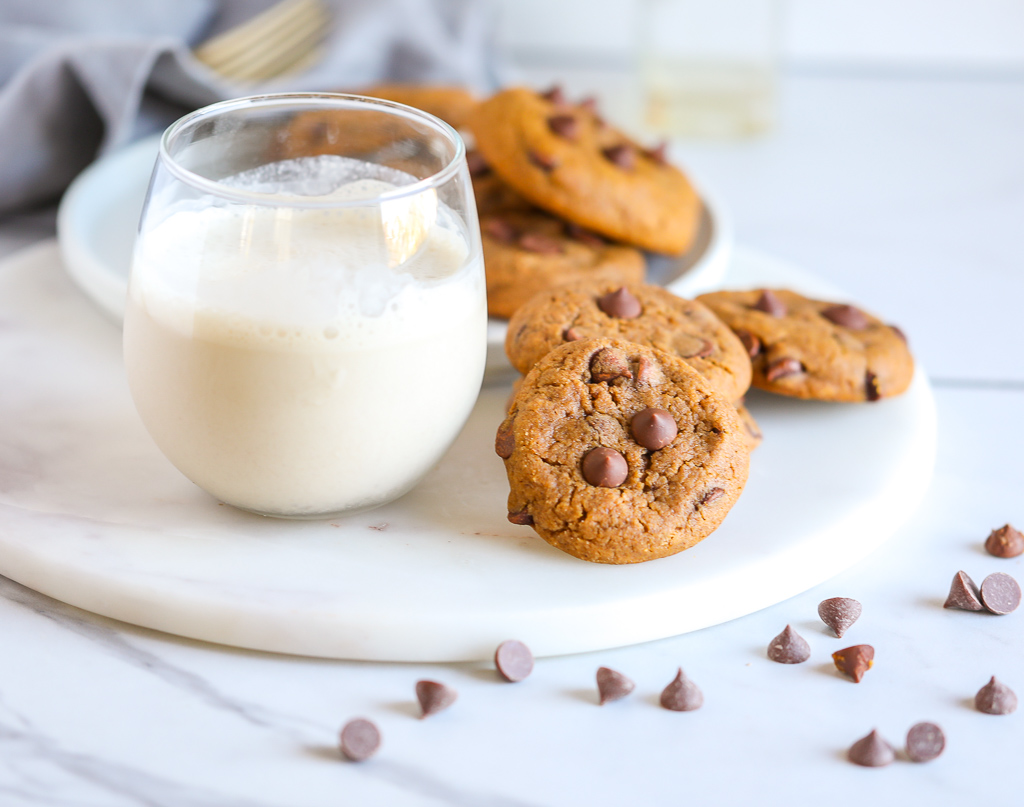
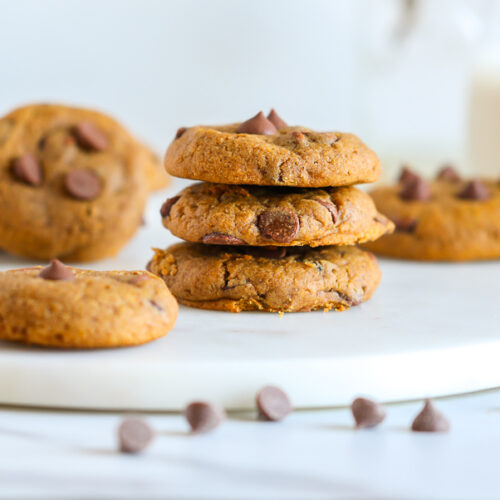
Soft And Chewy Brown “Butter” Pumpkin Chocolate Chip Cookies {Gluten-Free, Vegan}
Equipment
- Baking sheets
- Mixing bowls
- saucepan
- Hand beater or stand mixer
- whisk
Ingredients
- ½ cup melted and slightly cooled vegan butter see note
- 6 tablespoons pure pumpkin puree room temperature and blotted about 98 grams if using organic; see note
- 2 tablespoons maple syrup
- 1 teaspoon vanilla extract
- 1¼ cup Healthified homemade gluten-free flour blend or GF 1:1 baking flour; see note
- 2 teaspoons pumpkin pie spice
- ¼ teaspoon baking powder
- ¼ teaspoon baking soda
- ¼ teaspoon sea salt
- ½ cup granulated allulose
- ¼ cup granulated coconut sugar
- ½ cup chocolate chips or chopped chocolate plus more for topping if desired
Instructions
- To melt the butter, place it in a small saucepan on low heat until melted. Remove from heat and set aside to slightly cool for 10 to 15 minutes.
- Meanwhile, in a small bowl, combine the pumpkin puree, maple syrup, and vanilla extract. Stir until combined and creamy.
- In a large bowl or bowl of a stand mixer, combine the gluten-free flour, pumpkin pie spice, baking powder, baking soda and sea salt. Stir to combine.
- Once the melted butter has slightly cooled, whisk in the allulose and coconut sugar until creamy and no lumps remain. Pour it into the bowl with the pumpkin mixture and whisk until smooth and creamy.
- Pour the wet ingredients into the bowl with the flour mixture and beat until a dough is formed. Fold in the chocolate chips.
- Transfer the bowl with the dough to the refrigerator to chill for 20 to 30 minutes.
- Preheat the oven to 350 degrees F. Line baking sheets with parchment paper.
- Once the dough has chilled, use a cookie scoop or your hands to gather about 1 1/2 to 2 tablespoons of dough and roll it into balls. Place the balls of dough at least 2 inches apart on the baking sheets, and use your fingers to gently press and flatten the dough. Add a few extra chocolate chips on top if desired (this is only for looks and not necessary).
- Bake for 12 to 14 minutes until the edges have started to firm and turn golden brown. The cookies will continue to firm as they cool. Allow the cookies to cool for about 10 minutes on the baking sheets, before transferring them to a wire rack to cool completely, about 1 hour. You can even allow them to further cool and firm in the refrigerator until ready to enjoy.
Notes
