While I have been baking a long time, it wasn’t until my mid- to late-twenties when I started to play around with upgrading ingredients to make more nutritious sweet treats. This is how my Healthified brand was born. I love figuring out ways to recreate traditional dessert to yield a more blood sugar balancing result. There are a few fundamental ways to achieve a more metabolically friendly baked good, and the flours and sweeteners used are two examples. Hormones aside, if you are someone who has a gluten allergy/intolerance/sensitivity, or you are simply curious about gluten-free baking, there are some things you need to know. I go over this in detail in my cookbook.
A major difference between baking gluten-free versus using traditional flours is in the texture. Gluten is a very sticky protein that provides strength and elasticity. Without it, there is a lack of the binding aspect that you might normally find working with conventional baked goods, especially breads. As you are in the mixing phases of these recipes, incorporating the wet components into the dry, the texture might not have that “pull” to it. I would describe it as feeling a bit more “fluffy.”
This is where patience comes in to play. With gluten-free baking, it is best to allow the batter to “rest” before baking. Letting it sit before transferring it to its cooking vessel gives it time to absorb the moisture and get a little sticky. Then mixing the batter with your spatula, you help to alter the components of the delicate ingredients with which you are dealing before it even goes in the oven. You won’t have to wait too long – 20 to 30 minutes is sufficient.
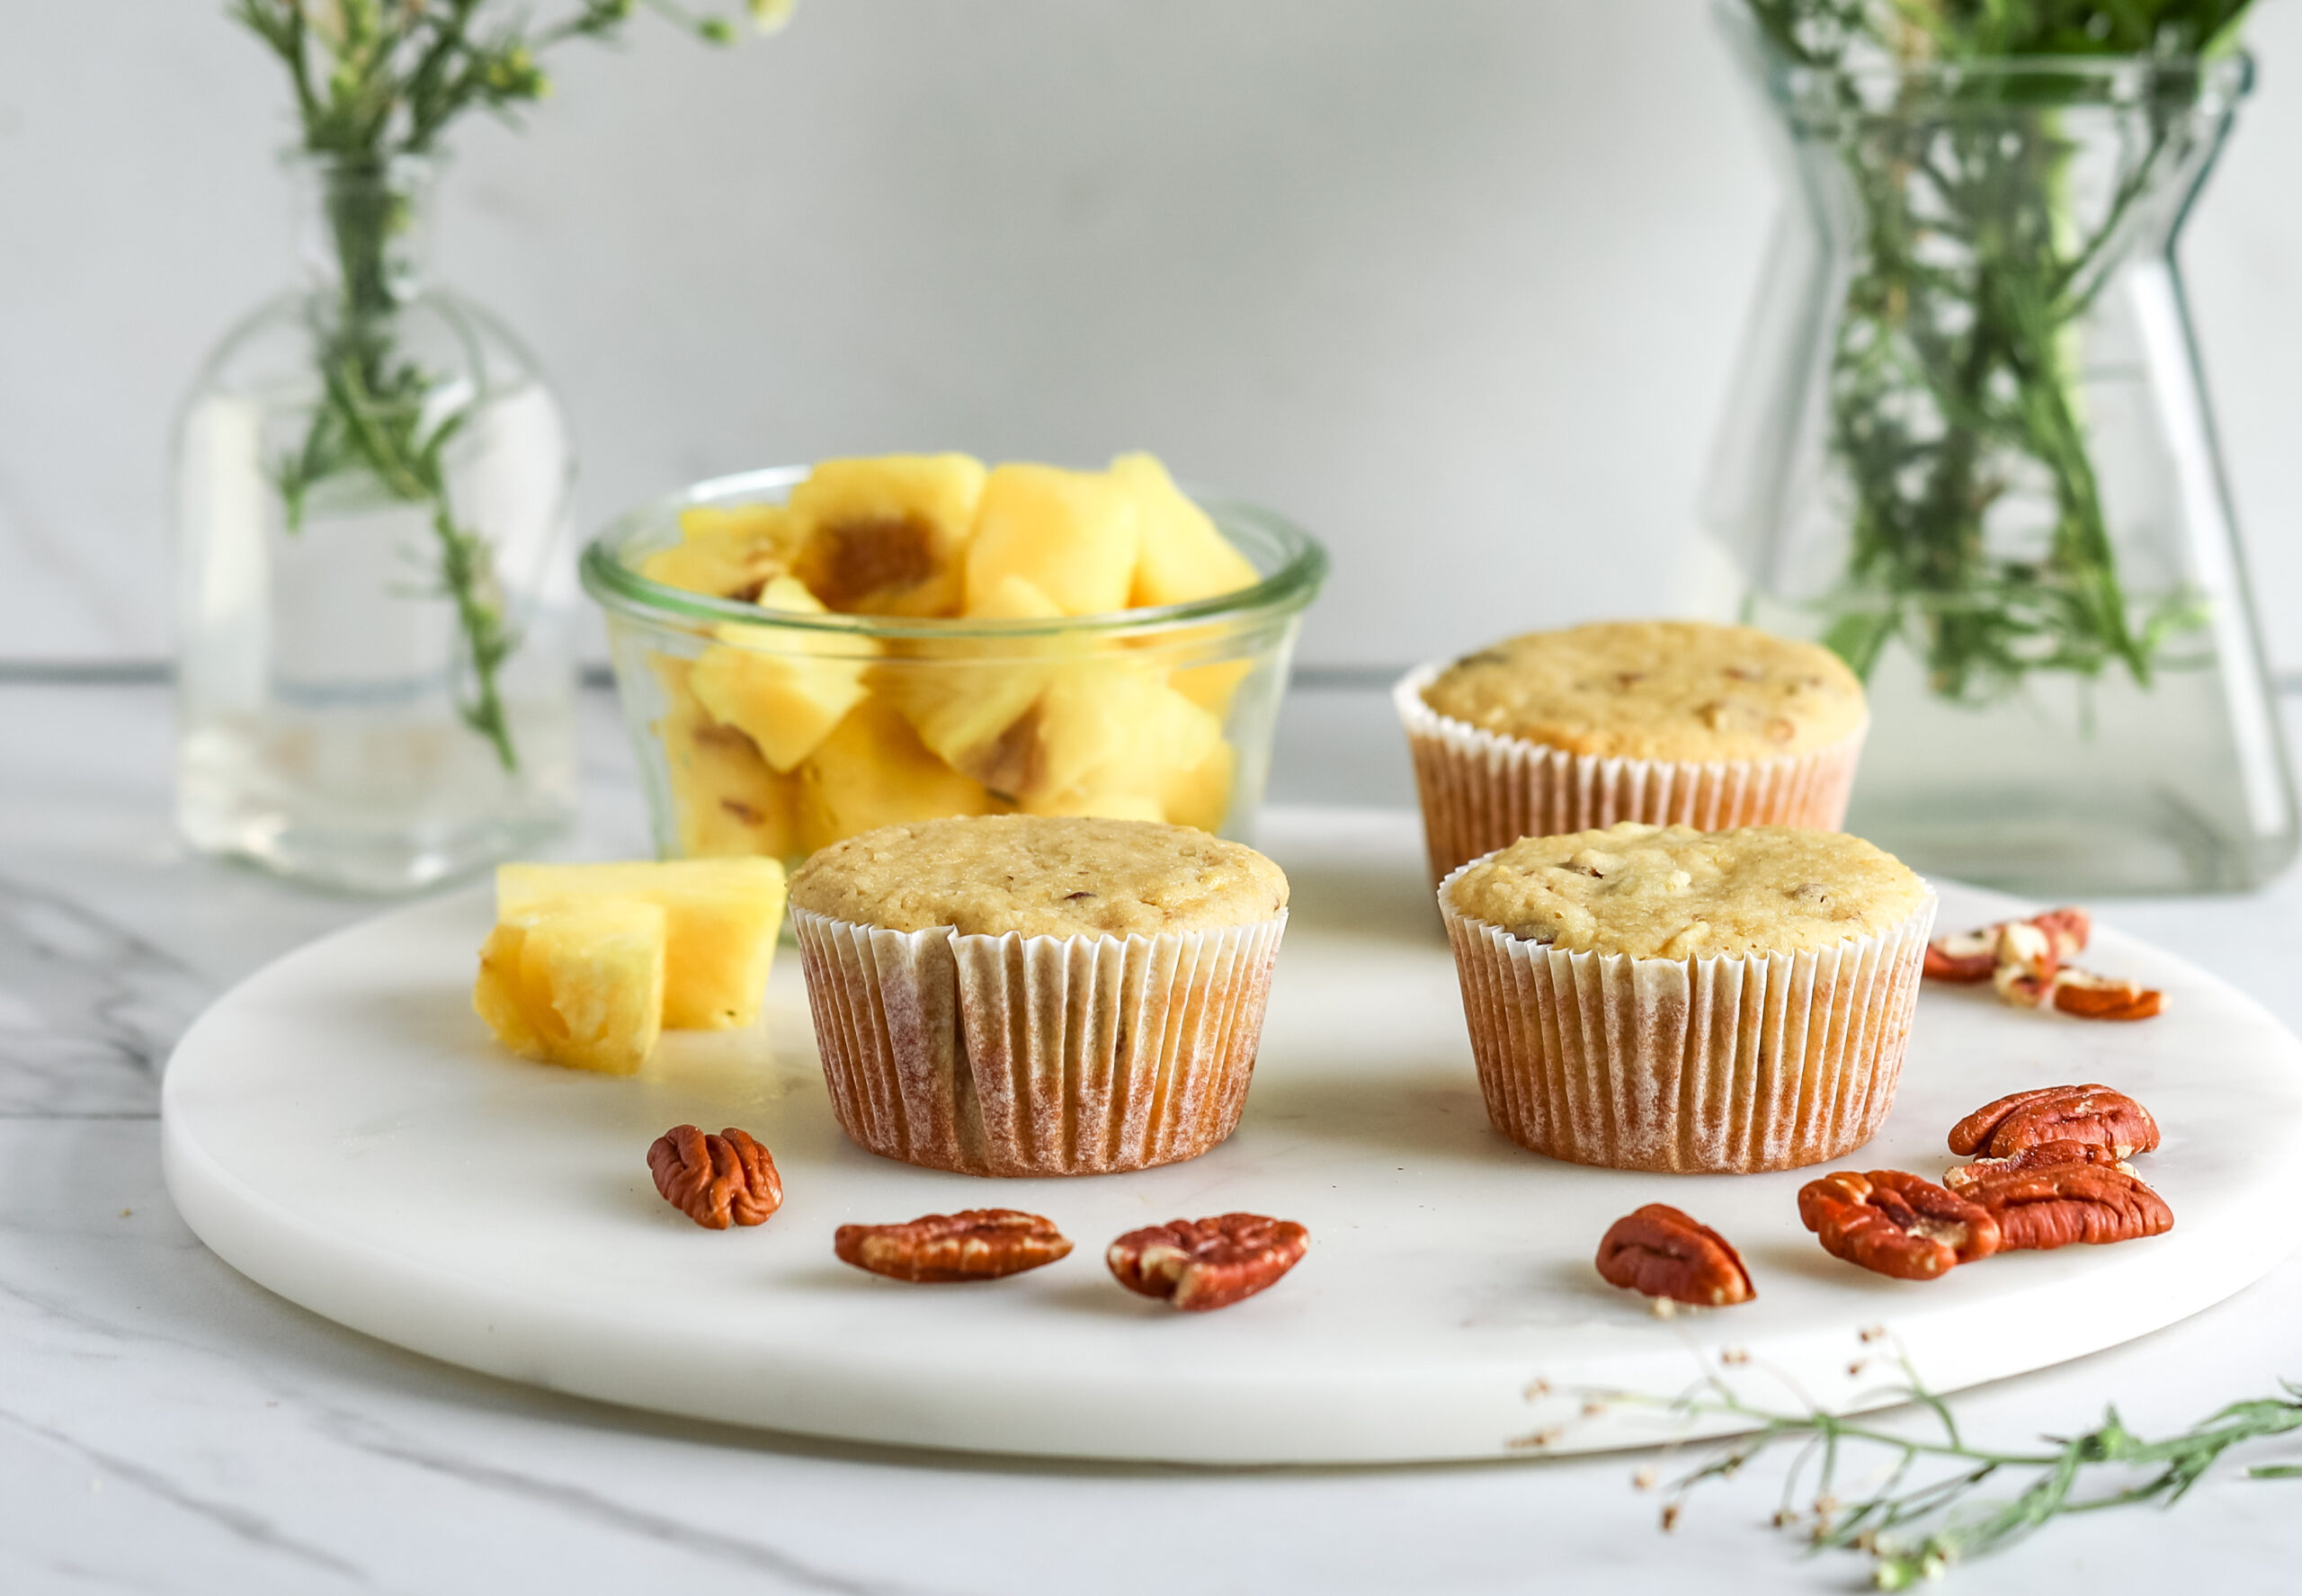
I was recently baking some cupcakes, and since I have always allowed the batter to rest when I began baking gluten-free, I wanted to know what would happen if I didn’t, and then compare the two. I baked one cupcake immediately after mixing, and the remainder of the batter after allowing it to rest for 20 minutes.

The difference is subtle, but it is there. If I had been baking gluten-free and vegan cupcakes, this extra step would have been a little more essential for the cupcakes to maintain their shape. Eggs and leaving agents (baking powder and baking soda) help with rise and volume, but you can still tell the cupcake on the right is slightly sloping and slinking down.

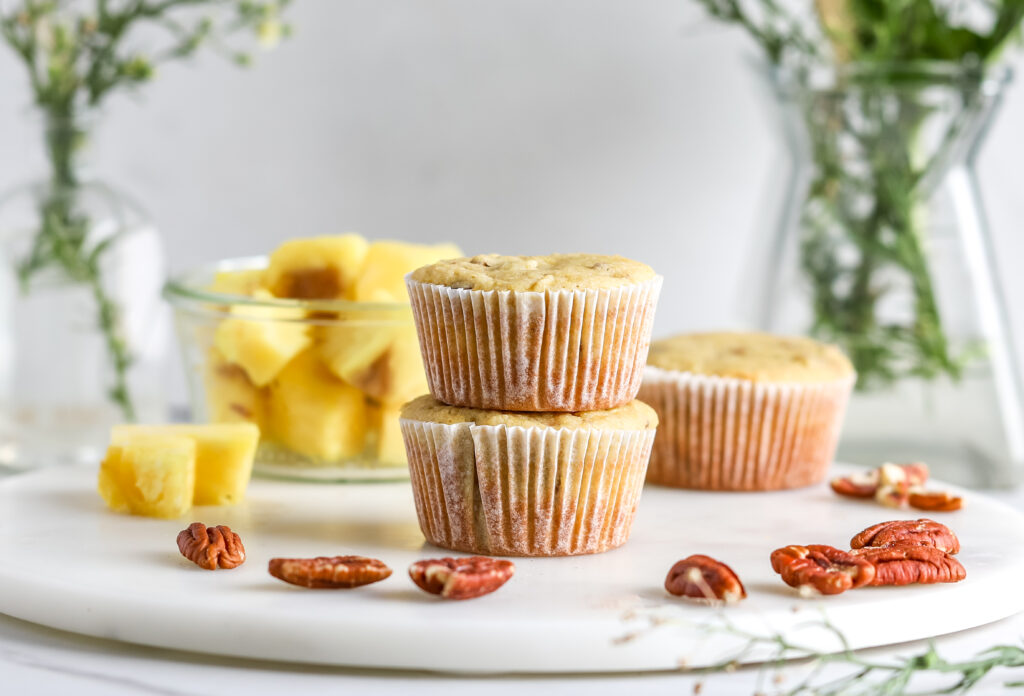
Next time you are baking gluten-free, allow the batter to rest! After mixing the wet ingredients with the dry, and beating until a batter is formed, you let it sit in the bowl on your counter for 20 to 30 minutes. These pineapple pecan cupcakes offer a prime example. There will be some recipes where you allow the batter the rest in the refrigerator, but this is mostly required for purely plant-based recipes. Another post for another day!
