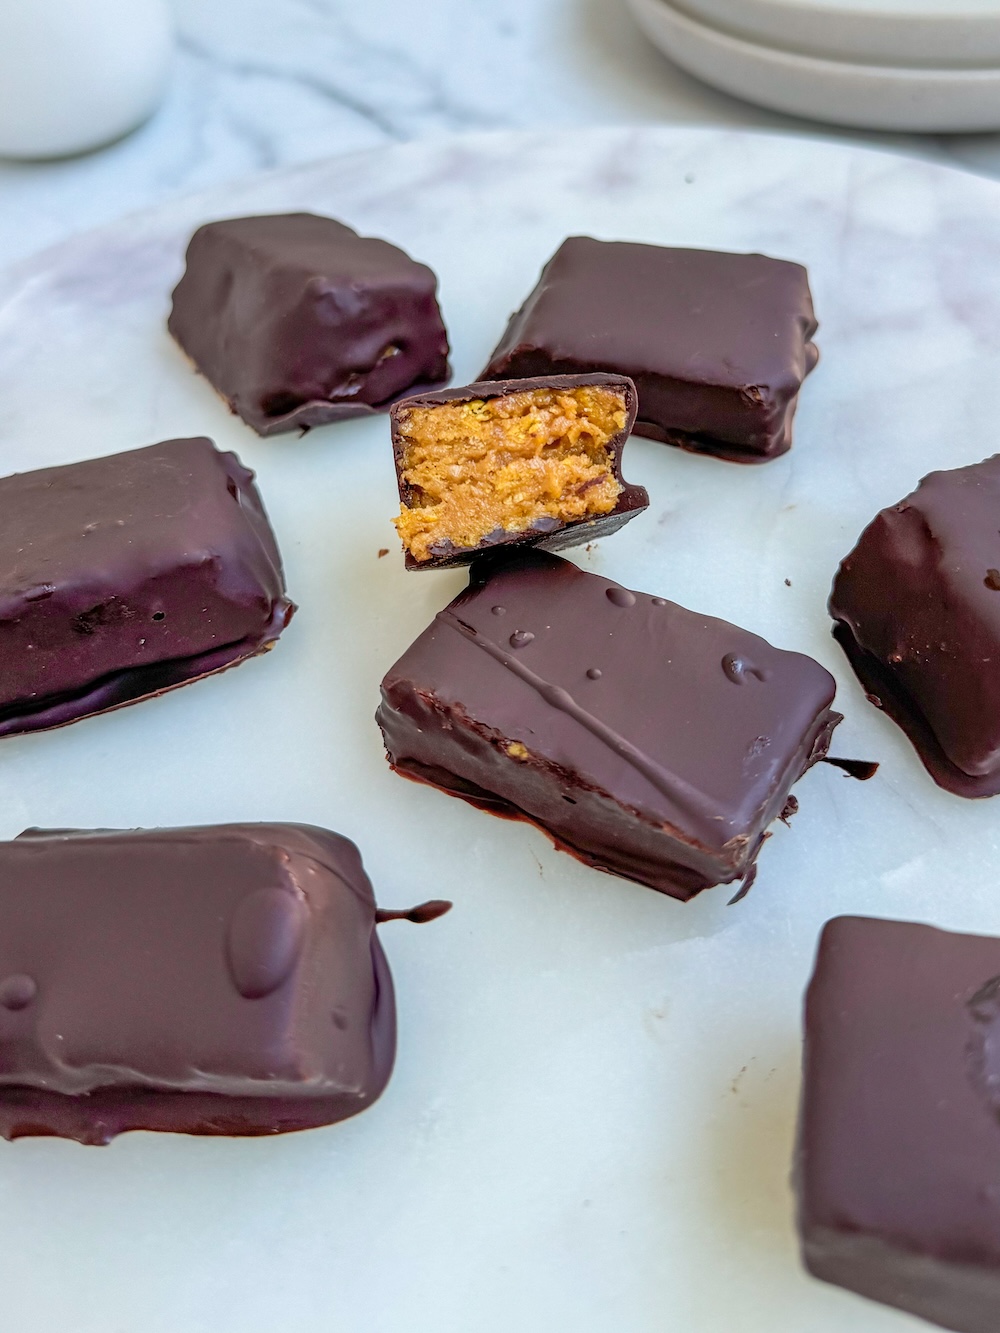
Whenever I think of Butterfingers, I immediately think of Bart Simpson. Anyone else? And he was so right – there really is nothing better than the Butterfinger combination. The candy is crispy, crunchy, chocolate + peanut butter perfection. Can you tell it is one of my favorite traditional treats?
With Halloween right around the corner, I wanted to make a healthier version for both myself and my son (he’s three). And while the concept of “making your own candy” might sound laborious to some, it isn’t that hard. When you follow the steps below, you will have upgraded Butterfingers in no time.
How to make healthier Butterfingers
Here are the ingredients you will need to make these healthier butterfingers:
- Peanut butter (or nut/seed butter of choice)
- A liquid sweetener (I suggest honey)
- Vanilla extract
- Sea salt
- Corn flake cereal
- Chocolate chips or chopped dark chocolate (I love unsweetened Pascha chocolate chips to reduce the sugar content of my recipes, but they aren’t sweet, so if you need a lower percentage of dark chocolate, use 70%)
- Coconut oil
I will be honest – corn flake cereal is the ingredient that always tripped me up. For years, I kept hearing about the inflammatory effects of corn, so I typically avoided eating it. But then I saw The Real Cereal Co. come on the scene, and they offered a healthier option.
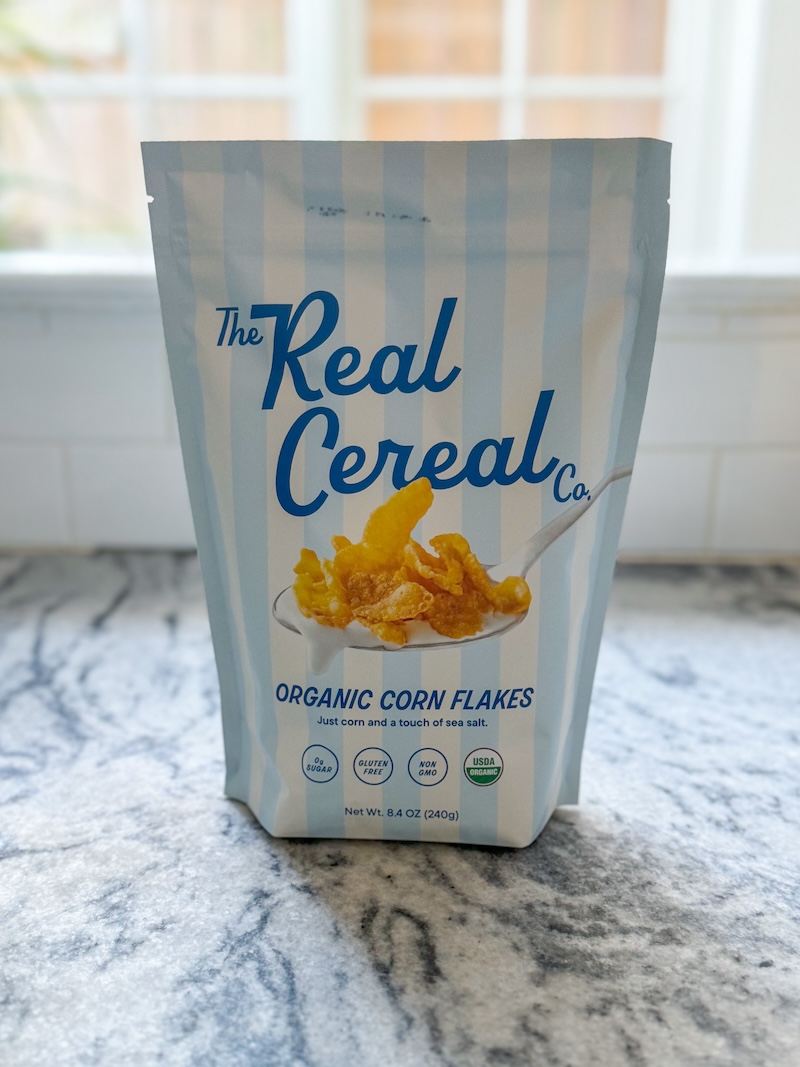
Not only does their corn flake cereal have minimal ingredients (just corn grist and sea salt), but their products are organic and non-GMO, two components that are especially important when it comes to corn specifically. I got three bags on Amazon, and not only did I use them in this recipe, the corn flakes can also be used in other baked goods, to bread fish or chicken, or serve in a bowl to your children. Of course you can use any brand of corn flakes, but I highly recommend this one (not sponsored, just had to share!)
The recipe comes together in a few easy steps:
- Crush corn flakes
- Combine and heat peanut butter mixture
- Stir together the crushed corn flakes with peanut butter mixture
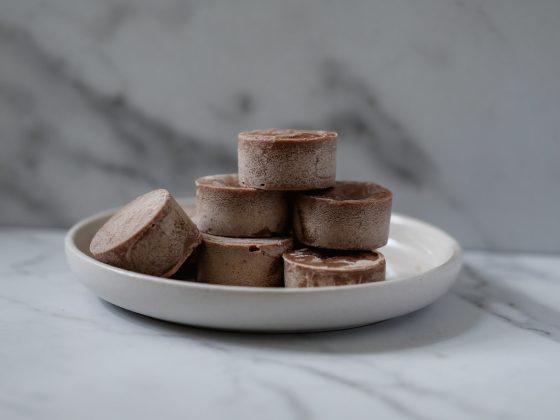
- Form Butterfinger “dough” into desired shape or transfer to vessel of choice
- Chill the dough in the freezer for at least 2 hours or overnight
- Melt chocolate
- Dip portioned Butterfingers in the chocolate and chill in the refrigerator until ready to enjoy
What makes these Butterfingers healthier?
The ingredients in a traditional Butterfinger bar include:
Corn syrup, sugar, peanuts, vegetable oil (palm kernel and palm oil), peanut flour, nonfat milk, less than 2% of cocoa, milk, salt, soy lecithin, natural flavor, annatto color.
What you see is primarily syrup and sugar, vegetable oils (which can be inflammatory), emulsifiers, additives, and preservatives. If you are trying to satisfy your sweet tooth in a healthier way, making your own is the way to go!

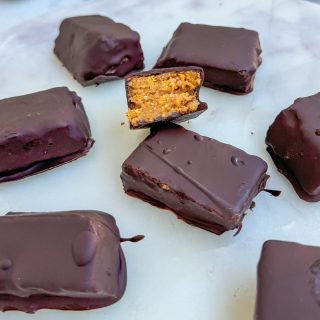
Healthier Butterfingers {Gluten-free, Dairy-free}
Equipment
- Small saucepan
- mixing bowl
- Baking tin
Ingredients
For the filling
- 1¾ cup cornflake cereal I suggest The Real Cereal Co. brand
- 1 cup creamy peanut butter or nut/seed butter of choice
- ⅓ cup honey or maple syrup
- ½ teaspoon vanilla extract
- ½ teaspoon sea salt
For the chocolate coating
- 1 cup chocolate chips or chopped dark chocolate
- 1 tablespoon coconut oil
Instructions
- Place the cornflake cereal in a small to medium plastic bag. Use your hands to crush into smaller pieces. Transfer the crushed cornflake cereal to a large mixing bowl and set aside.
- In a small saucepan, combine the peanut butter, honey, vanilla extract, and sea salt and heat over low-medium heat. Cook until creamy and heated through (about 3 to 5 minutes), stirring occasionally. Be careful not to burn.
- Pour the peanut butter mixture into the mixing bowl with the cornflakes and stir until well combined and a dough is formed. Place into the bottom of a parchment paper lined baking tin of desired size (I suggest a bread pan) and freeze for at least 2 hours.
- When ready to add the coating, combine the chocolate chips and coconut oil in a microwavable safe bowl. Heat for 1 minute, then stir until creamy and chocolate chips are melted. Cut chilled filling dough into desired size and shape (either small rectangles or squares) and dip in the chocolate mixture. Place on a parchment paper lined baking sheet or plate, and transfer to the refrigerator to set, at least 30 minutes.

