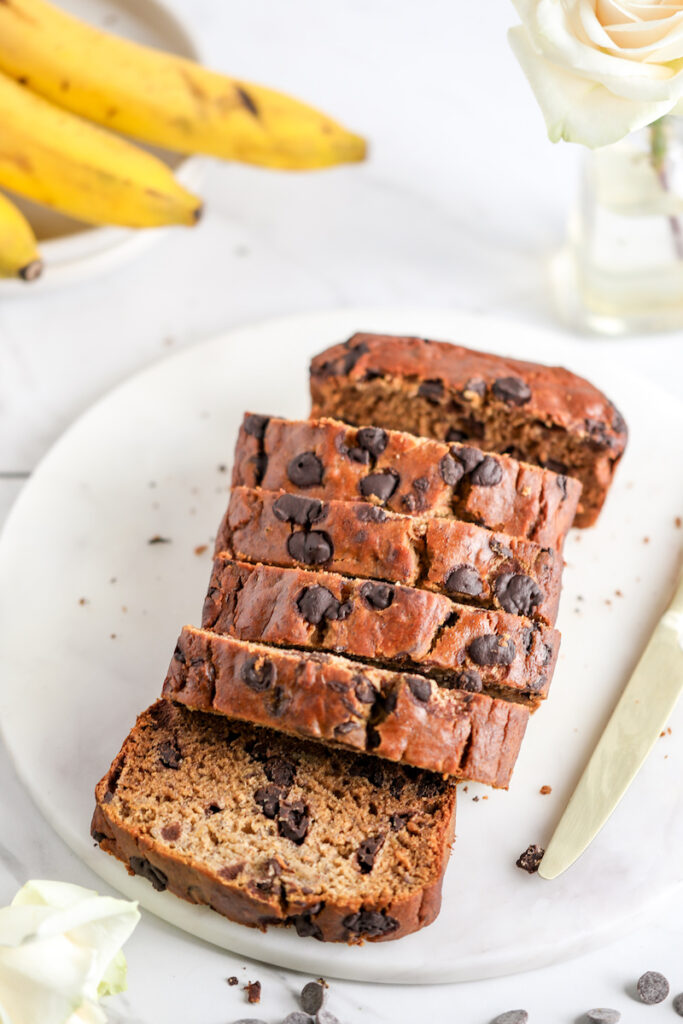
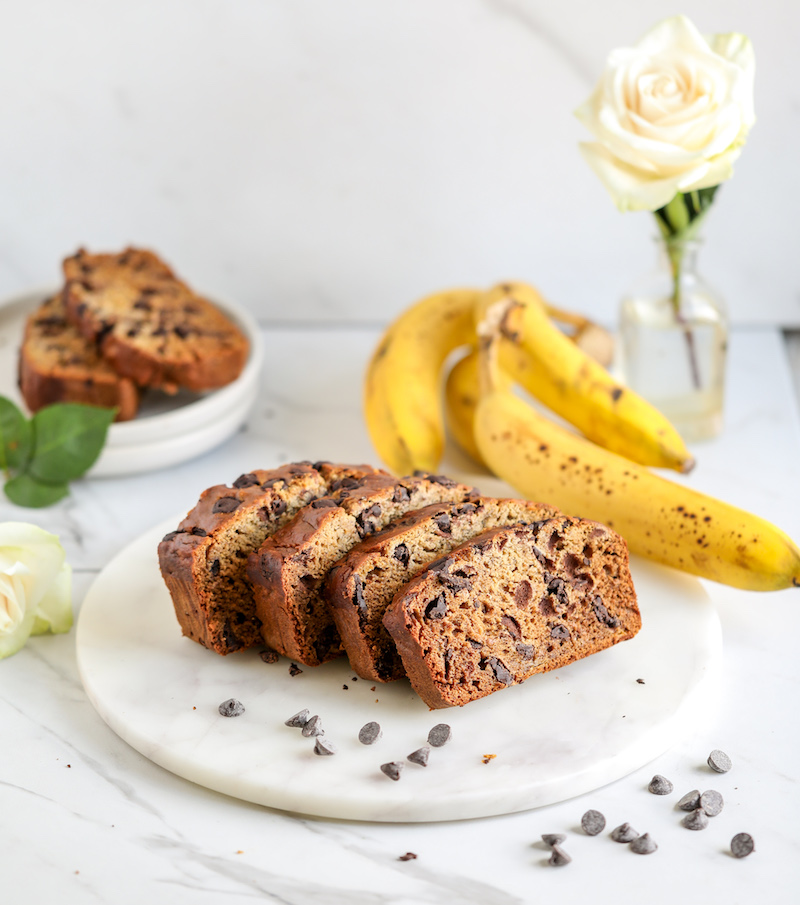
There are many reasons why I wrote this recipe the way that I did. I had a craving for some old-fashioned banana bread, but given I refrain from eating gluten, and I am (once again) trying to cut back on my dairy consumption, I had to Healthify it a bit. I’ll be honest – various banana breads I have made in the past have never really met my expectations. Mostly because gluten-free and grain-free breads fail to rise like traditional recipes. But I wanted that banana bread height.
I wrote more about it in this post on xanthan gum, but just know if you are craving a soft and not overly sweet banana bread, this recipe is for you. Better yet, it is made with a gluten-free all-purpose baking mix, so there aren’t multiple flour alternatives you have to buy or keep up with (although I do recommend you start building your Healthified baking pantry slowly and surely!). Here is some more information about the different upgrades in this banana bread:
Allulose + Coconut Sugar: I wanted to complement my usual granulated go-to (coconut sugar) with something different. Not only does the science conclude allulose as a blood sugar balancing sweetener, but studies have also shown it is anti-inflammatory and can support gut health. If you don’t have allulose, or would like not to use it, feel free to use a full cup of coconut sugar, or a granulated sugar of your choice.
Mashed Banana: Obviously. There is a lot of mashed banana in this particular recipe (from about 3 overripe bananas, or 1 1/2 cups). I wanted to highlight the natural sweetness of banana, while also cutting down on the added sugar. There is a delicious banana flavor in every bite. Tip: if you have a digital scale, use it! Weighing out your fruit and veggie purees in your Healthified baking recipes is a way to ensure exact measurements.
Yogurt. I used plain coconut yogurt, but a plain full-fat greek yogurt would work as well. The acidity in yogurt interacts with the baking soda to provide more rise. Gluten-free and grain-free baking relies heavily on leavening agents, so incorporating an acid when working with baking soda is important. It is also a healthy way to add moisture and flavor.
Planning and prep
There is not much you really have to do ahead of time. I do state in the directions to bring the eggs to room temperature, but I honestly don’t even think it would be a big deal if you didn’t since there aren’t other fats (like coconut oil) cold eggs would conflict with. However, it is always a good rule of thumb in baking in general. All you have to do is take the eggs from the fridge an hour before you decide to bake this banana bread.
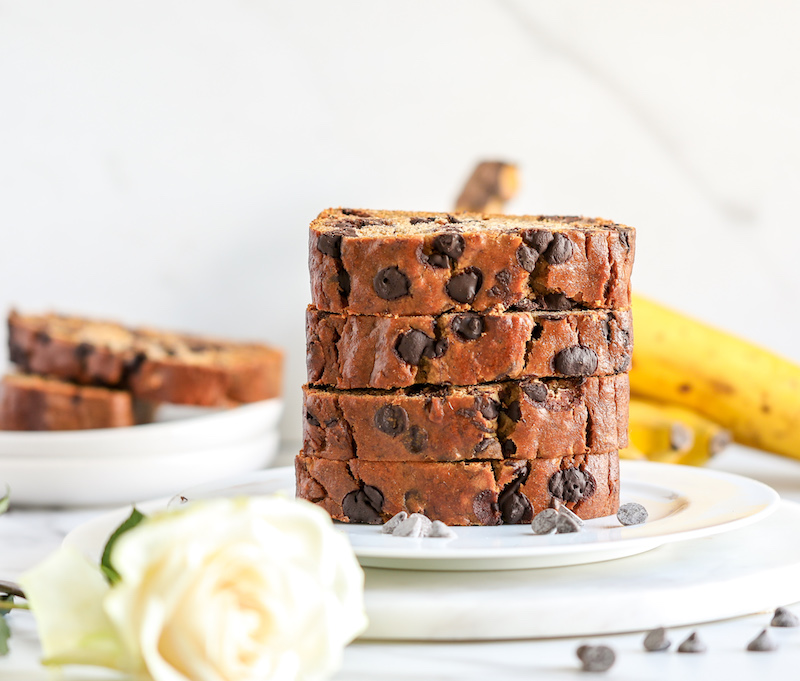
I have loved a slice with a spread of peanut butter, or paired with some coconut yogurt!
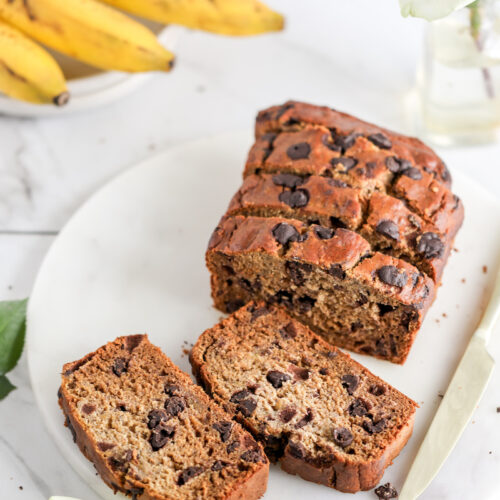
Nostalgia Chocolate Chip Banana Bread
Equipment
- Bread loaf pan
- Mixing bowls
- Hand beaten or stand mixer
Ingredients
- 2 cups gluten-free 1:1 all-purpose baking flour like Bob's Red Mill brand
- 1/2 cup coconut sugar
- 1/2 cup granulated allulose or use 1 cup coconut sugar or granulated sugar of choice
- 1 teaspoon cinnamon optional
- 1 teaspoon baking soda
- 1/2 teaspoon fine salt
- 2 large eggs lightly beaten and at room temperature
- 1 1/2 cups mashed banana from about 3 very overripe bananas. Equals about 340 grams when measured on my digital scale
- 1/4 cup plain coconut yogurt or greek yogurt
- 1 teaspoon vanilla extract
- 1 cup chocolate chips plus more for topping if desired
Instructions
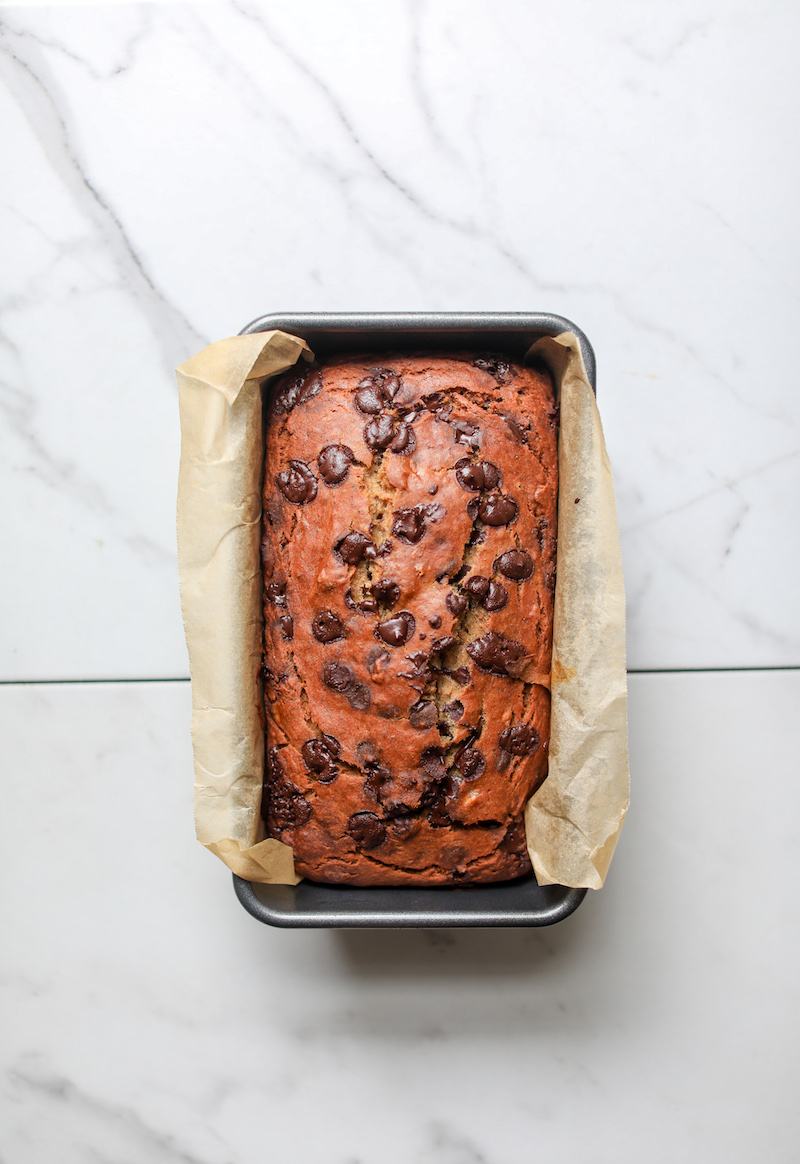
- Preheat the oven to 350 degrees F. Spray a 9×4 bread loaf pan with cooking spray and line the bottom and length-way sides with parchment paper, leaving a couple of inches hanging over the sides.
- In a large mixing bowl or bowl of a stand mixer, combine the gluten-free flour, allulose, coconut sugar, cinnamon, baking soda, and sea salt. Stir to blend.
- In a separate medium mixing bowl, whisk together the eggs, mashed banana, yogurt, and vanilla extract.
- Transfer the wet ingredients into the bowl with the flour mixture and beat until a dough is formed. Fold in the chocolate chips. Transfer the dough to the bread pan, and sprinkle extra chocolate chips on top, using your hands to gently press them into the top of the dough. Bake for 50 minutes. Then place a piece of tin foil on top of the bread to prevent over-browning, and bake for an additional 15 minutes. Ensure a toothpick inserted in the center comes out mostly clean, or use a digital thermometer to check that the internal temperature is 180 to 200 degrees F. Allow the bread to completely cool in the loaf pan (about 2 hours) before removing and slicing.
