Chocolate + peanut butter…is there anything better? As a matter of fact there is – when you combine the two in a cheesecake. Have I told you lately how much I love to bake cheesecakes? Mostly because I love eating them, but also because when it comes to their flavor profiles, the possibilities are endless. Just think Cheesecake Factory, yet Healthified.
After writing my cookbook, I sat down and listed over 50 potential cheesecakes I could healthify. I had a dream of writing a cookbook just centered around cheesecakes, and I still think I will achieve it one day. Back then, they were purely plant-based, made with cashews and coconut cream, but I have to be honest, I’m changing my cheesecake tune. I actually prefer the real deal, made with cream cheese and sour cream; the healthification is in the lower sugar content. I have made them with coconut sugar, maple syrup, erythritol. It’s fun to play around with more blood sugar balancing sweeteners to see what sticks. This recipe incorporates monk fruit, making it virtually “sugar free” as far as your hormones are concerned. Not only is it 300 times sweeter than sucrose (table sugar), but it has minimal effect on post-meal glucose and insulin levels. There is a little maple syrup in the crust, but if you would rather substitute with maple-flavored monk fruit sweetener, that is an option as well. With the list of ingredients in this cheesecake, I would chalk it up to low-carb and keto-friendly, if those are two characteristics you care about.
Planning and prep
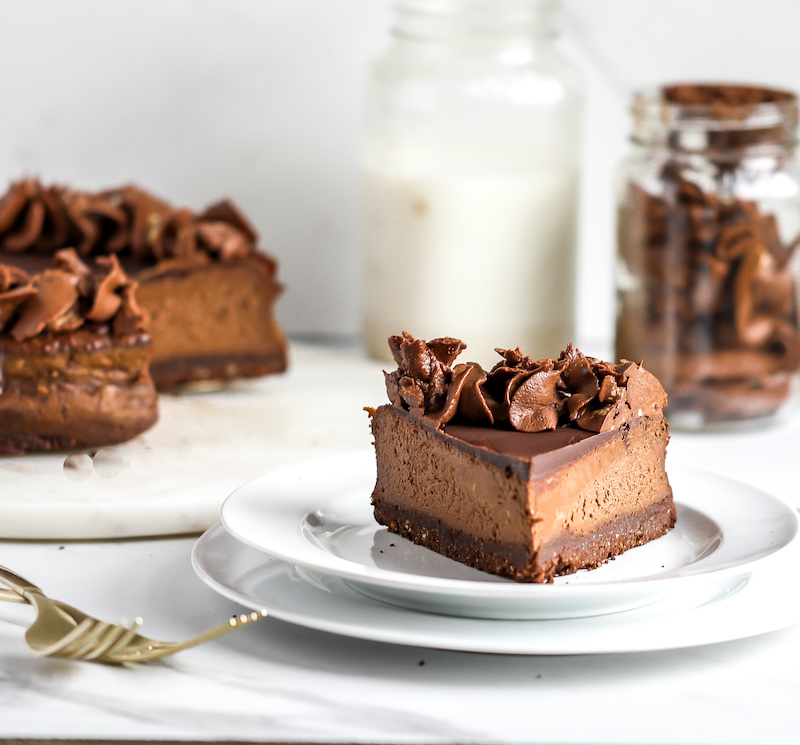
One of the major benefits of baking a real cheese rather than the vegan version is less labor, planning and preparation. With a plant-based cheesecake, you have to soak the cashews and chill the coconut cream. With a recipe of this variety, all you have to do is bring the cream cheese and sour cream to room temperature. Set these ingredients out in your kitchen an hour ahead of time. Done and done. Additionally, my Gratisfied Empower Bar Cacao baking mix makes the crust come together so easily. Process the rest of the ingredients in a high-speed blender, pour over the crust and bake. You will have to chill the cheesecake at room temperature for about an hour before transferring it to the fridge to further set for a few more. The time it takes is more passive than active, so the most challenging part is waiting to enjoy it! Trust me, it’s worth it.
I also think the texture of “real” cheesecake is more authentic. Silky and smooth. A vegan cheesecake can be a little more dense in an earthy way. They are still delicious (I’ve baked a lot of them!), but I have also gone through periods of consuming too many nut-based products, and I think sometimes your body appreciates a break. If you can tolerate dairy, you might feel the same way.
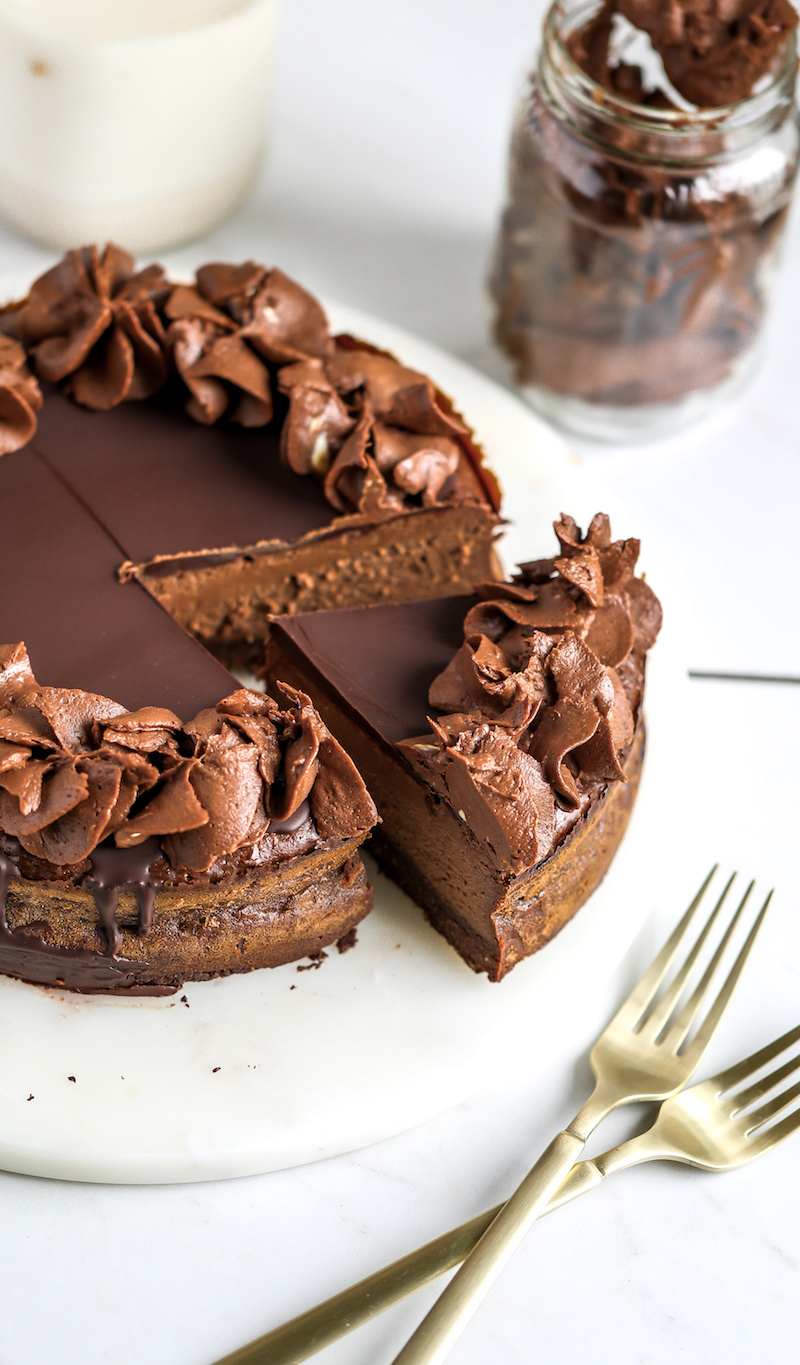
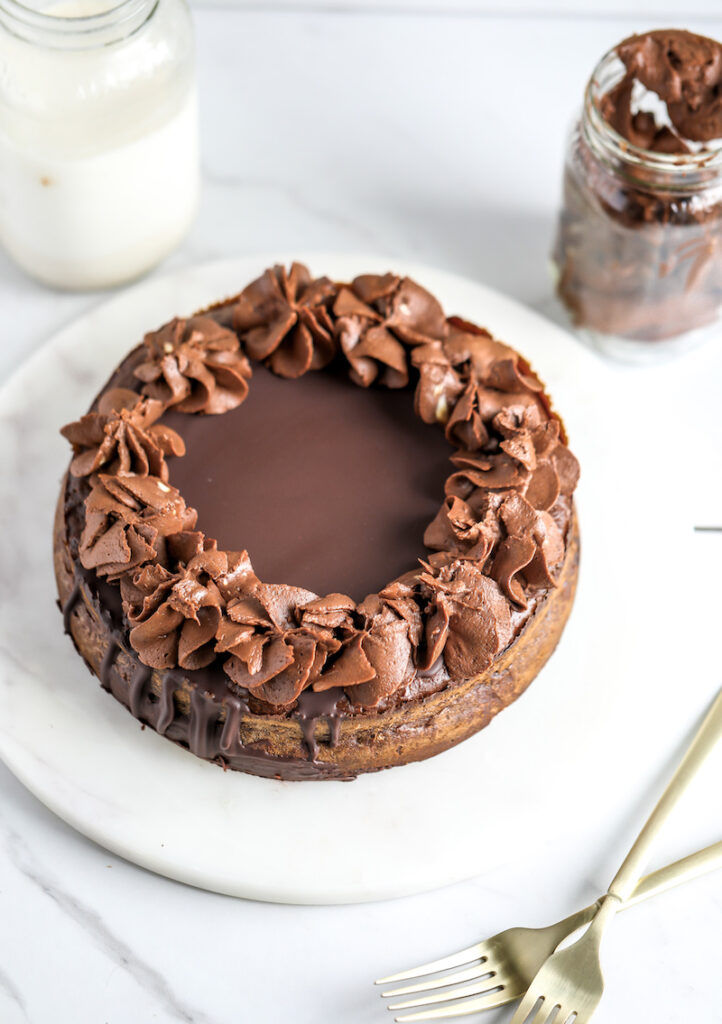
Lastly, the chocolate topping adds a “magic shell” effect, and the crunch of the hardened chocolate contrasts beautifully with the creamy filling. I piped some chocolate frosting on top for some flare, but of course is not a recipe requirement. If it aligns however, use the frosting to get a little fancy!
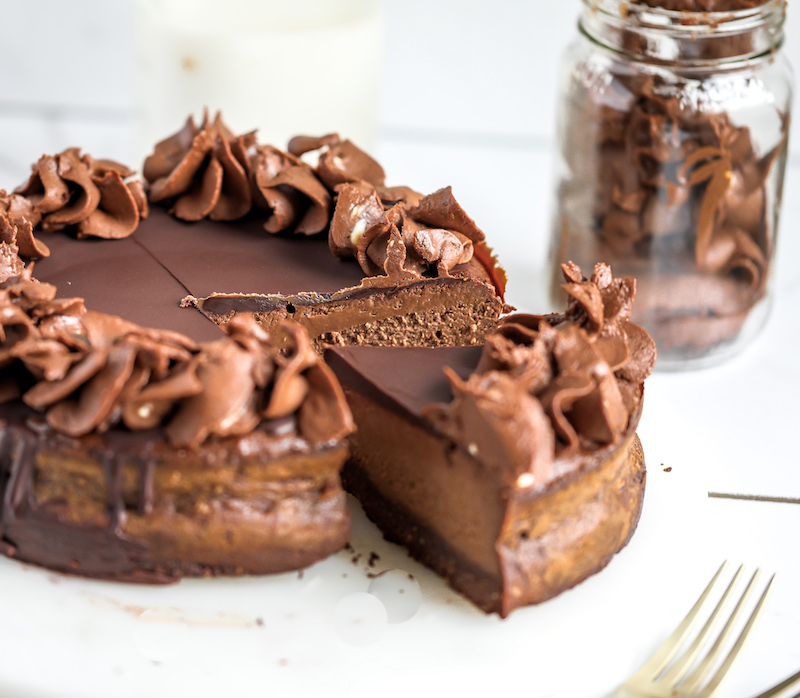
I loved sharing many slices with friends and family. This would also be a perfect dessert for a dinner party. You will wow your guests, and I bet they wouldn’t be able to tell it is more blood sugar balancing. Or go ahead and tell them. Brag about it even.
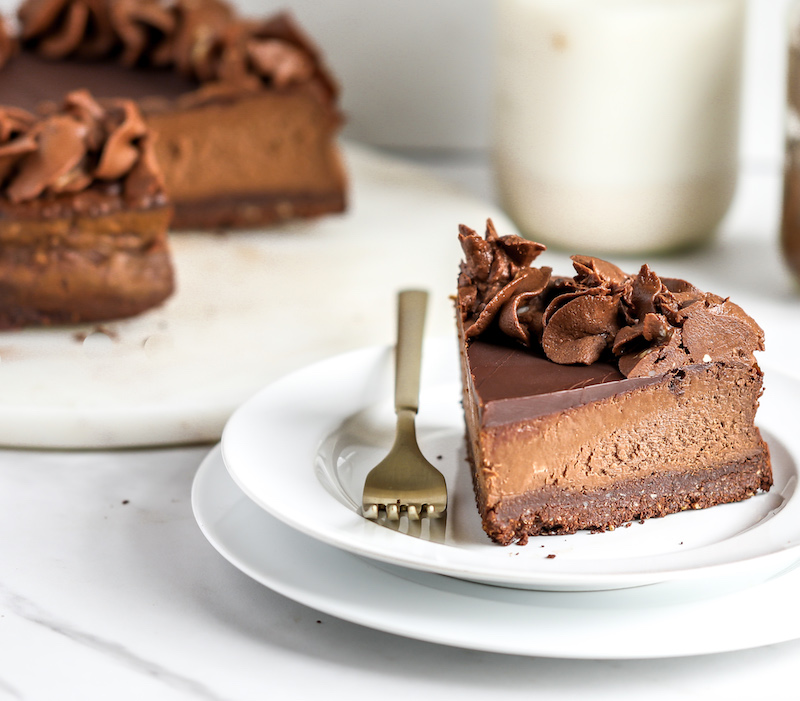
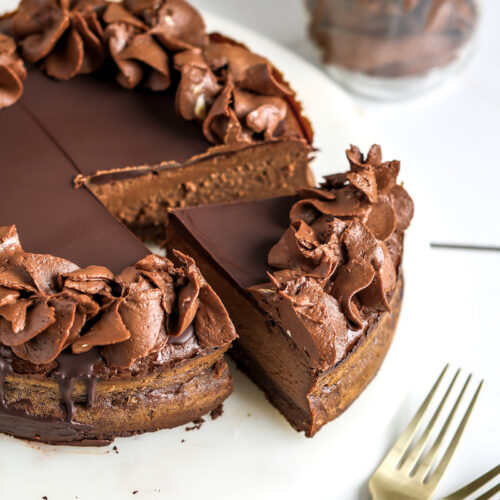
Double Chocolate Peanut Butter Cheesecake
Equipment
- 8- or 9-inch cake pan or silicone mold
- Blender
Ingredients
For the crust
- 1 Gratisfied Empower Bar Cacao baking mix pouch see note
- ⅓ cup melted coconut oil
- ⅓ cup maple syrup
For the cheesecake filling
- 1 8-oz package cream cheese softened to room temperature
- 1 cup sour cream softened to room temperature
- 3 eggs, beaten
- 3/4 cup creamy peanut butter or nut butter of choice
- 3/4 cup granulated sugar of choice I used monk fruit but coconut sugar would be a good option as well
- ½ cup cacao powder or cocoa powder
- 2 teaspoons vanilla extract
For the chocolate topping (optional)
- 1 cup dark chocolate chips or chopped dark chocolate
- 1 tablespoon coconut oil
Instructions
- Preheat the oven to 325°F. Spray an 8-inch round springform cake pan with cooking spray and line the bottom with parchment paper, or use an 8- or 9-inch silicone cake mold.
- Make the crust. In a small bowl, whisk together the melted coconut oil and maple syrup. Add the Empower Bar Cacao baking mix to a large bowl. Pour the wet ingredients into the bowl with the baking mix, and use a spatula to mix until a dough is formed. Press the dough evenly into the bottom of the cake pan until it covers the bottom to all sides. Set aside.
- Make the filling. In a high-speed blender, add the cream cheese, sour cream, eggs, peanut butter, granulated sugar, cacao powder or cocoa powder, and vanilla extract. Blend until creamy, using the tamper as you need to get the blender going and until everything is smooth.
- Pour the filling into the cake pan with the crust. Bake for 50 to 55 minutes until edges have started to turn golden brown and “pull away” from the edges of the cake pan. Turn the oven off, and open the oven door slightly, and keep the cake in the oven for an additional 30 minutes. Then remove the cake from the oven and allow the cake to cool at room temperature for at least 1 hour before transferring to the refrigerator for at least 3 hours (or ideally overnight) to completely set.
- Make the chocolate topping if using. Combine the dark chocolate and melted coconut oil in a microwavable safe bowl. Microwave for 1 minute, then stir until everything is creamy. Spoon the melted chocolate on top of the chilled cheesecake, and place back in the refrigerator for at least 30 minutes to 1 hour to completely set.

