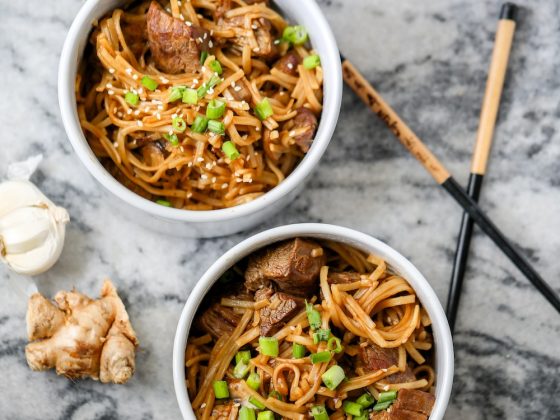
In light of the current situation we are living through, we wanted to find a way to make our time inside a little more fun. And what is more fun than baking delicious, nutritious treats for yourself and your family? So here are five grain-free recipes that are sure to pass your time inside while producing yummy food for everyone to enjoy.
Why grain-free? Read this blog post!
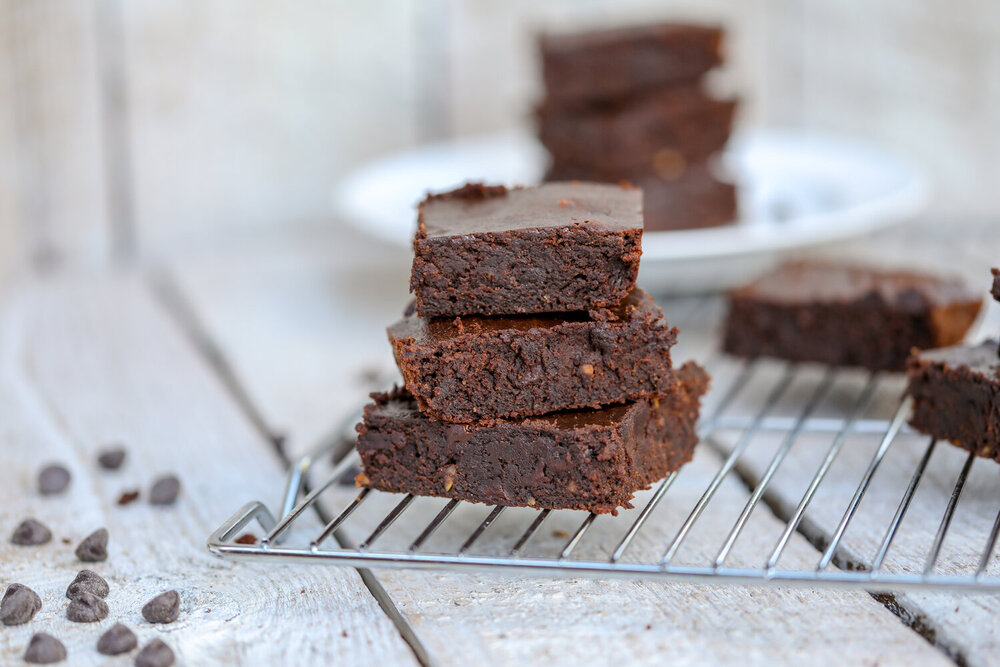
Nut Butter Fudgy Brownies
Equipment
- Cookie Sheet
- 8-by-8-inch baking dish
- hand mixer or stand mixer
Ingredients
- 1 cup almond flour
- ¾ cup coconut sugar
- ½ cup unsweetened cocoa powder or raw cacao powder
- ¼ cup tapioca flour
- ½ teaspoon baking powder
- ¼ teaspoon sea salt
- 1 egg, beaten
- ½ cup full-fat coconut milk or unsweetened almond milk
- ⅓ cup pumpkin puree
- ⅓ cup peanut butter or almond butter (I used peanut butter)
- ⅓ cup coconut nectar or maple syrup
- 1 teaspoon vanilla extract
- ½ cup dairy-free chocolate chips (I like Enjoy Life brand)
Instructions
- Preheat the oven to 350°F. Spray an 8-by-8-inch baking dish with cooking spray or line it with parchment paper.
- In a large bowl or stand mixer, mix the almond flour, coconut sugar, cocoa powder, tapioca flour, baking powder, and salt. Stir until blended.
- In a medium bowl, mix the egg, coconut milk or unsweetened almond milk, pumpkin puree, peanut butter or almond butter, coconut nectar or maple syrup, and vanilla. Whisk until creamy.
- Pour the wet mixture into the bowl with the dry ingredients and start beating on medium speed, increasing the speed as needed, until a batter is formed. Add the dairy-free chocolate chips if using blend again. Transfer the batter to a baking dish.
- Bake for 27 to 30 minutes until the edges have started to crust and pull away from the edges of the baking pan (the middle will still “jiggle” and appear darker and undercooked, but it will set as it cools). Allow the brownies to cool completely in the baking dish, about 2 hours.
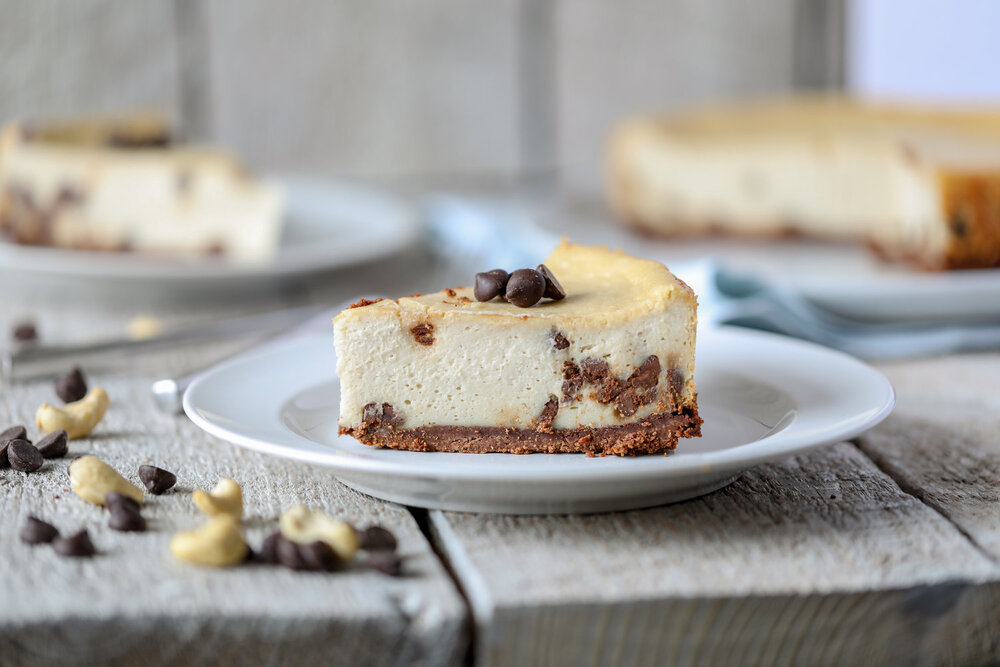
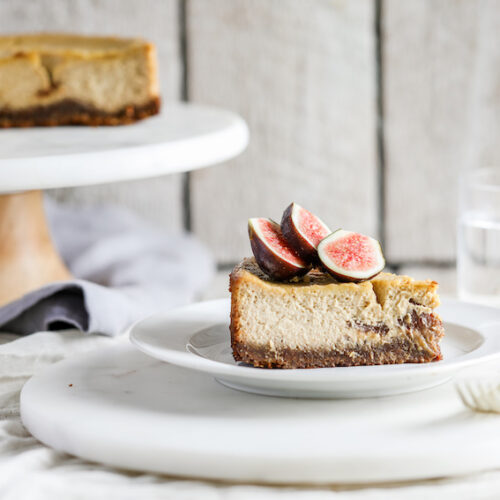
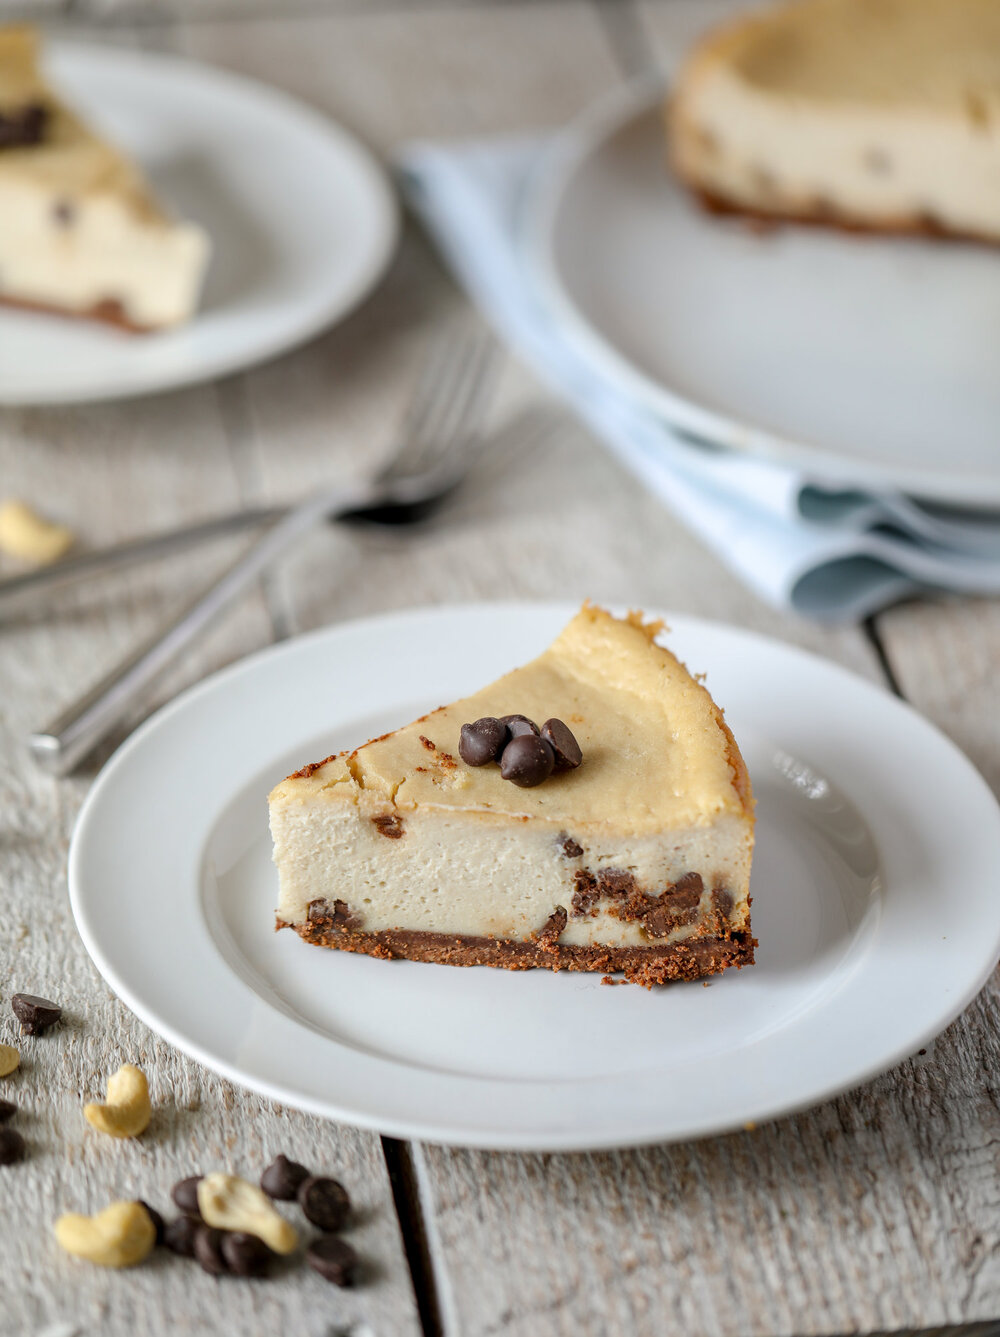
Date Caramel Cheesecake With Empower Bar Baking Mix Crust {Grain-Free, Gluten-Free, Vegan Option}
Baking a cheesecake just got more convenient with Gratisfied's Empower Bar Baking Mix! Make the crust in two simple steps. The end result is creamy, delicious, low sugar. Grain-free and keto-friendly.
Equipment
- 8-inch springform cake pan
- hand mixer or stand mixer
- High-speed Blender
Ingredients
For the Crust
- 1 package Gratisfied Empower Bar Baking Mix see notes
- 1/4 cup melted coconut oil
- 1/4 cup coconut nectar or maple syrup
For the Filling
- 1 8oz package cream cheese* room temperature
- 1 cup sour cream* room temperature
- 3 eggs room temperature
- 1 cup date caramel divided
- 1/2 cup granulated erythritol I used Swerve brand, or sub with any granulated sugar
- 1 teaspoon vanilla extract
Instructions
- Preheat the oven to 325°F. Spray an 8-inch round springform cake pan with cooking spray and line with parchment paper.
- Make the crust. Pour the Gratisfied Empower Bar Baking Mix into a large bowl or stand mixer. In a separate small bowl, whisk together the melted coconut oil and coconut nectar or maple syrup until creamy. Add the wet mixture to the baking mix and beat on medium speed until a crumbly dough is formed. Gather the dough and press it firmly in the bottom of the cake pan (it should feel like damp, course sand and should stay compact when you squeeze it). Set aside.
- In a high-speed blender, add the cream cheese, sour cream, eggs, 3/4 cup of the date caramel, erythritol (or granulated sugar or choice), and vanilla extract. Blend until creamy, using the tamper as you need to get the blender going and until everything is smooth.
- Pour the filling into the cake pan with the crust. Spoon the remaining date caramel a teaspoon at a time, dropping it into the cheesecake filling evenly distributed. Bake for 55 minutes to 1 hour until edges have started to turn golden brown and “pull away” from the edges of the cake pan (cheesecake should still “jiggle” and the middle may appear darker, but will set as it cools). Turn the oven off, and open the oven door slightly, and keep the cake in the oven for an additional 30 minutes. Then remove the cake from the oven and allow the cake to cool at room temperature for at least 1 hour before transferring to the refrigerator for 4 to 6 hours (or ideally overnight) to completely set.
Notes
*I imagine you could make the cheesecake with vegan cream cheese and vegan sour cream (or coconut cream), but I did not test it with these options.
Storage: Keep the cheesecake wrapped in plastic wrap or in an airtight container in the fridge for up to 5 days.
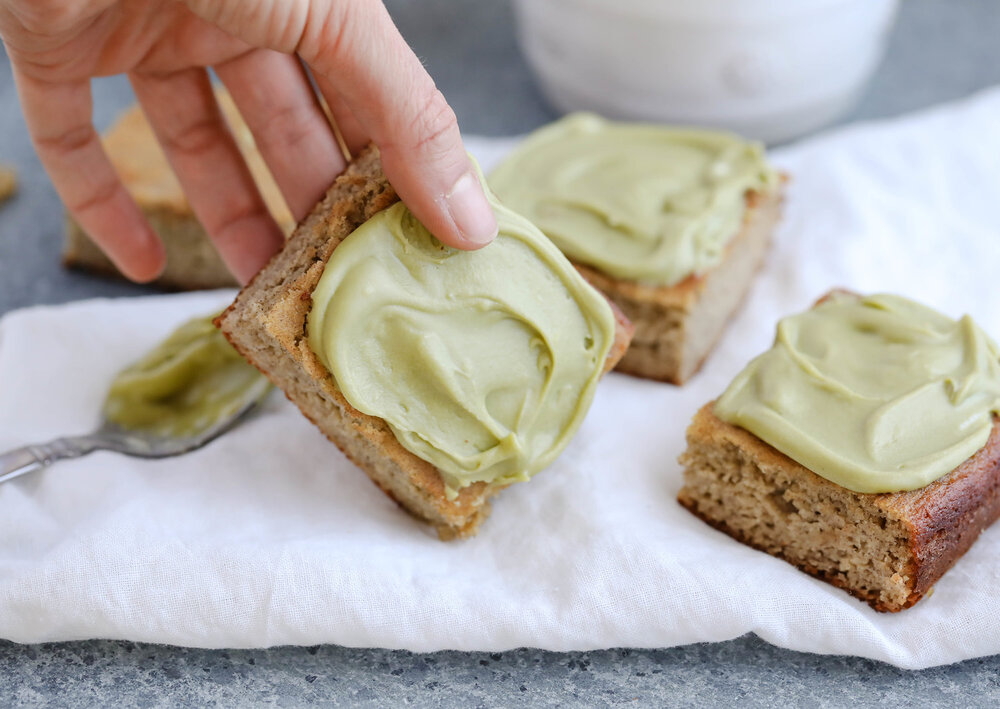
Banana Bread Squares with Honey Matcha Frosting
Ingredients
For the Bread
- 1½ cups almond flour
- ½ teaspoon baking soda
- 1 teaspoon baking powder
- ¼ teaspoon sea salt
- 2 eggs, beaten
- 2 tablespoons coconut oil, melted
- 3 tablespoons honey (coconut nectar or maple syrup would work too)
- 1 teaspoon vanilla
- 2 – 3 very ripe bananas
For the Frosting
- ½ cup coconut butter, softened
- ⅓ cup ghee (not melted)
- ½ teaspoon vanilla
- 1 teaspoon matcha powder
- 1½ tablespoons honey
Instructions
- Preheat oven to 350 degrees. Line an 8×8 baking dish with parchment paper.
- In a large bowl, sift together almond flour, baking soda, baking powder and sea salt.
- In a separate bowl or high-speed blender, add eggs, coconut oil, honey, bananas and vanilla. Whisk or blend to combine.
- Add wet ingredients into bowl with dry and beat until batter is formed. Pour batter in baking dish and cook 25-28 minutes, or until sides are golden brown and toothpick comes out clean.
- Allow to completely cool on a wire rack or in the fridge overnight. Do not add frosting to warm bread! To make frosting, add ingredients to a small bowl and whisk until creamy. Spread on top or frost individual squares once sliced.
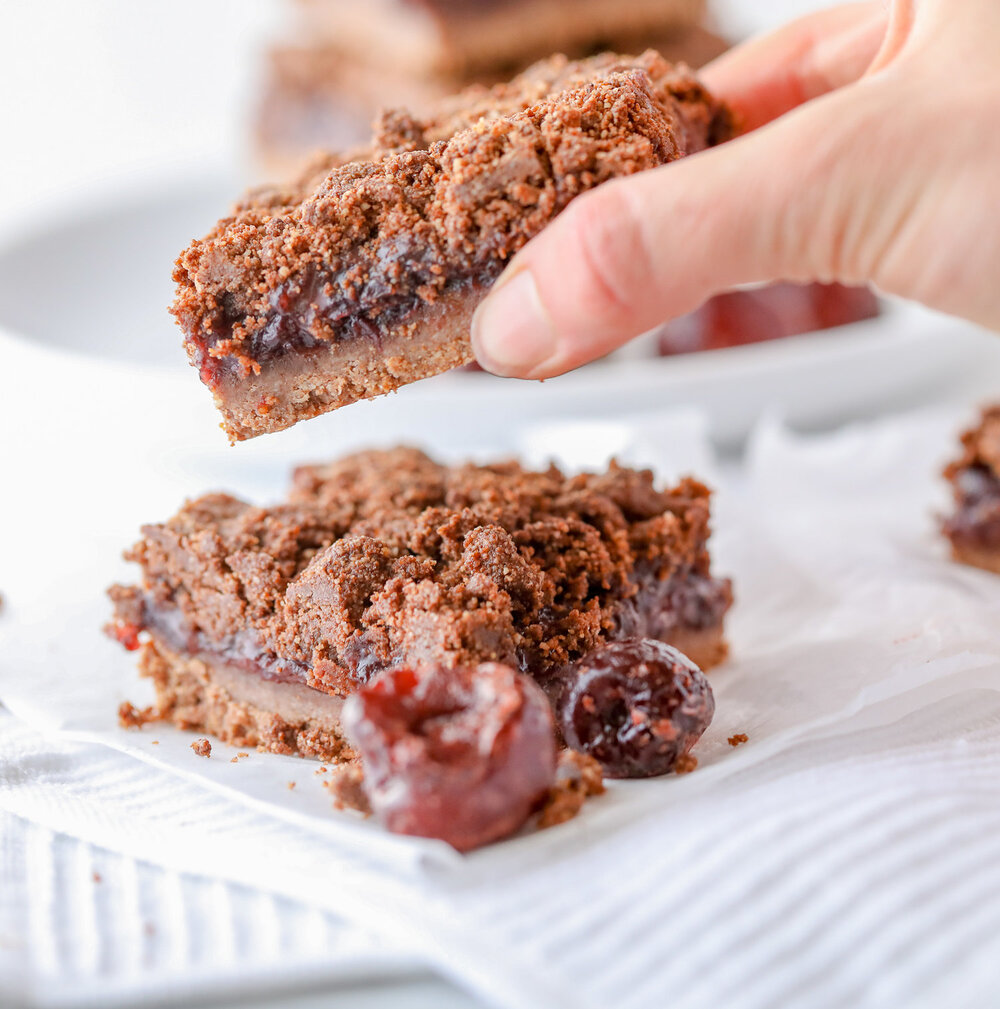
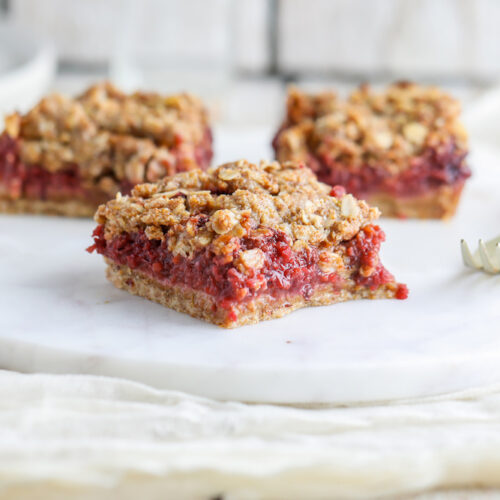
Cardamom Plum Crumble Bars {Gluten-Free, Vegan}
These gooey crumble bars are a great baked good for summer celebrations! Pair with your favorite yogurt for breakfast, enjoy as a snack, or top with ice cream for a dessert. Gluten-Free and vegan.
Equipment
- Food processor
- hand mixer or stand mixer
- 8×8 baking pan
Ingredients
For the Crust
- 1¼ cups almond flour
- ¼ cup coconut sugar
- 2 tablespoons tapioca flour or arrowroot starch
- ⅓ cup melted coconut oil
For the Filling
- 5 plums, pits removed and quartered (equals about 5 cups)
- ⅓ cup coconut sugar
- 1 teaspoon cardamom optional
- 1 teaspoon vanilla extract
- 2 tablespoons arrowroot starch
For the Crumble Topping
- 1/2 cup rolled oats gluten-free if necessary
- 1/2 cup almond flour
- 1/3 cup coconut sugar
- 3/4 cup cold vegan butter or grass-fed butter cut into 1-inch pieces
Instructions
- Preheat the oven to 350° F. Grease an 8×8 baking pan and line with parchment paper.
- Make the crust. In a large bowl or stand-up mixer, combine the almond flour, coconut sugar, and tapioca flour or arrowroot starch. Stir to blend. Start beating on medium speed, slowly incorporating the melted coconut oil, increasing the speed and continuing to beat until a crumbly dough is formed. Gather the dough and press it firmly in the bottom of the baking pan (it should feel like damp, course sand and should stay compact when you squeeze it). Prebake the crust for 10 minutes, then set aside until ready to use.
- Meanwhile, make the filling. In a food processor, combine the plums, coconut sugar, cardamom, and vanilla extract and blend until almost pureed. Add the arrowroot starch and process again, scraping down the sides as you need to until everything is incorporated.
- Transfer the plum mixture to the baking pan with the pre-baked crust, using a spatula to spread evenly to all sides.
- Make the crumble. In a medium bowl, combine the oats, almond flour, and coconut sugar. Stir to blend. Add the vegan butter and use your hands to “massage” it into the oat mixture until a crumbly dough is formed. Sprinkle the crumble evenly over the cherry mixture.
- Bake for 30 minutes until crumble is crisp to the touch and plum filling mixture is bubbling. Allow the bars to completely cool at room temperature (about 2 hours) before transferring to the refrigerator for at least 4-6 hours (or ideally overnight) to completely set*.
Notes
*If they aren’t able to completely cool and set in the fridge, they will fall apart. The consistency is gooey, so I suggest eating with a spoon or fork.
Storage: keep crumble bars in the refrigerator for up to 1 week. Wrap individual crumble bars in plastic wrap for longer storage. You can also freeze them for up to 3 months.
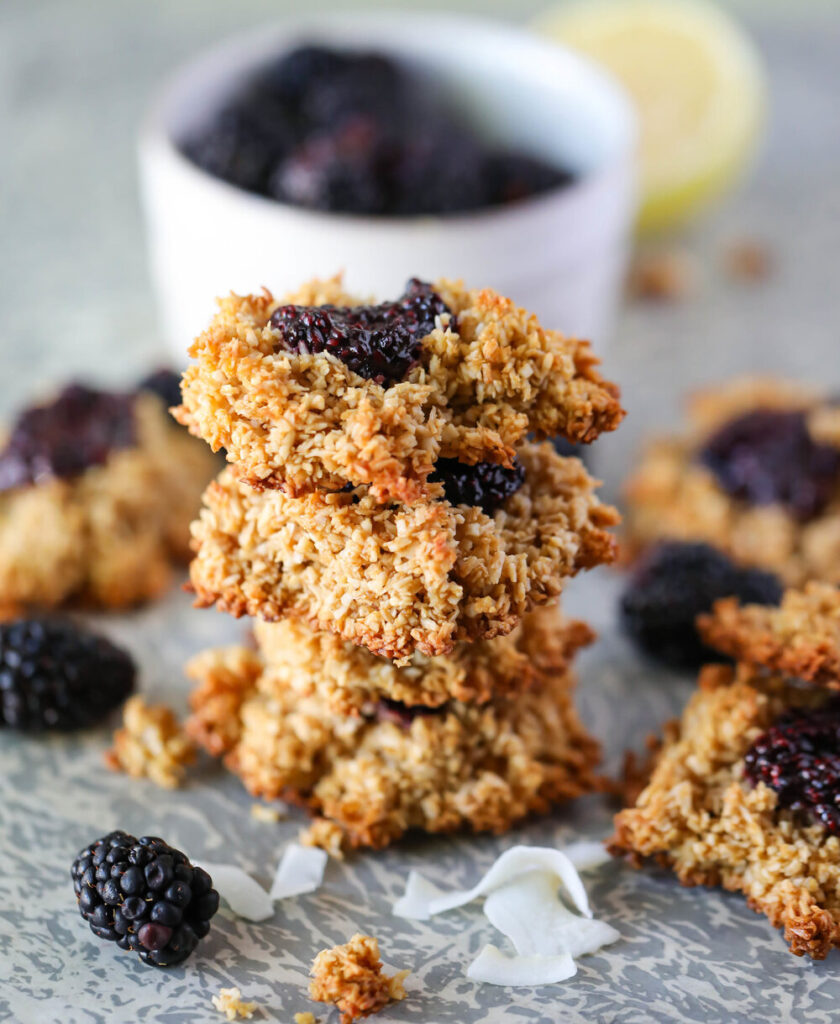
Blackberry Chia Jam Coconut Cookies
Ingredients
For the Cookies
- 1 egg
- 1 teaspoon vanilla
- 1½ cups shredded coconut
- ⅓ cup coconut sugar
- 1 teaspoon lemon zest (1 lemon's worth of zest)
For the Jam
- 1 pack of frozen blackberries (about 2 cups)
- juice from 1/2 a lemon
- ¼ cup raw honey
- 1 tablespoon chia seeds
Instructions
- Preheat oven to 350 degrees. Line a baking sheet with parchment paper.
- In a medium saucepan over medium high heat, add blackberries, lemon juice, honey. Cover and bring to a boil (about 5 minutes). Remove lid and stir, breaking up berries with back of wooden spoon. Reduce heat to a simmer and cook until liquid has reduced in half, about 15 minutes. Transfer to a small bowl and add chia. Stir to avoid clumping. Set aside.
- In a stand-up mixer or with a hand beater, beat egg on medium-high setting until it starts to froth (about 3 minutes). Slowing incorporate lemon zest, vanilla and coconut sugar, Continue beating about 5 minutes. Fold in coconut and mix until blended.
- Place large spoonfuls of batter on baking sheet. Don't worry about forming into cookies or making them compact, just place on parchment paper with small indent in the center for the jam. Spoon a teaspoon of jam in the center. Bake 12-15 minutes until coconut begins to turn golden brown. Turn oven off and leave in oven another 3-5 minutes. Remove from oven and allow to completely cool.

